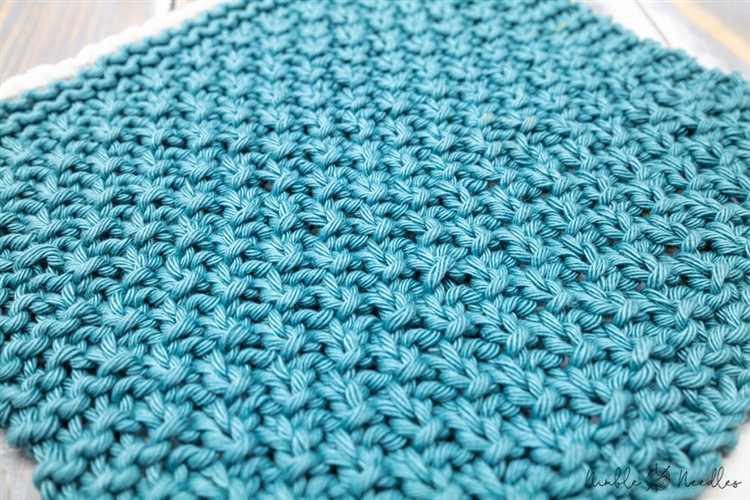
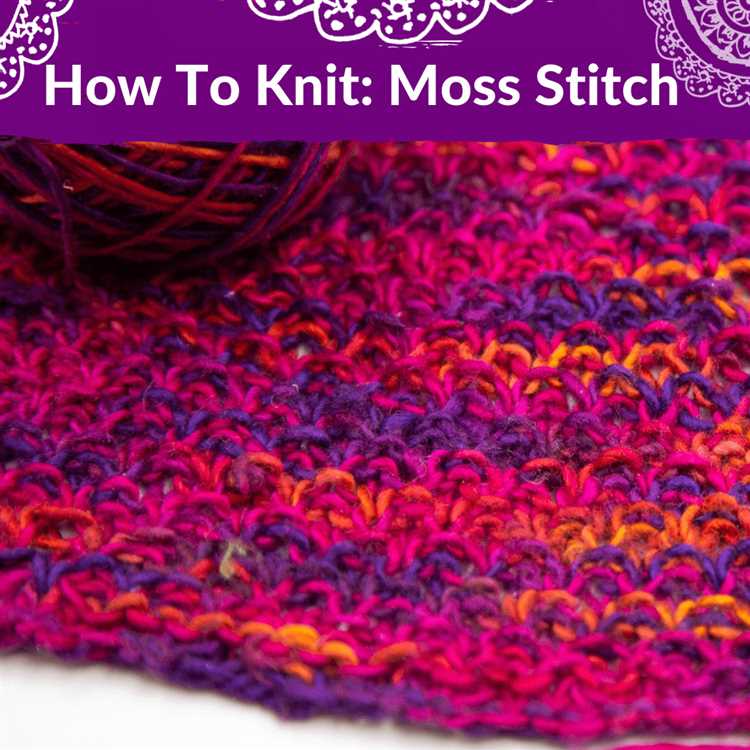
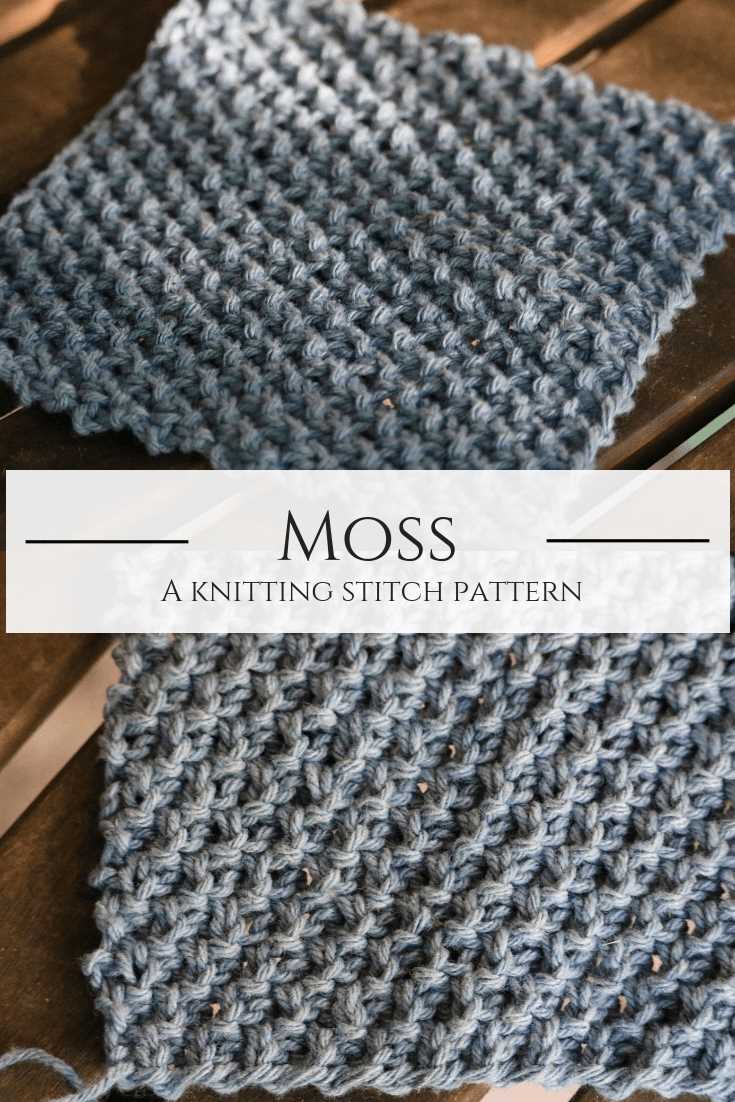
Knitting is a versatile craft that allows you to create beautiful and functional pieces of clothing and accessories. One of the most essential stitches every knitter should learn is the moss stitch. The moss stitch, also known as the seed stitch, is a simple combination of knit and purl stitches that creates a textured fabric with a bumpy appearance.
Unlike other basic stitches like the garter or stockinette stitch, the moss stitch adds visual interest to your knitting projects by alternating the knit and purl stitches within each row. The result is a fabric that looks complicated but is actually quite easy to master.
The moss stitch is perfect for knitting scarves, baby blankets, and other projects where you want a textured and cozy fabric. It creates a reversible fabric that looks the same on both sides, making it ideal for projects where both sides will be visible, like blankets or wraps. The stitch also lies flat and doesn’t curl at the edges, so there’s no need for additional borders or finishing techniques.
In this step-by-step guide, we will walk you through the process of creating the moss stitch. We will start with the basics of knitting, including how to cast on stitches and the knit and purl stitches. Then, we will guide you through each step of the moss stitch, from casting on to binding off. By the end of this guide, you will have the knowledge and confidence to tackle any moss stitch project.
What Is the Moss Stitch?
The moss stitch, also known as the seed stitch, is a simple knitting pattern that creates a textured fabric with a combination of knit and purl stitches. It gets its name from the raised bumps that resemble moss or seeds.
This stitch pattern is great for beginners who want to explore different textures in their knitting projects. It is perfect for scarves, blankets, and other projects where you want a fabric with depth and interest. The moss stitch is also reversible, so it looks the same on both sides, making it a versatile choice for any project.
To create the moss stitch, you alternate between knitting and purling stitches within the same row and across subsequent rows. The pattern typically requires an odd number of stitches, as the alternating knits and purls create the textured effect.
When reading a knitting pattern, the moss stitch is often represented by the abbreviations “K1, P1” or “P1, K1” to indicate the alternating knit and purl stitches. The moss stitch can also be worked in larger blocks or used as an accent stitch within other patterns.
Here is an example of how to work the moss stitch pattern:
- Cast on an odd number of stitches.
- Row 1: *Knit 1, purl 1; repeat from * to the end of the row.
- Row 2: *Purl 1, knit 1; repeat from * to the end of the row.
- Repeat rows 1 and 2 until desired length is reached.
The moss stitch is a versatile and easy-to-learn knitting stitch that adds interest and texture to your projects. Once you master the basics, you can experiment with different variations and combinations to create unique designs.
Materials Needed for Moss Stitch Knitting
To get started with moss stitch knitting, you will need the following materials:
- Yarn: Choose a yarn that is suitable for your desired project. Moss stitch can be knit with any weight of yarn, but it’s best to choose a yarn that is not too bulky or too thin.
- Knitting Needles: Select a pair of knitting needles that are appropriate for the yarn you have chosen. The size of the needles will depend on the gauge you want for your project. For beginners, it’s recommended to use medium-sized needles (US 7-9 or 4.5-5.5mm).
- Tapestry Needle: This is used for weaving in loose ends of yarn and finishing your project.
- Scissors: A pair of scissors will be needed for cutting the yarn.
- Stitch Markers (optional): Stitch markers can be useful for marking sections or patterns in your knitting, but they are not essential for moss stitch knitting.
Make sure you have all these materials before you start your moss stitch knitting project. Having the right tools will help you create beautiful and well-made knitted items.
Step-by-Step Guide to Knit the Moss Stitch
The moss stitch is a popular knitting stitch pattern that creates a textured fabric with alternating knit and purl stitches. It’s easy to learn and can be used for a variety of knitting projects, from scarves to blankets. Follow these steps to learn how to knit the moss stitch:
- Cast on an even number of stitches: Start by casting on your desired number of stitches. The moss stitch works best with an even number of stitches.
- Row 1: Begin by knitting the first stitch.
- Row 2: Purl the next stitch.
- Repeat Rows 1 and 2: Continue knitting the next stitch on odd rows (Row 3, 5, 7, etc.), and purling the next stitch on even rows (Row 4, 6, 8, etc.). This creates the alternating knit and purl pattern of the moss stitch.
- Continue knitting: Repeat rows 1 and 2 until your project reaches the desired length.
- Bind off: Once you have finished knitting your project, bind off your stitches to secure the edges.
Here’s a summary of the moss stitch pattern:
| Row | Stitch |
|---|---|
| 1 | Knit |
| 2 | Purl |
| 3 | Knit |
| 4 | Purl |
| 5 | Knit |
| 6 | Purl |
| 7 | Knit |
| 8 | Purl |
| … | … |
The moss stitch creates a fabric with a beautiful texture that resembles moss or pebbles. It’s a versatile stitch pattern that can be used in various knitting projects and looks great with both solid and variegated yarns.
How to Cast On for Moss Stitch
Casting on is the first step in starting any knitting project. Here’s how to cast on for moss stitch:
- Start with a slipknot on your needle.
- Hold the needle with the slipknot in your right hand.
- Using your left hand, hold the working yarn and place it over your left thumb.
- Insert the right-hand needle into the slipknot from left to right.
- Wrap the yarn around the right-hand needle counterclockwise.
- Pull the right-hand needle through the slipknot, forming a new loop.
- Transfer the new loop onto the left-hand needle.
- Repeat steps 4-7 until you have cast on the desired number of stitches.
Once you have successfully cast on all your stitches, you can start working the moss stitch pattern, alternating knit and purl stitches according to the pattern instructions.
How to Knit the Moss Stitch Pattern
The moss stitch pattern is a beautiful and versatile knitting stitch that creates a textured fabric with a combination of knits and purls. It is made by alternating knit and purl stitches over a multiple of two stitches and rows.
To knit the moss stitch pattern, follow these steps:
- Cast on an even number of stitches: Start by casting on an even number of stitches onto your knitting needle. This will ensure that the moss stitch pattern works properly.
- Setup row: Begin the pattern by knitting the first row. This row will serve as the setup row for the moss stitch pattern.
- Pattern rows: Once the setup row is complete, follow these pattern rows:
- Row 1: *Knit 1, purl 1*. Repeat from * to * across the row.
- Row 2: *Purl 1, knit 1*. Repeat from * to * across the row.
- Repeat pattern rows: Continue repeating rows 1 and 2 until your project is the desired length.
- Bind off: When you have completed the desired length, bind off the stitches to finish your knitting project.
The moss stitch pattern is perfect for a variety of knitting projects, such as scarves, blankets, and sweaters. It creates a fabric that is dense, soft, and has a lovely texture.
Remember to practice the moss stitch pattern and experiment with different yarns and needle sizes to achieve the desired look and feel for your project. Happy knitting!
How to Bind Off the Moss Stitch
When you have completed your moss stitch pattern and are ready to finish your knitting project, it’s time to bind off. Binding off is the process of securely closing the last row of stitches, creating a finished edge. Here’s how to bind off the moss stitch:
- Knit the first two stitches in the moss stitch pattern.
- Insert the left needle into the first stitch knitted on the right needle.
- Lift the first stitch over the second stitch and off the needle, just like in a regular knit bind off.
- Purl the next stitch.
- Insert the left needle into the first stitch purled on the right needle.
- Lift the first stitch over the second stitch and off the needle, similar to a regular purl bind off.
- Continue knitting and purling each stitch, binding off in the moss stitch pattern.
- When you reach the last two stitches, knit the first stitch and then the second stitch.
- Cut the working yarn, leaving a tail of about 6 inches.
- Thread the tail of the working yarn through the last stitch to secure it.
Once you have bound off all stitches, you can remove your knitting from the needles and weave in any loose ends. The moss stitch bind off will create a neat and finished edge that complements the moss stitch pattern you used.
Finishing Touches and Care for Your Moss Stitch Knitting
Congratulations on completing your moss stitch knitting project! Now that you have created a beautiful moss stitch fabric, it’s important to give it some finishing touches and properly care for it to make it last.
Blocking
Blocking is an important step in finishing your moss stitch knitting project. It helps even out the stitches and give your fabric a polished look. To block your moss stitch knitting, follow these steps:
- Fill a basin or sink with lukewarm water and add a small amount of wool wash or mild detergent.
- Gently soak your moss stitch knitting project in the water, making sure it is fully submerged.
- Let the project soak for about 15 minutes.
- Remove the project from the water and gently squeeze out the excess water.
- Lay the project flat on a clean towel and shape it to the desired dimensions.
- Let the project dry completely before removing it from the towel.
Finishing Techniques
Once your moss stitch knitting project is dry, you can add some finishing touches to make it look even better:
- Weave in any loose ends using a tapestry needle. Make sure to secure them tightly to prevent unraveling.
- Trim any excess yarn from the ends, being careful not to cut the stitches.
- Steam block the project using a steam iron or garment steamer. This will help to further even out the stitches and give the fabric a professional finish.
Caring for Your Moss Stitch Knitting
To keep your moss stitch knitting in top condition, follow these tips for care:
- Wash your moss stitch knitting by hand using mild detergent and lukewarm water. Avoid wringing or twisting the fabric.
- After washing, gently squeeze out the excess water and lay the project flat to dry. Avoid hanging it, as this can cause stretching.
- Store your moss stitch knitting in a cool, dry place to prevent any dampness or mildew.
- Avoid exposing your moss stitch knitting to excessive sunlight, as this can cause fading or color changes.
By following these finishing and care tips, you can ensure that your moss stitch knitting project stays looking beautiful for years to come. Enjoy your new creation!
FAQ:
What is the moss stitch in knitting?
The moss stitch, also known as the seed stitch, is a basic knitting pattern that creates a textured fabric with a combination of knits and purls.
What does the moss stitch pattern look like?
The moss stitch pattern consists of alternating knit and purl stitches row by row, creating a fabric with a textured and bumpy appearance.
How do I knit the moss stitch?
To knit the moss stitch, you will alternate between knit and purl stitches on each row. For the first row, knit the first stitch, then purl the next stitch. Repeat this pattern across the row. On the next row, purl the first stitch, then knit the next stitch. Repeat this pattern across the row. Continue alternating between the knit and purl stitches for each row.
What is the purpose of the moss stitch?
The moss stitch is often used to create textured and stretchy fabrics. It works well for scarves, blankets, and other projects that require a stitch pattern with some visual interest.
Can I knit the moss stitch with any type of yarn?
Yes, you can use any type of yarn for the moss stitch. However, keep in mind that the thickness of the yarn will affect the overall appearance and size of your project.
Is the moss stitch difficult to learn?
The moss stitch is a beginner-friendly stitch pattern that is relatively easy to learn. It involves basic knitting and purling techniques, making it accessible to knitters of all skill levels.
Are there any variations of the moss stitch?
Yes, there are variations of the moss stitch that can add even more texture and visual interest to your projects. Some variations include adding extra knit or purl stitches in between the main moss stitch pattern, or incorporating different colors of yarn.


