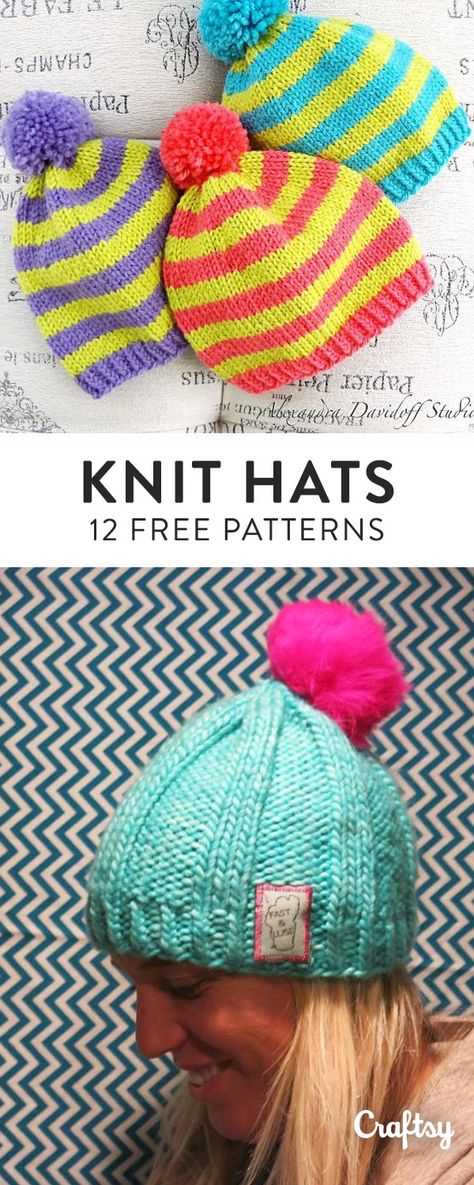
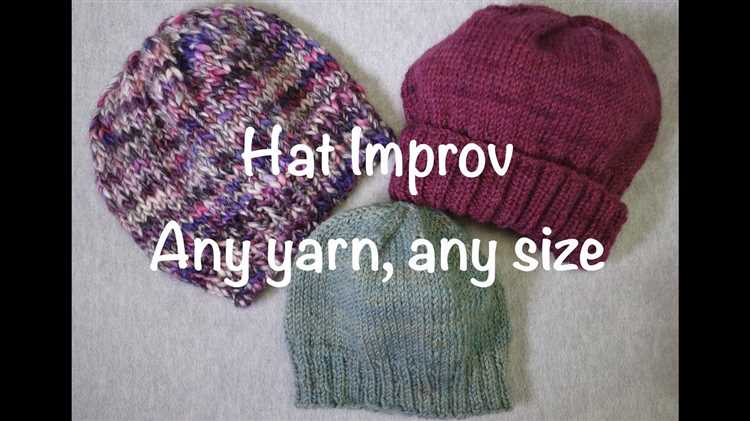
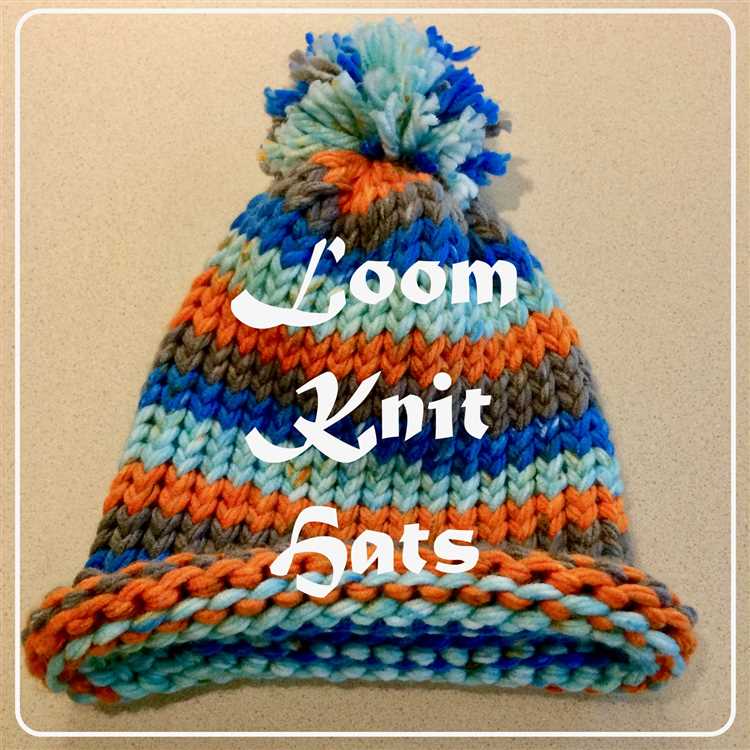
Are you ready to learn how to knit a hat? Knitting is a relaxing and rewarding hobby that allows you to create your own unique accessories. A hat is a great project for beginners because it allows you to practice basic knitting techniques and create something functional at the same time. In this article, we will guide you through the process of knitting a hat in easy steps.
Before you begin, you will need a few supplies. You will need knitting needles, yarn in the color of your choice, a tapestry needle, and a pair of scissors. It’s also a good idea to have a knitting pattern or instructions to follow along with. There are many free knitting patterns available online, or you can purchase a pattern from a local craft store.
Once you have your supplies ready, it’s time to cast on. Casting on is the first step in starting any knitting project. It’s the process of adding loops to your knitting needle. There are a few different casting on methods you can use, but the most common is the long-tail cast-on. This method creates a neat and stretchy edge for your hat.
After casting on, you will move on to the next step, which is the knit stitch. The knit stitch is the most basic stitch in knitting. It creates a smooth, v-shaped stitch that forms the foundation of your hat. You will continue knitting in the round until your hat reaches the desired length. Once your hat is long enough, you will begin decreasing stitches to create the crown of the hat. Finally, you will finish off your hat by weaving in any loose ends and blocking it to shape.
Knitting a hat is a fun and fulfilling project that allows you to express your creativity. With a little bit of practice, you’ll be able to make hats for yourself, friends, and family. Don’t be afraid to experiment with different yarns and patterns to create hats that are truly unique. So grab your knitting needles and yarn, and let’s get started!
Gathering the Supplies
Before you begin knitting a hat, you’ll need to gather a few supplies. Here’s what you’ll need:
- Knitting Needles: You’ll need a pair of knitting needles, typically in size 8 or 9, depending on the yarn you choose.
- Yarn: Choose a soft and warm yarn in your preferred color. Worsted weight yarn is a good option for knitting a hat.
- Tape Measure: You’ll need a tape measure to take accurate measurements of your head.
- Scissors: A pair of scissors will be handy for cutting the yarn and any stray ends.
- Tapestry Needle: You’ll use a tapestry needle to sew together the seams of your hat.
- Stitch Marker: A stitch marker can be helpful for marking the beginning of rounds or important stitch patterns.
It’s a good idea to gather all your supplies before you start knitting. This way, you can ensure that you have everything you need and won’t have to interrupt your knitting to search for a missing item.
Once you have all your supplies ready, you can move on to selecting a pattern and yarn for your hat.
Choosing the Right Yarn and Needles
When learning how to knit a hat, it’s important to choose the right yarn and needles for your project. The type of yarn and needles you use will greatly affect the outcome of your hat in terms of both appearance and comfort.
Yarn:
There are many different types of yarn available, each with its own unique characteristics. Here are a few factors to consider when choosing yarn for your hat:
- Fiber: Consider the fiber content of the yarn. Common options include wool, acrylic, cotton, and blends. Wool provides warmth, while acrylic is often more affordable and easy to care for. Cotton is a good choice for warmer climates, and blends combine the benefits of different fibers.
- Weight: Yarn comes in different weights, such as fingering, sport, worsted, and bulky. The weight you choose will depend on the look and feel you want for your hat. Thicker yarns may knit up faster, but they can also create a bulkier finished product.
- Color: Consider the color of the yarn. Do you want a solid color or a variegated look? Think about how the color will complement your wardrobe and personal style.
Needles:
Choosing the right needles for your hat is also important. Here are a few things to keep in mind:
- Material: Needles can be made from different materials, such as bamboo, aluminum, or plastic. Each material has its own feel and grip. Experiment with different materials to find one that you’re comfortable using.
- Size: The size of the needles will determine the gauge and size of your stitches. Refer to the pattern or instructions for recommended needle sizes. Keep in mind that using larger needles will create larger stitches and a looser fabric, while smaller needles will create smaller stitches and a tighter fabric.
- Type: There are different types of needles, such as straight needles, circular needles, and double-pointed needles. Choose the type that you feel most comfortable working with.
Overall, choosing the right yarn and needles is an essential step in knitting a hat. Consider the fiber, weight, and color of the yarn, as well as the material, size, and type of needles. By selecting the right materials, you’ll set yourself up for success in creating a beautiful, comfortable hat.
Understanding the Basic Stitches
In order to knit a hat, it’s important to understand the basic stitches used in knitting. The two fundamental stitches that you’ll need to learn are the knit stitch and the purl stitch.
Knit Stitch
- To perform a knit stitch, insert the right-hand needle through the front loop of the stitch on the left-hand needle.
- Wrap the working yarn counterclockwise around the right-hand needle.
- Use the right-hand needle to pull the working yarn through the front loop, creating a new stitch on the right-hand needle.
Purl Stitch
- The purl stitch creates a texture that looks like a series of loops on the fabric.
- To perform a purl stitch, insert the right-hand needle through the back loop of the stitch on the left-hand needle.
- Wrap the working yarn counterclockwise around the right-hand needle.
- Use the right-hand needle to pull the working yarn through the back loop, creating a new stitch on the right-hand needle.
These two stitches are the building blocks of knitting and can be combined in various ways to create different patterns and textures in your hat.
Once you have a good understanding of the basic stitches, you can start exploring more advanced techniques such as ribbing, cabling, and lace knitting to add even more interest to your hat designs.
Learning how to knit a hat can be a fun and rewarding experience. By familiarizing yourself with the basic stitches and practicing regularly, you’ll soon be able to create beautiful and cozy hats for yourself and others.
Casting On and Joining in the Round
Before you begin knitting your hat, you’ll need to cast on and join your stitches in the round. This will create a seamless and continuous circle, which is ideal for knitting hats and other circular projects.
To cast on, start with a slipknot. Hold the end of your yarn in your right hand, leaving a tail that is about 6 inches long. Create a loop with the yarn, and insert your left knitting needle through the loop from front to back. Tighten the loop around the needle, creating a slipknot.
Next, hold the needle with the slipknot in your right hand and the other needle in your left hand. Insert the right needle into the slipknot from left to right, going under the left needle. Wrap the yarn around the right needle counterclockwise, crossing over the left needle.
Using your right needle, pull the loop of yarn through the slipknot, creating a new stitch on the right needle. Slip this stitch onto the left needle, and tighten the yarn. Repeat this process until you have cast on the desired number of stitches for your hat.
Once you have cast on your stitches, it’s time to join in the round. Hold your knitting needles so that the stitches are on the left needle, with the working yarn on the right. Make sure that your cast on stitches are not twisted, and that the tail from the slipknot is on the inside of the circle.
To join in the round, bring the yarn behind your work and position it between the needles. Insert the right needle into the first stitch on the left needle, from front to back. Wrap the yarn around the right needle counterclockwise, and pull it through the stitch, slipping the stitch off the left needle. This creates a new stitch on the right needle, and joins the round.
Continue knitting in the round, working each stitch onto the right needle using the same method. As you knit, make sure to keep the tension of your working yarn consistent, neither too tight nor too loose, to ensure an even and well-fitting hat.
Once you’ve finished joining in the round, you’re ready to begin working on the body of your hat. Knit each round until your hat reaches the desired length, and then move on to shaping the crown of the hat.
Knitting the Body of the Hat
Once you have completed the ribbing, it’s time to start knitting the body of the hat. You will continue using the same size of knitting needles that you used for the ribbing portion.
Step 1: Begin by joining a new skein of yarn if needed. Insert the needle into the first stitch on the left needle, and wrap the yarn around the right needle, creating a new stitch.
Step 2: Continue knitting in the round, working one stitch at a time. Make sure to keep the tension consistent to ensure an even and smooth fabric.
Step 3: Consider using stitch markers to mark the beginning of each round. This can help you keep track of your progress and prevent mistakes.
Step 4: Depending on the pattern or desired length of the hat, continue knitting in the desired stitch pattern until the body of the hat reaches the desired length. This could be a simple stockinette stitch or a more complex stitch pattern.
Step 5: Try the hat on as you go to make sure it fits snugly and comfortably. Adjust the length if needed by either adding or subtracting rows.
Step 6: When you have reached the desired length, it’s time to start decreasing for the crown of the hat. Follow the instructions in the pattern you are using, or use a basic decrease method such as knitting two stitches together to gradually reduce the number of stitches.
Step 7: Once you have finished the decreases, only a few stitches will remain. Cut the yarn, leaving a long tail. Thread the tail through a yarn needle and slip the needle through the remaining stitches, removing them from the knitting needles.
Step 8: Pull the tail tight to close the top of the hat. Weave in any remaining yarn ends to secure them and prevent unraveling.
Congratulations, you have successfully knitted the body of your hat! Now you can move on to finishing touches, such as adding any desired embellishments or decorations.
Decreasing Stitches for the Crown
Once you have knit the body of the hat to the desired length, it’s time to start decreasing stitches to close up the crown. Decreasing stitches gradually reduces the number of stitches on each round, creating a tapered shape.
Here’s how to decrease stitches for the crown:
- Divide the stitches evenly onto double-pointed needles or a circular needle if you prefer to use the magic loop method.
- Begin the first round of decreasing by knitting two stitches together (k2tog) for every decrease round. The pattern may specify a different type of decrease, such as a slip-slip-knit (ssk) or a centered double decrease (cdd).
- Continue to follow the decrease instructions specified in your pattern for each decrease round. This may involve knitting a certain number of stitches between decreases, or repeating the decrease rounds at set intervals.
- As you decrease the stitches, the number of stitches on your needles will gradually reduce. Eventually, you will reach a point where it becomes difficult to continue knitting with the double-pointed needles or circular needle. At this stage, you may need to switch to using a set of double-pointed needles with a smaller circumference or switch to the magic loop method if you haven’t already.
- When you have only a few stitches left on your needles, you can either cut the yarn, leaving a tail, and thread it through the remaining stitches to cinch the crown closed, or you can use a technique like the Kitchener stitch to graft the stitches together for a seamless finish. Follow your pattern’s instructions for finishing the crown of the hat.
Remember to count your stitches regularly to ensure you are decreasing correctly and maintaining the correct stitch count specified in your pattern. With practice, you’ll become more comfortable with the decreasing process and be able to create beautifully shaped hats.
Finishing Touches: Binding Off and Weaving in Ends
Once you have completed knitting your hat, it’s time to add the finishing touches to ensure a professional and polished look. This involves binding off your project and weaving in any loose ends.
Binding Off
Binding off is the process of securing your stitches at the end of your knitting project. Here’s how to do it:
- Knit the first two stitches as you normally would.
- Insert the left needle into the first stitch you knit.
- Lift this stitch over the second stitch and off the right needle.
- Knit the next stitch.
- Repeat steps 2-4 until you have one stitch remaining on the right needle.
- Cut the yarn, leaving a tail that is long enough to weave in.
- Thread the tail through the loop of the last stitch and pull tight.
Binding off ensures that the stitches won’t unravel and provides a neat edge to your hat.
Weaving in Ends
After binding off, you may have some loose ends of yarn left. These need to be woven in to secure them and prevent them from unraveling. Here’s how to do it:
- Thread the end of the yarn through a yarn needle.
- Insert the needle under several stitches along the inside of the hat, following the path of the yarn.
- Pull the needle through, leaving a small tail on the inside.
- Cut off any excess yarn.
- Repeat this process for any other loose ends.
Weaving in ends ensures that your hat looks neat and professional, with no visible loose threads.
Now that you have bound off and woven in all the loose ends, your hat is ready to wear or gift to someone special. Enjoy your newly finished knitting project!
Adding Embellishments and Personal Touches
Once you have completed knitting the basic hat, you can add embellishments and personal touches to make it unique and special. Here are a few ideas to get you started:
- Colorful pom-poms: Attach a colorful pom-pom to the top of the hat for a fun and playful look. You can buy pre-made pom-poms or make your own using yarn.
- Ribbons: Attach a ribbon around the base of the hat to add a feminine touch. You can choose a ribbon that matches the hat or go for a contrasting color.
- Buttons: Sew buttons onto the hat to add a touch of charm. You can choose buttons in different shapes and sizes to create a unique design.
- Embroidery: Use colorful embroidery threads to add decorative stitches to the hat. You can embroider flowers, patterns, or even personal initials.
- Sequins or beads: Sew sequins or beads onto the hat to add a touch of sparkle. You can create a pattern or scatter them randomly for a festive look.
Remember to consider the recipient’s personal style and preferences when adding embellishments. Adding personal touches will make the hat even more special and show that you put thought and care into making it.
FAQ:
Can I knit a hat if I’m a beginner?
Yes, you can definitely knit a hat as a beginner! This article provides easy step-by-step instructions that are perfect for beginners. With some practice and patience, you’ll be able to knit a hat in no time.
What materials do I need to knit a hat?
To knit a hat, you’ll need a set of knitting needles (size may vary depending on the pattern), a ball of yarn (again, the type and color depend on your preference), a yarn needle, and a pair of scissors. These are the basic materials you’ll need to get started.
How long does it typically take to knit a hat?
The time it takes to knit a hat can vary depending on your knitting speed and the complexity of the pattern. On average, it can take anywhere from a few hours to a few days to complete a hat. However, as you gain more experience, you’ll likely be able to finish projects more quickly.
Can I personalize my knitted hat?
Absolutely! Knitting allows for endless customization and personalization options. You can choose different colors and types of yarn, add patterns or designs, and even incorporate decorative elements like pom-poms or buttons. Feel free to get creative and make your hat truly unique.


Appreciate it for this post, I am a big fan of this site would like to keep updated.