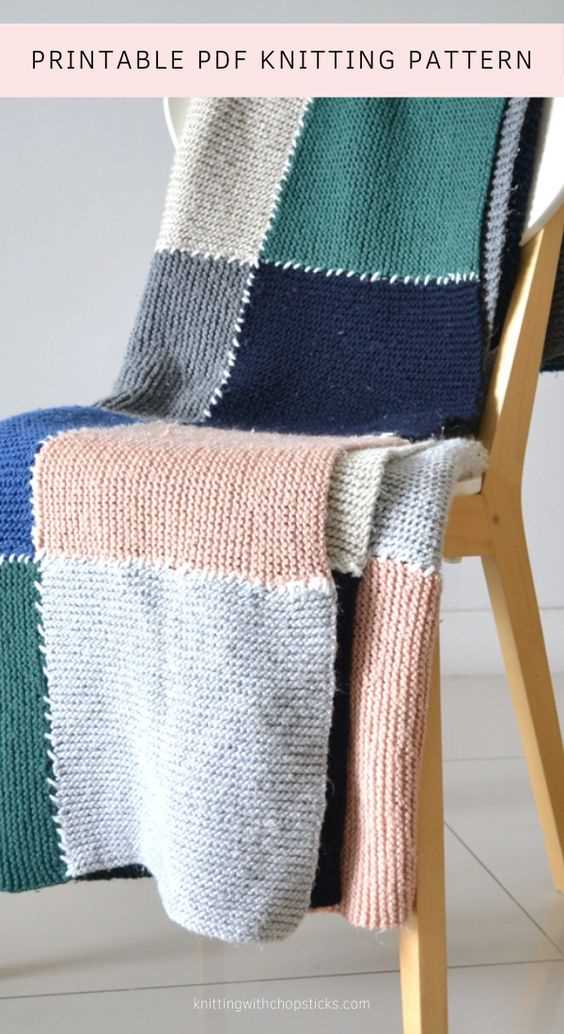
Are you looking to create a beautiful and cozy blanket using your knitting skills? Look no further! In this step-by-step guide, we will show you how to knit squares that can be easily joined together to form a stunning blanket. Whether you are a beginner or an experienced knitter, this project is perfect for you!
Knitting squares for a blanket is not only a fun and relaxing craft, but also a practical way to use up your yarn stash. Plus, you can easily customize the size and design of your blanket by choosing different colors and stitches for each square.
Materials you will need:
- Knitting needles (size may vary depending on the yarn you choose)
- Yarn in your preferred colors
- Scissors
- Tapestry needle
- Stitch markers (optional)
Before you get started, make sure you have all the necessary materials at hand. Once you have everything ready, it’s time to dive into the world of knitting and create your own beautiful blanket!
What is knitting?
Knitting is a technique of creating fabric or textiles by creating loops of yarn and manipulating them using knitting needles. It is a popular craft that has been practiced for centuries, and it continues to be a beloved hobby for many people around the world.
Knitting can be done by hand or with the help of a knitting machine. The basic principle remains the same – creating loops of yarn and interweaving them to form a cohesive fabric. The loops, known as stitches, are created by wrapping the yarn around the needle and pulling it through a previous stitch.
One of the main advantages of knitting is its versatility. It allows for a wide range of patterns and designs to be created, making it a popular choice for creating garments, accessories, and home decor items. Knitting can be used to create blankets, scarves, sweaters, hats, and much more.
Knitting is not only a creative outlet but also a relaxing and meditative practice. Many people find knitting to be a calming and therapeutic activity that helps reduce stress and anxiety. It can also be a social activity, often practiced in groups or knitting circles where people can share their projects and exchange tips and techniques.
Overall, knitting is a rewarding and enjoyable craft that allows individuals to express their creativity, create functional items, and enjoy the process of making something by hand.
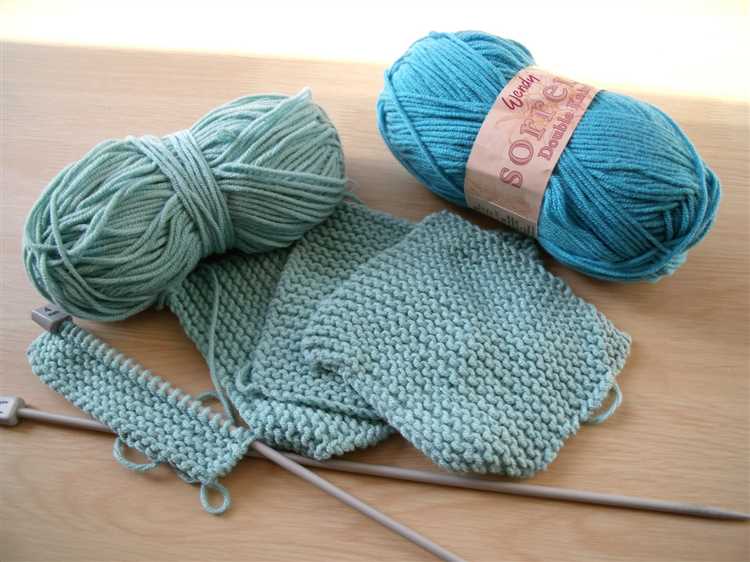
Materials needed for knitting squares
- Yarn: Choose a yarn that is suitable for making blankets. It should be soft and warm, such as acrylic or wool.
- Knitting Needles: You will need knitting needles in the appropriate size for your chosen yarn. The size will depend on the gauge or tension you want for your squares.
- Tapestry Needle: This needle is used for weaving in loose ends and finishing the squares.
- Scissors: A pair of sharp scissors is essential for cutting the yarn and trimming any loose ends.
- Measuring Tape: A measuring tape will help you check the size of your squares and ensure they are all the same.
- Blocking Tools (optional): If you want to block your squares to ensure they have a uniform shape and size, you may need blocking mats or pins.
- Stitch Markers (optional): Stitch markers can be helpful for marking specific stitches or sections in your knitting pattern.
- Pattern: Choose a knitting pattern or design for your squares. You can find free patterns online or create your own.
With these materials in hand, you will be well-prepared to start knitting beautiful squares for your blanket. Happy knitting!
Step 1: Casting on the first stitch
To begin knitting your square for the blanket, you will first need to cast on your stitches. Casting on is the process of creating the foundation row of stitches on your knitting needle.
Here is a step-by-step guide on how to cast on your first stitch:
- Hold the needle in your right hand and leave a long tail of yarn hanging down from the needle. This tail will be used later for weaving in the ends of your work.
- Make a slipknot by creating a loop with the yarn, crossing the end of the yarn over the main strand and pulling it through the loop. Tighten the loop around the knitting needle, leaving a small loop at the base.
- Insert the needle into the loop from left to right, ensuring that the long tail of yarn is on the right side of the needle.
- Pull the working yarn to tighten the stitch around the needle, but make sure it is not too tight. The stitch should be loose enough to easily slide along the needle.
- Repeat steps 2-4 until you have cast on the desired number of stitches for your square. To keep track of the number of stitches, you can count each loop on the needle as you go.
Once you have cast on all the stitches for your square, you are ready to start knitting!
Step 2: Knitting the square
Once you have gathered all the necessary materials and learned the basic knitting techniques, you are ready to start knitting your square. Follow these steps:
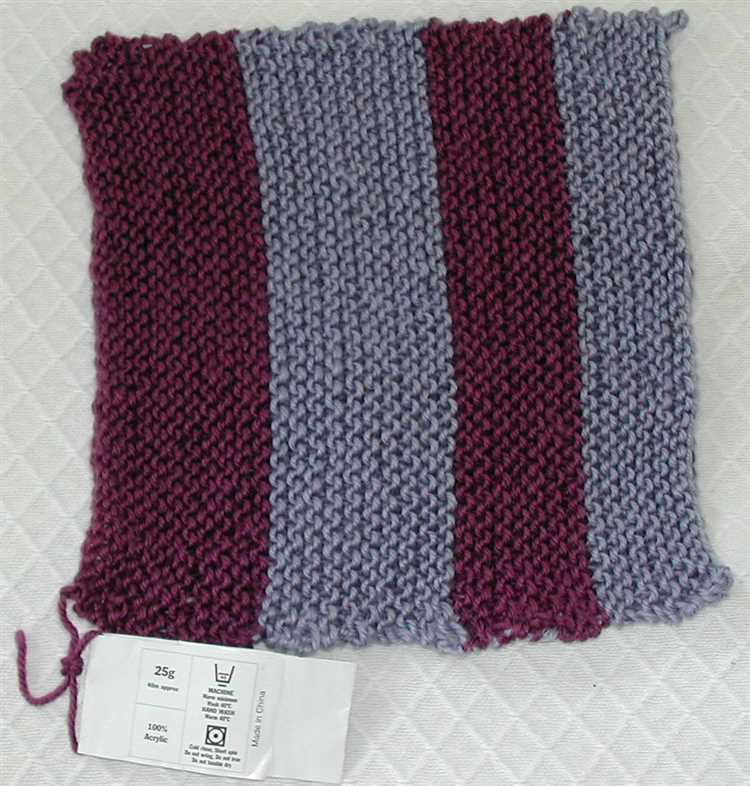
- Cast on the desired number of stitches onto your knitting needle. Typically, for a small square, you would cast on around 20 stitches, but you can adjust the number depending on the size you want the square to be.
- Hold your knitting needle with the cast-on stitches in your right hand and the empty needle in your left hand.
- Insert the empty needle into the first stitch on the right-hand needle from left to right.
- Wrap the yarn around the right-hand needle counterclockwise, moving from the back to the front.
- Use the right-hand needle to lift the loop of yarn over the left-hand needle and let it drop off. This is called knitting a stitch.
- Repeat steps 3-5 for each stitch on the right-hand needle until you reach the end.
- At the end of the row, turn your work and start the next row.
Continue knitting rows of stitches until you have the desired length for your square. You can use a stitch marker to keep track of your rows.
Remember to keep your tension consistent throughout the project to ensure that all your stitches are the same size. If your tension is too tight, your square may turn out smaller than expected, and if it is too loose, your square may be larger.
Once your square is complete, bind off the stitches to secure them. Cut the yarn, leaving a tail, and thread it through the last stitch to secure it. Your knitted square is now ready to be used in your beautiful blanket!
Step 3: Binding off the last stitch
Once you have completed all the rows required for your square, it is time to bind off the last stitch. This final step will secure the stitches and prevent them from unraveling.
- Knit the first two stitches as usual.
- Using your left-hand needle, pick up the leftmost stitch on the right-hand needle and pass it over the second stitch, removing it from the needle. Now you have one stitch remaining on the right-hand needle.
- Knit the next stitch.
- Repeat steps 2 and 3 until you have only one stitch left on the right-hand needle.
- Cut the yarn, leaving a tail of about 6 inches.
- Thread the tail through the remaining stitch and pull tight to secure.
Congratulations! You have successfully bound off the last stitch of your square. Now you can move on to the next square or continue knitting additional squares for your beautiful blanket project.
Finishing touches: Weaving in loose ends
After completing all your knitted squares for the blanket, you may have some loose ends of yarn sticking out. These loose ends need to be secured and woven in to give your blanket a clean and polished look. Follow these steps to learn how to weave in loose ends.
- Gather your materials: You will need a tapestry needle, which has a large eye and a blunt tip, and a pair of scissors.
- Thread the needle: Take the loose end of yarn and thread it through the eye of the tapestry needle. Make sure to leave a tail long enough to weave in securely.
- Find a stitch to weave into: Identify a stitch in the knitted square where you want to weave in the loose end. This can be on the back or the front of the project, depending on your preference.
- Insert the needle: Insert the tapestry needle into the stitch from front to back, making sure to catch the yarn loops as you go.
- Weave through the stitches: Begin weaving the needle through the stitches for a few inches, going in a straight line or following the pattern of the knitting. This helps secure the loose end and prevent it from coming undone.
- Cut the excess: Once you’re satisfied with the length of woven yarn, cut off the excess, leaving a small tail. Make sure the tail is secured and hidden within the knitted fabric.
- Weave in additional ends: Repeat the same process for any other loose ends you have on the knitted squares, ensuring they are all securely woven in.
By weaving in the loose ends, you are tidying up your knitted blanket and preventing any yarn tails from unraveling. Take your time and be meticulous with each weave to create a beautifully finished project.
FAQ:
What materials do I need to knit squares for a blanket?
To knit squares for a blanket, you will need knitting needles (size depending on your yarn), yarn (in desired color), scissors, and a tapestry needle.
Do I need any prior knitting experience to knit squares for a blanket?
It is helpful to have some basic knitting knowledge, such as knowing how to cast on, knit, and purl. However, this tutorial provides step-by-step instructions for beginners.
Can I use any type of yarn for knitting squares for a blanket?
You can use any type of yarn that you prefer, as long as it is suitable for the knitting needles you are using. Thicker yarn will result in larger squares, while thinner yarn will produce smaller squares.
How do I cast on for knitting squares?
To cast on for knitting squares, you can use the long tail cast-on method. Start by creating a slipknot, then make a thumb loop with the tail end of the yarn. Insert the needle into the loop and under the thumb loop, then bring the needle back up through the loop and pull tight. Repeat this process until you have cast on the desired number of stitches.
How do I knit a square?
To knit a square, start by casting on the desired number of stitches. Then, knit every row until the square reaches the desired length. Finally, bind off the stitches and weave in any loose ends. Repeat this process for each square you want to make for the blanket.
Can I add different stitch patterns to my squares?
Yes, you can definitely add different stitch patterns to your squares to make them more interesting. Some common stitch patterns for squares include garter stitch, stockinette stitch, seed stitch, and ribbing. Feel free to experiment and get creative with your stitch choices!
How do I join the squares together to make a blanket?
Once you have made all your squares, you can join them together using a tapestry needle and the same yarn you used for knitting the squares. There are several methods you can use to join the squares, such as whip stitching or mattress stitching. Follow the tutorial or pattern you are using for specific instructions on joining the squares.


