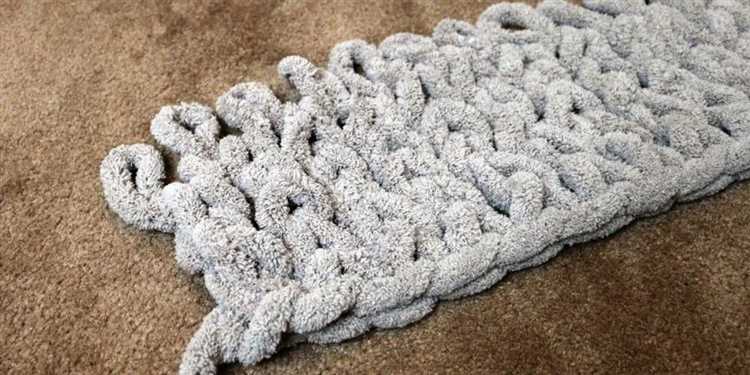
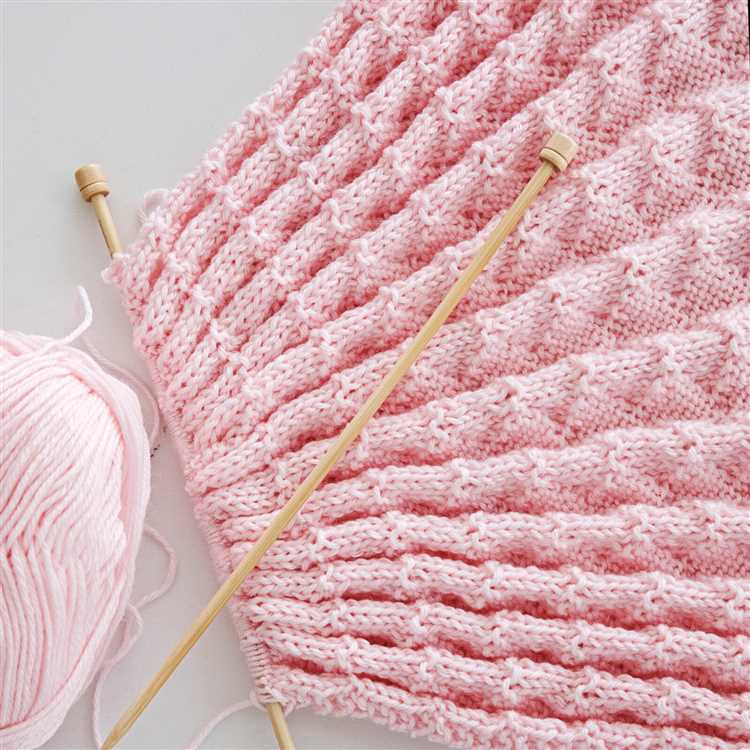
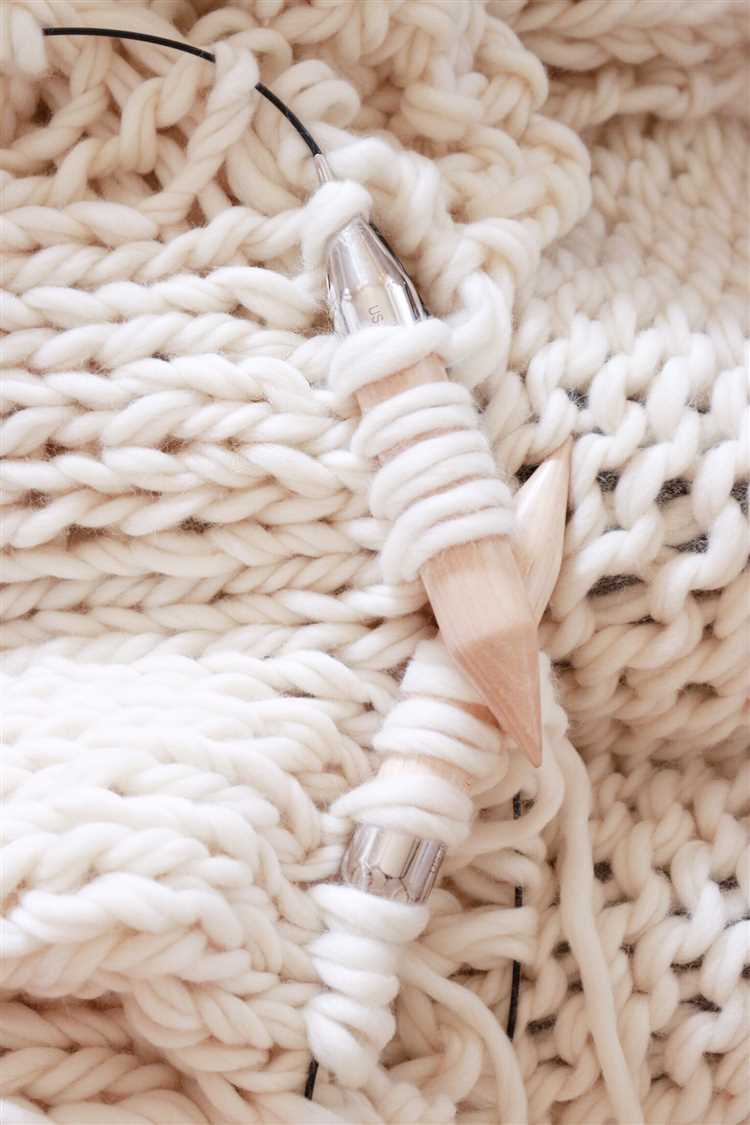
A knit blanket is a cozy and versatile piece of home decor that adds warmth and comfort to any space. Whether you’re an experienced knitter or a beginner looking to try your hand at a new project, this step-by-step guide will walk you through the process of creating your own knit blanket.
To start, you’ll need to gather your materials. You’ll need a pair of knitting needles, yarn in your desired color(s), and a tapestry needle. Choose a yarn that is soft and durable, as it will make your blanket more enjoyable to use and easier to care for.
Next, you’ll need to decide on a pattern or stitch for your blanket. There are countless options to choose from, whether you prefer a classic stockinette stitch, a cozy basket weave, or an intricate cable pattern. Once you’ve chosen your pattern, you’ll need to determine the size of your blanket and calculate how many stitches and rows you’ll need to complete it.
After gathering your materials and deciding on a pattern, it’s time to start knitting! Begin by casting on the desired number of stitches, using a slip knot to secure the yarn to one of your knitting needles. Then, start working the pattern stitch according to the instructions. As you work, be sure to keep your tension consistent and check your gauge periodically to ensure your blanket is turning out the correct size.
Once you’ve completed all of the necessary stitches and rows, it’s time to bind off and finish your blanket. To bind off, simply knit the first two stitches as normal, then use the tip of the left needle to pass the first stitch over the second stitch and off the needle. Repeat this process until you have one stitch remaining, then cut the yarn and pull it through the last stitch to secure it.
Finally, weave in any loose ends with a tapestry needle, and your knit blanket is ready to use or give as a gift! Whether you choose to snuggle up with it on a chilly evening or display it as a stylish accent piece, your handmade knit blanket is sure to bring warmth and joy to your home.
Choosing the Yarn and Needles
When making a knit blanket, one of the first decisions you need to make is choosing the right yarn and needles. This will determine the look, feel, and overall quality of your blanket.
Consider the following factors when choosing your yarn:
- Weight: Yarn comes in different weights, ranging from super bulky to lace weight. The weight you choose will affect the thickness and warmth of your blanket. For a cozy and warm blanket, you might want to choose a heavier weight yarn.
- Fiber content: Yarn can be made from various fibers, such as wool, acrylic, cotton, or a blend of fibers. Consider the qualities you desire in your blanket, such as softness, durability, or breathability, and choose a fiber that meets those needs.
- Color: The color of your yarn will determine the overall aesthetic of your blanket. Think about the color scheme you want to achieve, whether you prefer a solid color, variegated, or multicolored yarn.
- Texture: Some yarns have a smooth texture, while others have a more textured or bulky look. The texture will impact the appearance and feel of your knit blanket.
Now that you have chosen your yarn, it’s time to select the appropriate needles:
- Size: Needle sizes are indicated in both US and metric sizes. The size you choose will depend on the thickness of your yarn and the desired tension of your stitches. Thicker yarn generally requires larger needles.
- Type: There are different types of knitting needles, such as straight, circular, or double-pointed needles. The type you choose will depend on the size of your project and your personal preference.
- Material: Knitting needles can be made from various materials, including bamboo, metal, or plastic. Each material has its own advantages and disadvantages in terms of weight, flexibility, and grip. Consider what feels comfortable for you to work with.
By considering these factors and making informed choices, you will be able to select the perfect yarn and needles for your knit blanket project.
Casting On
Casting on is the first step in starting your knit blanket project. It’s the process of adding stitches to your knitting needle so you can begin working on your blanket.
Here is a step-by-step guide on how to cast on:
- Start with a slipknot: Make a loop with your yarn and pull a tail through. Slide the loop onto your knitting needle and tighten it.
- Hold the needle with the slipknot in your right hand, and the end of the yarn in your left hand.
- Insert the needle into the slipknot from left to right and under the yarn that leads to the ball.
- With your right hand, pull the needle and the new loop of yarn through the slipknot.
- Place the new loop onto the knitting needle and tighten it gently.
- Repeat steps 3-5 until you have the desired number of stitches for your blanket project.
Once you have cast on all the stitches, you can start knitting your blanket according to the pattern or stitch you have chosen. The cast on row forms the foundation of your blanket.
Remember to keep your tension even when casting on, as this will ensure that your stitches are consistent and your blanket turns out the way you want it to.
Now that you have successfully cast on, you are ready to move on to the next step in making your knit blanket.
Knitting the First Row
Before you begin knitting your blanket, make sure you have all the necessary materials, including your chosen yarn and knitting needles.
Once you have your materials ready, follow these steps to knit the first row of your blanket:
- Cast on stitches: Start by making a slipknot on one of the knitting needles. Hold the needle with the slipknot in your right hand and the other needle in your left hand. Insert the right-hand needle through the loop of the slipknot and wrap the yarn around it in a counterclockwise direction. Pull the loop through the slipknot and onto the right-hand needle. This is your first cast-on stitch. Repeat these steps until you have cast on the required number of stitches for your blanket.
- Hold the needles: Once you have cast on the desired number of stitches, hold the knitting needles with the cast-on stitches in your hands. The needle with the slipknot in the back should be in your left hand, and the empty needle in the front should be in your right hand.
- Knit the first stitch: Insert the right-hand needle into the first stitch on the left-hand needle, going from left to right. Wrap the yarn around the right-hand needle counterclockwise, crossing the needles. Pull the right-hand needle through the stitch, creating a loop on the right-hand needle. Slip the original stitch off the left-hand needle, and you have knit your first stitch.
- Continue knitting: Repeat the previous step for each stitch on the left-hand needle. Insert the right-hand needle into the next stitch, wrap the yarn counterclockwise, and pull it through to knit the stitch. Slide the knit stitch off the left-hand needle after each new stitch.
- Check your tension: As you knit the first row, pay attention to your tension. Make sure the stitches are not too tight or too loose. Aim for an even tension throughout the row.
Once you have completed the first row, you are ready to continue knitting the rest of your blanket, following the pattern or stitch you have chosen.
Note: The instructions provided here are for knitting the first row using the basic knit stitch. If you are following a different stitch pattern, adjust the instructions accordingly.
Continuing the Pattern
Once you have completed your first row of knitting, you will continue to follow the pattern for the rest of the blanket. This pattern typically involves alternating between knitting and purling stitches to create a textured pattern.
To continue the pattern, follow these steps:
- Hold the needle with the completed row in your right hand and the empty needle in your left hand.
- Insert the right needle into the first stitch on the left needle, from left to right.
- Wrap the yarn around the right needle, moving from the back to the front.
- Pull the right needle with the loop of yarn through the stitch on the left needle, bringing the new stitch onto the right needle.
- Slide the old stitch off the left needle, leaving the new stitch on the right needle.
- Repeat steps 2-5 for each stitch in the row, following the pattern instructions.
- Continue knitting each row in the pattern until your blanket reaches the desired length.
Remember to count your stitches regularly to ensure that you are keeping the correct number of stitches in each row. If you make a mistake, you can unravel the stitches back to the error and fix it before continuing.
As you continue knitting, it’s important to maintain a consistent tension and avoid pulling the yarn too tightly. This can result in a blanket that is uneven or too tight.
Once your blanket is the desired length, you can finish off the knitting by binding off the stitches. This involves knitting two stitches, then inserting the left needle into the first stitch on the right needle and pulling it over the second stitch and off the needle. Repeat this process until only one stitch remains, then cut the yarn and pull it through the final stitch to secure it.
You can then weave in any loose ends and gently block the blanket to help it retain its shape. Congratulations, you have successfully completed your knit blanket!
Adding New Yarn
When you run out of yarn in one skein while knitting your blanket, you will need to add a new skein to continue. Here’s how to do it:
- First, finish the row or round you are working on, so that you have a clean start for the new yarn.
- Take the end of the new skein of yarn and leave a tail of about 6 inches.
- Hold the tail end of the new yarn together with the end of the old yarn.
- Tie a tight knot using both strands of yarn.
- Hold the knot and gently pull on the two strands to tighten the knot.
- Continue knitting with the new skein of yarn, making sure to leave the tail end of the old yarn hanging loosely at the back.
- As you knit along, make sure to incorporate both strands of yarn into the stitches to secure the knot.
- After a few rows or rounds, trim the tail ends of both yarns, leaving about 3-4 inches.
It’s important to make sure the knot is secure and that the tails are trimmed close enough to prevent them from getting tangled or coming loose while using the blanket.
Remember to join the new skein of yarn at the beginning of a row or round, so that any potential differences in color or texture between skeins will be less noticeable in the overall design of the blanket.
Binding Off
Binding off is the final step in knitting your blanket. It is the process of securely finishing the edge of your work, preventing any further unraveling of stitches. Here’s how to bind off your knit blanket:
- Start by knitting the first two stitches of your row.
- Insert the left needle into the first stitch you knitted, then lift it over the second stitch and completely off the right needle. The second stitch is now the first stitch on your right needle.
- Knit one more stitch, then repeat step 2 until you have only one stitch left on your right needle.
- Cut the yarn, leaving a tail that is long enough to weave in later.
- Thread the tail through the last stitch and pull it tightly to secure the bind off.
Congratulations, you have successfully bound off your knit blanket! Now you can weave in any loose ends and enjoy your cozy new creation.
Blocking the Blanket
Blocking is an important step in the knitting process that helps to even out the stitches and make the final project look more professional. Here’s how to block your knit blanket:
- Fill a clean sink or bathtub with lukewarm water. Avoid using hot water, as it can cause the yarn to stretch or distort.
- Submerge the knit blanket in the water, gently pressing it down to ensure it is fully saturated. Let it soak for 10-15 minutes to allow the fibers to relax.
- Gently remove the blanket from the water, being careful not to wring or twist it. Instead, gently squeeze out the excess water by pressing the blanket against the side of the sink or bathtub.
- Lay a clean towel flat on a large surface, such as a table or clean floor.
- Spread the damp blanket onto the towel, gently smoothing out any wrinkles or creases. Use your hands to gently stretch the blanket to its desired dimensions.
- Pin the edges of the blanket to the towel using rust-proof T-pins or blocking pins. Space the pins evenly along the edges, making sure to reinforce any corners or points that need shaping.
- Allow the blanket to air dry completely. This may take several hours or even a day, depending on the thickness of the yarn and the humidity in the room.
- Once the blanket is dry, remove the pins and gently shake or fluff the fibers to restore their natural softness.
Blocking your knit blanket will give it a polished finish and help maintain its shape over time. It’s worth the extra effort to make your project look its best!
Finishing Touches
Once you have completed knitting your blanket, there are a few finishing touches you can add to give it a polished look.
- Block the blanket: Blocking is an important step to ensure that your blanket lies flat and has a neat appearance. To block your knit blanket, wet it gently and lay it flat on a blocking board or towel. Use pins to stretch and shape the blanket to the desired dimensions. Allow the blanket to dry completely before removing the pins.
- Add a border: Adding a border can enhance the overall look of your blanket. You can choose to knit a simple garter stitch border by picking up stitches along the edges and knitting a few rows. Alternatively, you can crochet a decorative border using a contrasting color yarn.
- Weave in loose ends: After you have finished knitting, you may have loose ends of yarn from changing colors or joining new skeins. Take a tapestry needle and carefully weave in these loose ends on the wrong side of the blanket. This will give your blanket a tidy and seamless finish.
- Attach labels or tags: If you plan to give your knit blanket as a gift or sell it, you can attach labels or tags to personalize it and provide care instructions. You can use fabric tags, printed labels, or even handwrite a note on a decorative card.
- Wash and block again: After completing the finishing touches, it is a good idea to wash your blanket again to freshen it up. Gently hand wash the blanket using a mild detergent and lay it flat to dry. This will ensure that your blanket is clean and ready to be used or gifted.
Following these finishing touches will give your knit blanket a professional and polished look, making it a beautiful addition to any home or a thoughtful gift for someone special.
FAQ:
What materials do I need to make a knit blanket?
To make a knit blanket, you will need yarn, knitting needles, scissors, and a tapestry needle.
How long does it take to make a knit blanket?
The time it takes to make a knit blanket depends on the size of the blanket and your knitting speed. On average, it can take a few weeks to a couple of months to complete a knit blanket.
What is the best yarn for a knit blanket?
The best yarn for a knit blanket depends on your personal preferences and the desired outcome. Some popular options include chunky yarn, wool yarn, and cotton yarn.
Can I wash a knit blanket in the washing machine?
It is generally recommended to handwash a knit blanket to prevent any damage. However, some yarns may be machine washable. Always check the care instructions on the yarn label before washing.


