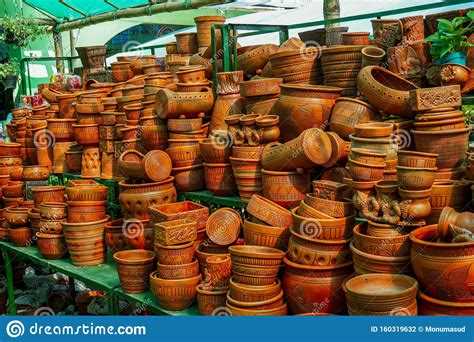
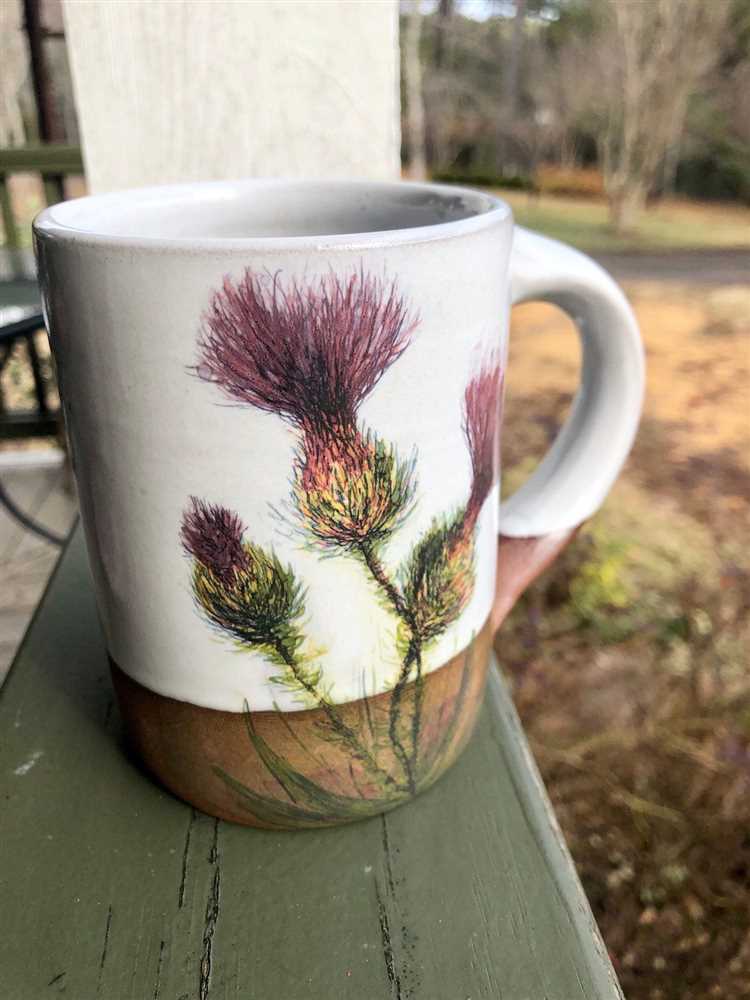
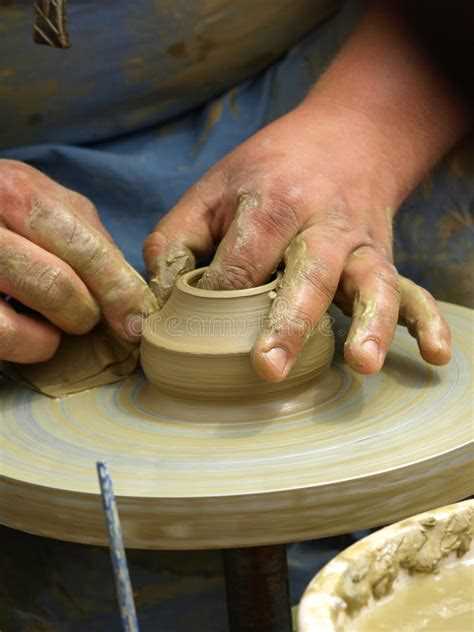
Throughout history, pottery has played a significant role in human culture. From ancient civilizations to modern times, pottery has been used for practical, artistic, and symbolic purposes. The process of creating pottery is a fascinating journey that involves various techniques passed down through generations.
The first step in pottery making is finding the right type of clay. Clay is a natural material found in deposits around the world. The type of clay used can vary depending on its location and composition. Once the appropriate clay is obtained, it is important to prepare it by removing impurities and kneading it to achieve the right consistency.
Once the clay is prepared, the potter can begin shaping it into various forms. This can be done using a variety of techniques, such as pinch pottery, coil pottery, or slab pottery. Pinch pottery involves using the fingers and thumbs to mold the clay into shape, while coil pottery involves creating coils of clay and stacking them to form the desired shape. Slab pottery, on the other hand, involves rolling out flat pieces of clay and joining them together to create the final form.
After the desired shape is achieved, the pottery goes through a process called drying. During this stage, the moisture in the clay evaporates, allowing the pottery to harden. This can take several days or even weeks, depending on the size and thickness of the pottery.
Once the pottery is dry, it is ready to be fired in a kiln. Firing is the process of heating the pottery to high temperatures in order to transform the clay into a durable and stable material. There are two types of firing: bisque firing and glaze firing. Bisque firing is the first firing, which hardens the pottery and prepares it for glazing. Glaze firing involves applying a layer of glaze to the pottery and then firing it again to create a protective and decorative coating.
Creating pottery using these ancient techniques requires skill, patience, and a deep understanding of the materials involved. The end result is not just a functional object, but a work of art that reflects the creativity and craftsmanship of its maker.
Gathering Materials
Before starting the pottery-making process, it is important to gather all the necessary materials. Here are the key materials you will need for making pottery:
- Clay: The primary material used in pottery-making is clay. Various types of clay can be used, such as earthenware, stoneware, or porcelain.
- Water: Water is essential for preparing the clay and creating the right consistency for molding and shaping.
- Tools: Different tools are required for different stages of pottery-making. Some common tools include a potter’s wheel, a clay cutter, a rib tool, a sponge, and various shaping and carving tools.
- Kiln: A kiln is used for firing the pottery to high temperatures, allowing the clay to harden and become durable.
- Glazes: Glazes are used to give pottery a decorative finish and a protective coating. Glazes can be made from various materials depending on the desired effect.
It’s important to ensure that the clay and other materials you gather are of good quality and suitable for the type of pottery you want to create. The type of clay and glaze used will impact the final product’s appearance and characteristics.
Once you have gathered all the necessary materials, you can proceed to the next steps of the pottery-making process, which include preparing the clay, shaping the pottery, and firing it in the kiln.
Preparing Clay
Before pottery can be made, clay must first be prepared. This involves several steps to ensure that the clay is ready for shaping and firing.
- Clay Gathering: The first step in preparing clay is to gather it. Ancient potters would often dig clay from nearby sources such as riverbanks or clay pits. They would then transport the clay back to their workshop.
- Clay Cleaning: Once the clay is gathered, it needs to be cleaned. This involves removing any impurities such as rocks, twigs, or other debris. To do this, the clay is often soaked in water and then strained through a fine mesh to separate the impurities.
- Clay Wedging: After cleaning, the clay needs to be wedged. Wedging is a process that helps to remove air bubbles and ensure the clay is evenly mixed. It is done by repeatedly pushing and folding the clay to create a smooth, uniform consistency.
- Clay Drying: Once wedged, the clay needs to be dried to a workable state. This can be done by allowing the clay to air dry or by using techniques such as sun drying or kiln drying. The drying process can take several days to a few weeks.
By following these steps, potters can prepare the clay for shaping and firing. It is important to note that different types of clay may require slightly different preparation techniques, but the overall process remains similar.
Shaping the Pot
Once the clay has been prepared and wedged, it is ready to be shaped into a pot. The potter uses a variety of techniques to shape the clay, depending on the desired form and style of the final piece.
Coiling:
One of the oldest techniques for shaping pottery is coiling. This method involves creating long, snake-like pieces of clay and stacking them on top of each other to build up the walls of the pot. The potter carefully coils the clay, smoothing the joints between each coil to create a seamless surface. This technique allows for a great deal of control over the shape and size of the pot.
Throwing:
Throwing is another common method used to shape pottery. The potter starts with a lump of clay on a potter’s wheel and uses their hands to shape it into the desired form. As the wheel spins, the potter applies pressure and manipulates the clay to create the walls and shape of the pot. Throwing allows for quick production of consistent shapes and is often used for making functional pottery.
Molding:
Molding is a technique where the potter presses the clay into a pre-formed mold to create the shape of the pot. This method is often used when creating intricate designs or repeated forms. The potter may use various molds to create different sections of the pot and then join them together using slip, a mixture of clay and water.
Slab-building:
Slab-building involves rolling out flat sheets of clay and then cutting and joining them together to create the walls of the pot. This technique allows for precise control over the shape and size of the pot. Slabs can be joined using slip or by scoring and wetting the clay surfaces to create a strong bond.
Modeling:
Modeling is a technique where the potter shapes the clay by hand, using various tools and techniques to create the desired form. This method allows for a great deal of artistic expression and is often used when creating sculptural or decorative pottery. The potter may use their hands, fingers, or specialized tools to shape and texture the clay.
Each of these shaping techniques requires skill and experience to master. The potter must have a thorough understanding of clay properties and the desired final outcome to successfully shape the pot. Once the pot has been shaped, it can be left to dry before moving on to the next step in the pottery-making process.
Decorative Techniques
Decorative techniques have been used in pottery for thousands of years to add beauty and artistic flair to the final product. These techniques involve various methods of creating patterns, textures, and designs on the surface of the pottery.
Here are some of the most common decorative techniques used in ancient pottery:
- Incising: This technique involves using a sharp tool to cut or scratch designs into the surface of the pottery. It can be used to create intricate patterns or simple lines and shapes.
- Painting: Painting on pottery involves applying colored pigments onto the surface either before or after firing. This allows for more complex and detailed designs to be created.
- Stamping: Stamping involves pressing a carved or molded object, such as a stamp or a carved wooden block, onto the surface of the pottery to create a repetitive pattern. This technique is often used to create texture or decorative borders.
- Sgraffito: Sgraffito is a technique where a layer of colored slip or glaze is applied onto the pottery, and then a sharp tool is used to scratch away parts of the layer to reveal the contrasting color underneath. This creates intricate designs and patterns.
- Embossing: Embossing is the process of creating raised designs on the surface of the pottery. This can be done by pressing a mold or a carved object onto the clay, leaving behind a raised pattern when removed.
These decorative techniques were and continue to be used by potters around the world to create unique and visually appealing pottery. They require a combination of skill, patience, and creativity to master, and they play an important role in the overall artistic value of the finished piece.
Drying
After the pottery has been shaped and decorated, it needs to be dried to remove any moisture. This process is necessary to prevent the clay from cracking or exploding when it is fired in the kiln.
The drying process usually takes several days to a few weeks, depending on the thickness of the pottery and the weather conditions. To ensure even drying and prevent warping, the pottery is typically placed on a drying rack or a porous surface, such as a plasterboard.
During the initial stage of drying, it is essential to slow down the process to prevent the clay from drying too quickly, which can cause the pottery to crack. Covering the pottery with a plastic bag or loosely wrapping it with a damp cloth can help regulate the drying speed.
As the pottery dries, the moisture in the clay evaporates, causing the clay particles to shrink and the pottery to gradually harden. Once the pottery feels dry to the touch and its color lightens, it is ready for the next step – bisque firing.
It is crucial to be patient during the drying process and not rush it. Rapid drying can lead to irreparable damage to the pottery, so it is recommended to follow a slow and gradual drying approach for the best results.
Firing
Once the pottery has been shaped and dried, it is time for the firing process. Firing is the crucial step that transforms the clay into a durable ceramic material. There are two main types of firing techniques: pit firing and kiln firing.
Pit firing:
Pit firing is one of the oldest methods of firing pottery. In this technique, the pottery is placed in a pit dug in the ground along with combustible materials such as wood, sawdust, leaves, or even animal dung. The pit is then covered with more combustible materials and set on fire. The pottery is heated by the flames and the heat is maintained for several hours. Once the fire has burned out and the pottery has cooled down, it is removed from the pit.
Pit firing produces unique and unpredictable results. The pottery is exposed to different levels of temperature, air, and smoke, which create distinct patterns and colors on the surface. The final appearance of the pottery depends on various factors like the type of clay used, the choice of combustible materials, and the duration of firing.
Kiln firing:
Kiln firing is a more controlled and precise method of firing pottery. It involves the use of a kiln, which is a specially designed oven for firing ceramics. Kilns are made of heat-resistant materials like bricks and are equipped with temperature control mechanisms.
The pottery is loaded into the kiln and the temperature gradually increased. There are typically three stages of kiln firing: bisque firing, glaze firing, and heat soaking. In the bisque firing stage, the pottery is heated to around 900°C to remove any remaining moisture and strengthen the clay. Then, in the glaze firing stage, the pottery is fired at a higher temperature, typically between 1200°C and 1300°C, to melt and fuse the glaze onto the surface. Finally, in the heat soaking stage, the pottery is kept at a high temperature for a period of time to ensure even heat distribution and reduce any remaining gases.
Kiln firing allows for more control over the outcome of the pottery. The temperature and duration of firing can be adjusted to achieve specific effects like different glaze colors, textures, and levels of hardness.
Both pit firing and kiln firing have been used for centuries to create beautiful and functional pottery. The choice of firing technique depends on various factors such as the desired outcome, available resources, and the potter’s preference.
Glazing
Once the pottery has been shaped and fired, the final step is glazing. Glazing is the process of applying a liquid substance to the surface of the pottery to create a smooth, glass-like coating. This coating not only enhances the appearance of the pottery but also provides a protective layer.
The glaze is made from various combinations of minerals, such as silica, alumina, and fluxes. These minerals are ground into a fine powder and mixed with water to form a paste. Sometimes, pigments or oxides are added to the glaze mixture to create different colors.
- First, the potter dips the pottery into the glaze mixture, ensuring that the entire surface is evenly coated.
- After the initial coating, the excess glaze is allowed to drip off the pottery.
- Next, the pottery is placed onto a kiln shelf or a special glazing stand to dry. This allows the glaze to set and prevent it from running during the firing process.
After the glaze has dried, the pottery is ready for its final firing. The kiln is heated to a high temperature, typically around 1200-1400 degrees Celsius, causing the glaze to melt and fuse with the clay body. This fusing process creates a durable, waterproof surface on the pottery.
Glazed pottery can have various finishes, including glossy, matte, or textured. Different firing techniques and glaze compositions can result in different effects on the finished pottery.
Overall, glazing is a crucial step in the pottery-making process, as it not only adds beauty to the pottery but also protects it and enhances its functionality.
Finishing
After the pottery has been shaped and dried, it is time for the finishing touches. Finishing techniques vary depending on the desired final result, but there are some common steps involved.
- Smoothing the surface: To achieve a smooth surface, potters use several techniques. One common method is burnishing, which involves rubbing the surface with a smooth stone or a polished tool. This process helps compress the clay particles and gives the pottery a polished appearance. Some potters may also use a wet brush to smooth the surface.
- Decoration: Pottery can be decorated in various ways. One popular technique is relief decoration, where the potter creates a raised design by adding or carving out portions of clay. Another common method is incising, which involves scoring the surface with a sharp tool to create patterns or designs.
- Glazing: Glazing involves applying a coating of liquid glass to the pottery. This not only enhances the appearance but also helps waterproof the vessel. Glazes can be of various colors and finishes, ranging from matte to glossy. The glaze is applied using a brush or by dipping the pottery into the glaze solution.
- Firing: Once the pottery is finished, it needs to be fired in a kiln. Firing is the process of heating the clay to a high temperature to harden it and make it durable. There are different types of firing techniques, including low-fire, high-fire, and raku firing, each producing unique results.
Throughout history, potters have developed various techniques and styles to create beautiful pottery. The finishing stage is where their creativity and skill truly shine, as they transform simple clay into works of art.
FAQ:
What is pottery?
Pottery refers to ceramic objects that have been created by shaping and heating clay. It is a form of art and also has practical uses in everyday life.
What are the steps involved in making pottery?
The process of making pottery involves several steps: preparing the clay, shaping the clay into the desired form, drying the clay, firing the clay in a kiln, and finally, adding glazes or other decorative elements if desired.
How is clay prepared for pottery making?
Clay is first cleaned to remove any impurities, then it is soaked in water to make it more pliable. It is then kneaded and wedged to remove air bubbles and create a consistent texture.
What are some shaping techniques used in pottery making?
There are several shaping techniques used in pottery making, including hand-building, wheel-throwing, and molding. Hand-building involves shaping the clay by hand, while wheel-throwing involves using a pottery wheel to create symmetrical forms. Molding involves using molds to shape the clay into specific forms.
What happens during the firing process in pottery making?
During the firing process, the pottery is placed in a kiln and heated to high temperatures. This process hardens the clay and makes it durable. There are two types of firing: bisque firing, which is the first firing at a lower temperature, and glaze firing, which is the second firing at a higher temperature to melt the glazes and create a glossy finish.


