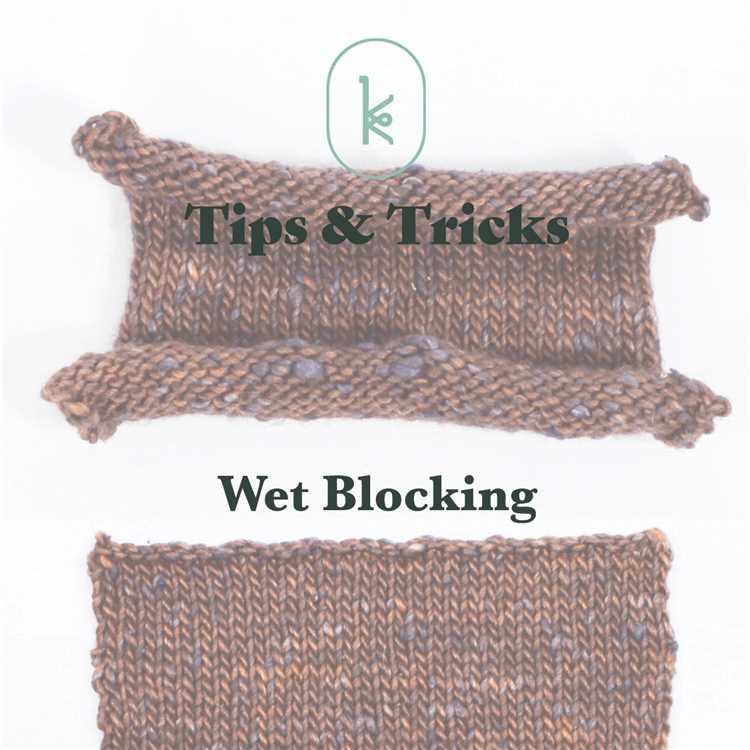
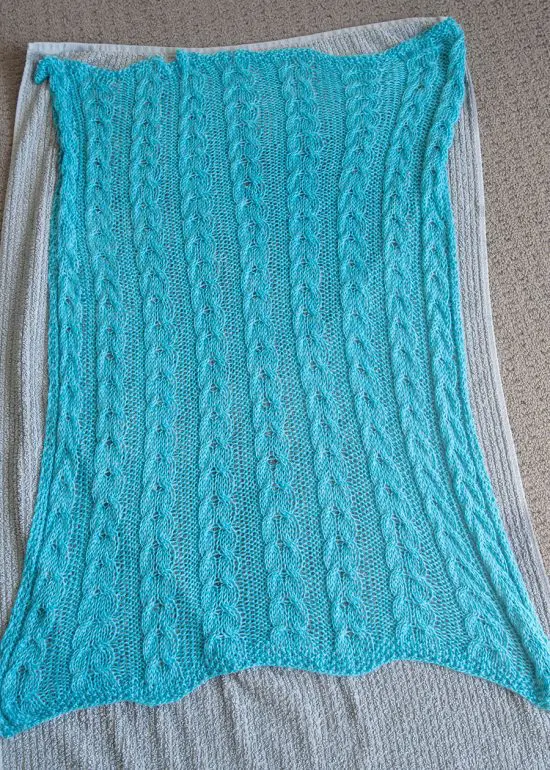
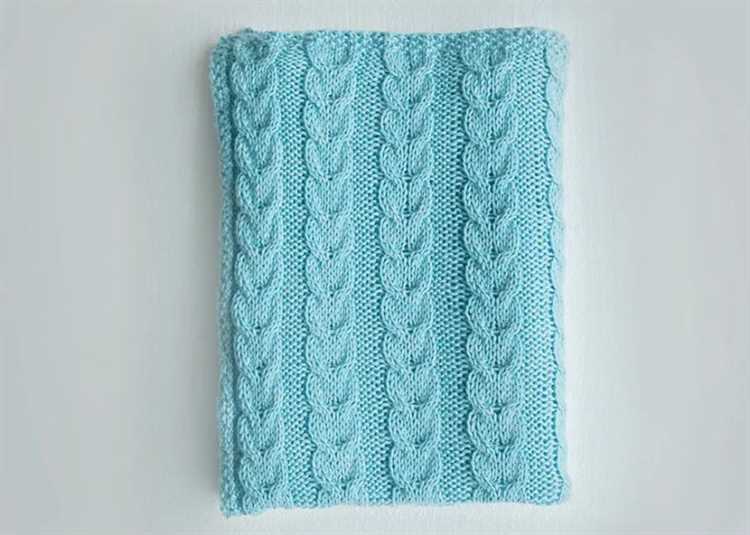
Wet blocking is an essential final step in the knitting process that helps to shape and finish your project. It involves soaking your knitted item in water and then gently stretching and pinning it into the desired shape until dry. This technique is especially useful for blocking lace, cables, or garments that need to fit a specific size or shape. In this step-by-step guide, we will walk you through the process of wet blocking your knitting, giving you the knowledge and confidence to create a professional finish for your projects.
Before you begin wet blocking, it’s important to understand the materials you will need. You will need a basin or sink large enough to fit your knitted item, a gentle wool wash or mild detergent, towels for absorbing excess water, rust-proof blocking pins or T-pins, and a flat surface like a blocking board or an ironing board covered with a clean, dry towel. Once you have gathered all the necessary materials, you can begin the wet blocking process.
The first step in wet blocking is to fill your basin or sink with lukewarm water. Add a small amount of wool wash or mild detergent and swish it around to create a gentle soapy solution. Gently place your knitted item into the water, making sure it is fully submerged. Allow the item to soak for about 15-20 minutes, or until it is fully saturated.
Once your knitting has soaked, carefully remove it from the water and gently squeeze out the excess water. Avoid wringing or twisting the item, as this can damage the fibers and affect the final shape. Lay the item flat on a clean, dry towel and gently roll up the towel, applying light pressure to absorb more water. Unroll the towel and carefully transfer the knitting to a new, dry towel to continue absorbing moisture.
Pro tip: If you’re in a hurry, you can use a blocking mat with built-in moisture-wicking properties to speed up the drying process.
Once your knitting is damp but no longer dripping, it’s time to start shaping and pinning it into the desired shape. Lay your knitting flat on the blocking board or towel-covered surface and use your hands to gently stretch and shape the fabric to your desired measurements. Pay special attention to any lace patterns or cables, making sure they are opened up and visible.
Step 1: Prepare Your Knitted Item
Before you can begin wet blocking your knitted item, there are a few preparatory steps you should take:
- Read the Care Instructions: Check the yarn label or pattern instructions for any specific recommendations on blocking.
- Gently Remove Any Loose Ends: Trim any loose yarn or threads from your knitted item to avoid them getting tangled or pulled during the blocking process.
- Smooth Out the Fabric: Lay your knitted item flat on a clean surface and gently smooth out any wrinkles or uneven stitches.
- Pin or Secure the Edges: If your knitted item has a tendency to curl at the edges, pin or secure them with blocking pins or T-pins to help maintain their shape.
By following these steps, you’ll ensure that your knitted item is prepped and ready for the wet blocking process. This will help achieve the best results and ensure that your finished project looks its best!
Step 2: Fill a Sink or Basin with Room Temperature Water
After you have soaked your knitted item in a prewash bath, it’s time to move on to the wet blocking process. The first step in wet blocking is to fill a sink or basin with room temperature water.
Here’s how you can do it:
- Choose a sink or basin that is large enough to accommodate your knitted item. Make sure it is clean and free of any soap residue.
- Fill the sink or basin with enough room temperature water to fully submerge your knitting project. Ensure that the water is not too hot or too cold, as extreme temperatures can damage the fibers.
- Gently place your knitted item into the water, making sure it is completely immersed. Use your hands to gently press down on the item to ensure that it becomes thoroughly saturated.
- Allow your knitted item to soak in the water for at least 20-30 minutes. This will give the fibers enough time to absorb the moisture and relax.
While your knitting project is soaking, it’s important to avoid agitating or stirring the water, as this can cause the fibers to felt or become tangled. Simply let it soak undisturbed.
Once the item has finished soaking, you can move on to the next step of the wet blocking process. Read on to learn more about the next steps in the wet blocking process!
Step 3: Gently Submerge Your Knitted Item
Now that you have prepared your blocking bath, it’s time to gently submerge your knitted item. Follow these steps:
- Place your knitted item into the blocking bath, making sure it is fully immersed in the water.
- Take care not to agitate or stir the water too much, as this can cause the fibers to tangle or become misshapen.
- Allow the knitted item to soak in the water for 15-20 minutes. This will help the fibers relax and fully absorb the moisture.
- If you notice any air bubbles trapped in the item, gently press down on the fabric to release them.
- After the allotted soaking time has passed, carefully lift the knitted item out of the water, supporting it from underneath to prevent stretching or distortion.
Once you have completed this step, you can move on to the next step to begin shaping and pinning your knitted item.
Step 4: Let Your Knitted Item Soak for 15-20 Minutes
Once you have prepared your blocking area and arranged your knitted item on top of the blocking mats or towels, it’s time to let it soak. Fill a basin or sink with lukewarm water, making sure there is enough water to cover the entire knitted item.
Gently place your knitted item into the water, allowing it to soak for 15-20 minutes. This soaking process helps the fibers relax and absorb the water, which will aid in shaping and setting the final dimensions of your knitted piece.
You may need to use your hands to press the item down into the water to ensure it is fully submerged. Avoid agitating or wringing the knitted item, as this can cause the fibers to stretch or lose their shape.
During the soaking time, you can gently push down on any areas that need extra attention or shaping. For example, if you want to open up lacework or smooth out any wrinkles, you can use your fingers to carefully manipulate the fabric.
While your knitted item is soaking, you can use this time to prepare any additional materials you may need for the blocking process. This could include pins, blocking wires, or blocking mats.
After the 15-20 minutes have passed, carefully lift the knitted item out of the water, taking care not to stretch or distort the fabric. Gently squeeze out any excess water, being careful not to wring or twist the item.
At this point, your knitted item is ready for the next step in the wet blocking process, whether it be shaping, pinning, or using blocking wires.
Step 5: Remove Your Knitted Item from the Water
Once you have allowed your knitted item to soak in the water for the desired amount of time, it is now time to remove it from the water.
Gently lift your knitted item out of the water, making sure to support it from underneath to prevent stretching or distorting the fabric.
Allow any excess water to drain from the item before proceeding to the next step.
If you are blocking multiple items, be careful not to mix them up or tangle them together as you remove them from the water.
Place your knitted item on a clean towel, preferably one that has been folded in half to provide additional cushioning and absorption.
If your item is particularly delicate or prone to stretching, you may want to lay it flat on a mesh drying rack instead of a towel.
At this stage, your knitted item is ready for the next step in the wet blocking process, which is shaping and pinning it into its desired dimensions.
Step 6: Squeeze Out Excess Water
After soaking your knitted item in water, it’s time to remove the excess water by gently squeezing it out.
Begin by lifting the knitted item out of the water, making sure to support it with your hands and avoid stretching or distorting the shape.
Hold the item over the sink or a towel, allowing the water to drain out naturally. Be careful not to wring or twist the fabric, as this can cause the fibers to stretch and lose their shape.
Next, lay the knitted item on a clean, dry towel and gently roll it up, pressing down to absorb more water. You can also lightly press on the item with your hands to remove additional moisture.
If the knitted item is still quite wet, you can repeat the process with another dry towel to continue absorbing the excess water.
Remember to handle the item delicately and avoid pulling or stretching the fabric. The goal is to remove the excess water without causing any damage to the knitted item.
Step 7: Lay Out Your Knitted Item on a Towel
Once you have soaked your knitted item and gently squeezed out the excess water, it’s time to lay it out on a towel to dry and take its final shape.
- Choose a clean, dry towel that is large enough to accommodate your knitted item. Lay it flat on a clean, dry surface.
- Place your knitted item on top of the towel and gently smooth it out, making sure it is evenly shaped and not stretched or wrinkled.
- If your knitted item has specific measurements or dimensions, you may want to use a tape measure or ruler to ensure it is laying flat and the correct size.
- If your knitted item has lace or other delicate details, you may want to use rustproof pins to help it retain its shape as it dries. Place the pins along the edges or specific points of the item, being careful not to stretch or distort the fabric.
- Leave your knitted item to dry on the towel completely. This process may take several hours or even overnight, depending on the thickness of the fabric and the ambient humidity.
- Avoid direct sunlight or heat sources like radiators or heaters, as they can cause the fibers to become brittle or fade in color.
Once your knitted item is completely dry, you can remove it from the towel and admire your handiwork. The wet blocking process should have helped your item take on its desired shape and improve its overall appearance.
Now that you know how to wet block knitting, you can use this technique to transform your knitted projects and achieve a more professional, finished look.
Step 8: Shape and Pin Your Knitted Item
Once your knitted item has been soaked and excess water has been squeezed out, it’s time to shape and pin it to the desired measurements.
Here’s how to shape and pin your knitted item:
- First, lay your wet knitted item on a clean towel or blocking mat, making sure it’s flat and smooth.
- Gently stretch and shape your item to the desired measurements. You can use a measuring tape to ensure accuracy.
- Pin your item in place using rust-proof T-pins or blocking wires. Start from the center and work your way outwards, making sure the edges are straight and the corners are properly shaped.
- If you’re working with a lace pattern, make sure to open up the lace and pin it out so that the pattern is fully visible.
- For garments such as sweaters or cardigans, pay extra attention to shaping the shoulders, armholes, neckline, and any other areas that need to be properly fitted.
- Once your knitted item is fully shaped and pinned, leave it to dry completely. This can take anywhere from a few hours to a day or more, depending on the size and thickness of your item.
Remember to keep your knitted item away from direct sunlight and heat sources while it’s drying to prevent any potential damage.
Once your item is completely dry, carefully remove the pins or blocking wires. Your knitted item should now be beautifully shaped and ready to wear or gift!
FAQ:
What is wet blocking in knitting?
Wet blocking in knitting is a process where you wet your finished knitting project, reshape it, and let it dry in order to even out the stitches, relax the fibers, and give the project its final appearance and dimensions.
Why do I need to wet block my knitting?
Wet blocking your knitting is necessary to achieve a more professional and finished look to your project. It helps to even out the stitches, make them more defined, and give the project its final shape and size.
How do I wet block my knitting?
To wet block your knitting, you first need to soak your finished project in cool water. Then, gently squeeze out the excess water and lay it flat on a clean towel. Reshape the project to its desired dimensions, and let it dry completely.
Can I wet block my knitting if it contains delicate fibers?
Yes, you can wet block knitting projects with delicate fibers, but you need to be extra careful. It’s best to test a small swatch of the yarn to see how it reacts to moisture. If it holds up well, you can proceed with wet blocking, but if it becomes damaged or loses its shape, you may need to try a different blocking method.
How long does it take for the knitting to dry after wet blocking?
The drying time for a wet blocked knitting project can vary depending on various factors such as the size and thickness of the project, the humidity in the air, and the type of yarn used. Generally, it can take anywhere from 24 hours to a few days for the project to fully dry. It’s important to ensure that it is completely dry before removing it from the blocking surface to avoid any potential damage.


