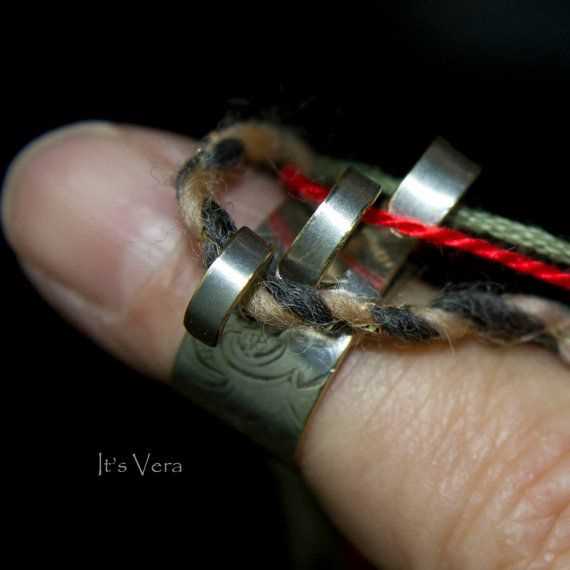
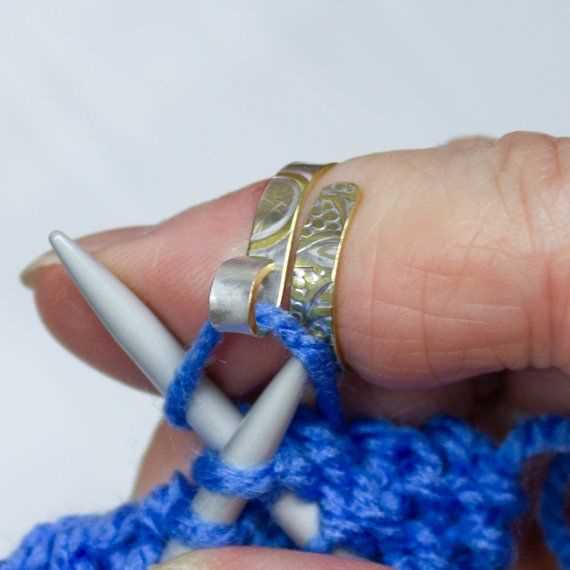
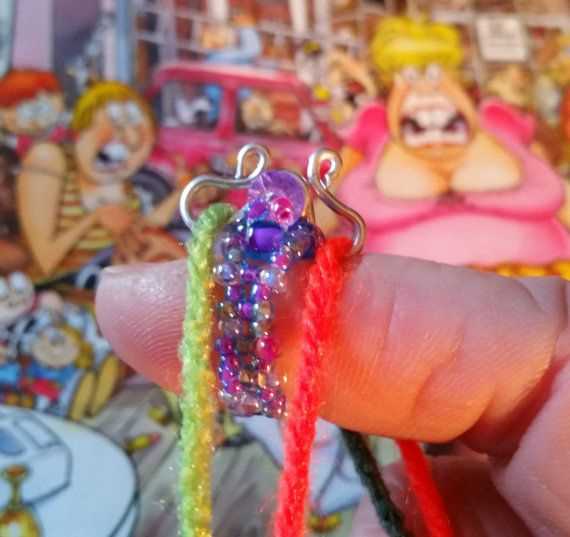
Knitting is a popular hobby that allows you to create beautiful and unique handmade items. If you’re new to knitting, using a knitting ring can help simplify the process and make it easier to create your first projects. A knitting ring, also known as a knitting loom or knitting wheel, is a tool that allows you to knit without using traditional knitting needles. It’s a great option for beginners who are still getting the hang of holding and manipulating needles.
Using a knitting ring involves wrapping yarn around pegs or posts on the ring, creating loops that are then pulled over each other to create stitches. The process is repetitive and rhythmic, making it a relaxing and meditative activity. It’s also a great way to introduce children to knitting, as it eliminates the need for sharp needles.
In this step-by-step guide, we will walk you through the process of using a knitting ring for beginners. You’ll learn how to set up the ring, cast on stitches, knit and purl stitches, and cast off your finished project. By the end, you’ll be able to create simple yet beautiful knitted items like scarves, hats, and blankets.
So, grab your knitting ring and let’s get started! Whether you’re looking for a new hobby or wanting to expand your knitting skills, using a knitting ring is a fun and accessible way to create stunning handmade items.
Choosing the Right Knitting Ring
When it comes to choosing a knitting ring, there are a few factors to consider. The right knitting ring can make a big difference in your knitting experience, so it’s important to choose one that suits your needs and preferences.
Here are some things to consider when choosing a knitting ring:
- Size: Knitting rings come in different sizes, so it’s important to choose one that fits comfortably on your finger. You want to be able to move your fingers freely while knitting, so make sure the ring is not too tight or too loose.
- Material: Knitting rings can be made from various materials, such as metal, plastic, or wood. Each material has its own advantages and disadvantages. Metal rings are often more durable, while wooden rings can provide a more natural and comfortable feel. Consider the material that feels best for you.
- Design: Knitting rings come in different designs, some with decorative elements and others with a simple, minimalist look. Choose a design that you find visually appealing and that reflects your personal style.
Additionally, you may want to consider any specific features or functionalities that you are looking for in a knitting ring. Some rings have adjustable sizes, while others may have grips or texturized surfaces to prevent slipping.
Ultimately, the right knitting ring for you will depend on your personal preferences and knitting style. You may want to try out different rings to see which one feels the most comfortable and suits your needs best.
Preparing Your Yarn
Before starting your knitting project, it’s important to prepare your yarn properly. Here are some steps to follow:
- Choose the right yarn: Select a yarn that suits your project. Consider factors such as fiber content, thickness, and color.
- Check for knots or tangles: Before using your yarn, carefully unwind it from the skein or ball and check for any knots or tangles. If you find any, gently untangle them to ensure smooth knitting.
- Wind your yarn: If your yarn comes in a skein or hank, you’ll need to wind it into a ball before using it. You can do this by using a yarn winder or by winding it by hand. Make sure the yarn ball is not too tight, as it can affect your tension while knitting.
- Consider alternate yarn holders: If you find it difficult to hold the yarn while knitting, you can consider using a yarn bowl or a yarn holder. These will help keep the yarn tidy and prevent it from rolling around.
- Divide your yarn: Depending on your project, you may need to divide your yarn into smaller balls or skeins. This can be useful if you’re using multiple colors or if you want to work on different sections of your project separately.
- Make a yarn swatch: To ensure that your gauge and tension are correct, it’s a good idea to make a small swatch before starting your project. This will help you determine if you need to adjust your needle size or knitting style.
By following these steps to prepare your yarn, you’ll be ready to start your knitting project with ease and confidence!
Getting Started with Basic Stitches
Before you start using a knitting ring, it’s important to familiarize yourself with some of the basic stitches used in knitting. These stitches will form the foundation of your knitting projects and can be combined in various ways to create beautiful patterns and designs.
1. The knit stitch: The knit stitch is one of the most basic and commonly used stitches in knitting. It creates a smooth, V-shaped pattern on the front side of your project. To work the knit stitch, simply insert your knitting needle into the stitch on the ring from left to right, wrap the yarn around the needle, and pull it through to create a new loop. Repeat this process for each stitch on the ring until you have completed a row.
2. The purl stitch: The purl stitch is the opposite of the knit stitch and creates a bumpy, horizontal pattern on the front side of your project. To work the purl stitch, insert your needle into the stitch on the ring from right to left, wrap the yarn around the needle, and pull it through to create a new loop. Repeat this process for each stitch on the ring until you have completed a row.
3. The yarn over: The yarn over is a decorative stitch that creates an extra loop in your knitting. It’s often used to create eyelets or increase stitches. To work a yarn over, simply bring the yarn to the front of your work, then wrap it over the needle and back to the front again before knitting or purling the next stitch.
4. The slip stitch: The slip stitch is a technique used to move a stitch from one needle to another without knitting or purling it. To work a slip stitch, insert your needle into the stitch as if you were going to purl it, but instead of wrapping the yarn around the needle, simply slide the stitch onto the other needle. You can either slip the stitch purlwise or knitwise, depending on the desired effect.
5. The seed stitch: The seed stitch is a textured stitch pattern that alternates between knit and purl stitches. To work the seed stitch, simply alternate between knitting and purling each stitch across the row. In the next row, you will knit the purl stitches and purl the knit stitches to create the alternating pattern.
These are just a few of the basic stitches you can learn to get started with knitting using a knitting ring. Once you have mastered these stitches, you can experiment with different combinations and patterns to create your own unique designs!
Creating Patterns with Different Colors
One of the great advantages of using a knitting ring is the ability to create patterns with different colors. This adds interest and complexity to your knitting projects. Here’s how you can create patterns with different colors using a knitting ring:
- Choose your colors: Select the colors you want to use for your pattern. You can use as few or as many colors as you like. Make sure to choose colors that complement each other or create a desired effect.
- Plan your pattern: Before you start knitting, plan out your desired pattern. You can create stripes, geometric shapes, or even complex designs. Visualize how the colors will interact with each other and map out your pattern accordingly.
- Start knitting: Begin knitting using the first color in your pattern. Follow the instructions for each stitch, taking care to switch colors as needed. You can carry the unused colors along the back of your work to avoid too many loose ends.
- Switch colors: When you come to a point where you want to switch colors, simply drop the current color and pick up the next color. Make sure to weave in the loose ends later to secure your work. Continue knitting with the new color as directed by your pattern.
- Finishing touches: Once you have knitted your pattern with the desired colors, it’s time to finish off your project. Bind off as usual and weave in any remaining loose ends. Block your work to ensure it lays flat and the colors are evenly distributed.
Creating patterns with different colors on a knitting ring can be a fun and creative way to enhance your knitting projects. Experiment with different color combinations and patterns to create unique and beautiful designs.
Finishing Your Knitted Project
Finishing your knitted project is an important step to complete your work and ensure it looks polished and professional. Follow these steps to finish your knitted project:
- Weaving in Ends: Start by weaving in any loose yarn ends on the backside of your project. Use a yarn needle to carefully thread the ends through the stitches, making sure they are secured and do not unravel.
- Blocking: Depending on the yarn and stitches used, you may want to block your project for a smoother and even finish. Soak your project in lukewarm water, gently squeeze out the excess water, and lay it flat on a towel. Use rustproof pins to stretch it to the desired dimensions, and allow it to dry completely.
- Seaming: If your project has multiple pieces, such as a sweater or hat, you will need to seam them together. Use a yarn needle and the same yarn to stitch the pieces together, aligning the edges and ensuring a neat finish.
- Adding Embellishments: Once your project is complete, you can add embellishments such as buttons, bows, or embroidery to enhance its appearance. Use your creativity to personalize your project and make it unique.
- Blocking Again: After adding any embellishments, it is recommended to block your project once more to ensure everything is in place and any added elements are secured.
- Final Inspection: Take a final look at your project to check for any loose threads, uneven stitches, or areas that need extra attention. Make any necessary adjustments or repairs before considering your project finished.
With these steps, you can confidently finish your knitted project and admire your craftsmanship. Remember to take your time and enjoy the process of creating something beautiful with your knitting skills.
Troubleshooting Tips
- If your stitches are too loose, try pulling the yarn tighter around the pegs as you knit.
- If your stitches are too tight, try using a larger knitting ring or stretching the stitches slightly as you work.
- If you drop a stitch, use a crochet hook or small knitting needle to pick up the stitch and place it back on the peg.
- If you make a mistake in your pattern, you can unravel the knitting and start over from the beginning. Alternatively, you can use a crochet hook to carefully undo the stitches back to the mistake.
- If your knitting ring becomes misshapen or bent, gently reshape it by pressing and bending it back into shape.
- If you are struggling with the tension, practice knitting on the ring with different yarns until you find the right balance of tension for your desired results.
- If you are having trouble understanding a particular step or technique, try watching online video tutorials or consulting a knitting manual for further guidance.
- Remember, knitting with a ring may feel different from traditional knitting needles, so be patient and allow yourself time to adjust to the new technique.
By following these troubleshooting tips, you can overcome common challenges and enjoy a successful knitting experience with your knitting ring.
Further Resources and Inspiration
If you want to continue learning and exploring the world of knitting rings, here are some additional resources and sources of inspiration:
1. Books
- “Knitting in the Round: 10 Knit Sock Patterns and Knitted Slipper Patterns” by Prime Publishing
- “Knitting Circles around Socks: Knit Two at a Time on Circular Needles” by Antje Gillingham
- “Circular Knitting Workshop: Essential Techniques to Master Knitting in the Round” by Margaret Radcliffe
2. Online Tutorials
- How to Use a Knitting Ring: Beginner’s Guide – a step-by-step video tutorial on using a knitting ring for beginners.
- Purl Soho Circular Knitting Tutorials – a collection of tutorials on circular knitting techniques, including using knitting rings.
3. Knitting Community Websites
- Ravelry – an online community for knitters and crocheters where you can find knitting ring patterns, share your projects, and connect with fellow knitting enthusiasts.
- Knitting Paradise – a forum-style website where you can ask questions, seek advice, and find inspiration from other knitters.
4. Blogs and Social Media
- We Are Knitters Blog – a blog that covers various knitting topics and features knitting ring patterns and projects.
- Instagram #knittingring – search for this hashtag on Instagram to discover a wide range of knitting ring projects and inspiration.
By exploring these resources and connecting with the knitting community, you will be able to further develop your skills and find endless inspiration for your knitting ring projects. Happy knitting!
FAQ:
What is a knitting ring and what is it used for?
A knitting ring, also known as a knitting loom or a knitting hoop, is a tool used in knitting to create various types of projects, such as hats, scarves, and socks, without the use of knitting needles. It consists of a circular plastic or wooden frame with pegs or hooks evenly spaced around the edge.
How do I choose the right size knitting ring?
When choosing a knitting ring, the size will depend on the size of the project you want to make. The larger the diameter of the knitting ring, the larger your project will be. For small items like hats or socks, a smaller knitting ring would be more suitable, while larger items like blankets would require a larger ring.
Can I use different types of yarn with a knitting ring?
Yes, you can use different types of yarn with a knitting ring. The size of the knitting ring will determine the weight of the yarn you should use. However, keep in mind that using a very thick or very thin yarn may affect the tension of your project. It is best to choose a yarn that is recommended for the size of your knitting ring.


