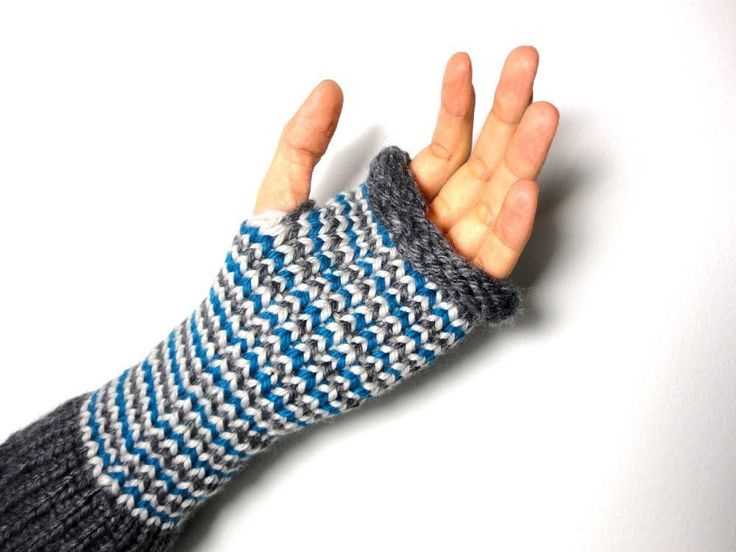
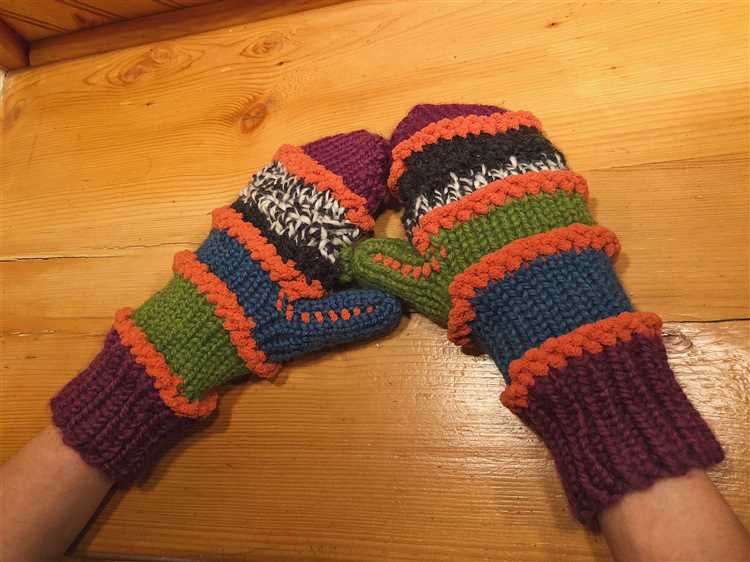
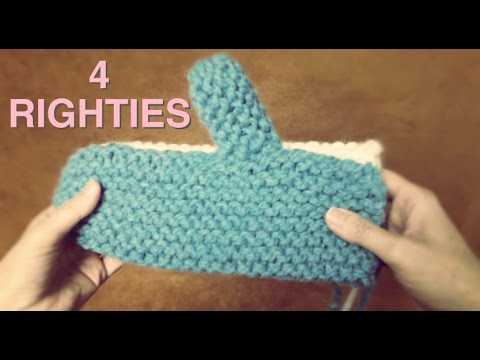
Are you ready to take your loom knitting skills to the next level? In this tutorial, we will teach you how to create cozy and stylish mittens using a knitting loom. Loom knitting is a fun and easy technique that allows you to create beautiful knitwear without the need for traditional knitting needles. Whether you’re a beginner or an experienced loom knitter, this step-by-step guide will walk you through the process of making your own pair of mittens.
Before we get started, it’s important to gather all the necessary materials. You will need a knitting loom in the appropriate size for your desired mitten width, a loom hook or crochet hook, a tapestry needle, and yarn of your choice. The yarn should be suitable for the loom size and should be warm and soft for optimal comfort. You may also want to have a stitch marker and a pair of scissors on hand.
Once you have your materials ready, it’s time to begin. The first step is to cast on the necessary number of stitches onto the loom. This will determine the width of your mitten. We will be using the e-wrap cast on method, which is simple and flexible. After casting on, you will start knitting in the round using the stitch pattern of your choice. We recommend using a basic knit stitch for beginners and experimenting with different stitch patterns as you gain confidence.
Throughout the tutorial, we will provide detailed instructions and helpful tips to guide you through each step. We will cover topics such as increasing and decreasing stitches, creating the thumb opening, and finishing off the mitten with a bind off. By the end of this tutorial, you will have a beautiful pair of loom-knit mittens that you can be proud of.
Tools and Materials
Before you start loom knitting mittens, make sure you have the following tools and materials:
- A knitting loom: You can use a round loom or a long loom depending on your preference.
- Loom hook: This is used to pull the yarn through the loops on the loom.
- Yarn: Choose a soft and warm yarn in your preferred color. Make sure it is suitable for use with the loom size you have.
- Scissors: You’ll need a pair of scissors to cut the yarn.
- Tapestry needle: This needle is used to weave in the loose ends of yarn once you’ve finished knitting.
- Stitch markers: These can be helpful to mark the beginning of the round or any special stitches.
Additionally, it’s a good idea to have a measuring tape or ruler handy to check the size of your mittens as you work.
Now that you have all the necessary tools and materials, you’re ready to start loom knitting your mittens!
Choosing the Right Yarn
When it comes to loom knitting mittens, choosing the right yarn is essential. The yarn you choose will determine the overall look and feel of your mittens, as well as how warm and durable they will be. Here are some factors to consider when selecting yarn for your loom-knit mittens.
- Fiber Content: The fiber content of the yarn will impact the comfort and warmth of your mittens. Natural fibers like wool are known for their warmth and insulation properties, while acrylic yarns are often softer and easier to care for.
- Weight: The weight of the yarn refers to its thickness. Bulky or chunky weight yarns will create thicker and warmer mittens, while lighter weight yarns will create more lightweight and breathable mittens.
- Color: Consider the color options available and how they will complement your personal style or the recipient’s preferences. Bold and vibrant colors can add a fun pop to your mitten project, while neutral or muted tones can create a classic and versatile look.
- Texture: Yarns come in various textures, such as smooth, fluffy, or textured. The texture of the yarn can add visual interest to your mittens and enhance the overall appearance.
It’s important to keep in mind that the type of yarn recommended for the mitten pattern you’re following may vary. Always refer to the pattern instructions or consult experienced loom knitters for recommendations on yarn weight and fiber content.
Once you have chosen the right yarn for your loom-knit mittens, you can begin the exciting process of stitching them together. Knitting mittens on a loom can be a rewarding and enjoyable experience, and with the right yarn, your finished mittens will not only keep your hands warm but also showcase your creativity and style.
Casting On
Before you can start knitting your mittens, you’ll need to cast on. Casting on is the process of creating the first row of stitches on your loom. Here’s how to cast on:
- Hold the loom in front of you so that the pegs are facing away from you.
- Take the working yarn and make a slipknot by creating a loop with the yarn, pulling the end through the loop, and tightening the knot around the peg on the far left side of the loom.
- Bring the working yarn behind the peg on the far right side of the loom and wrap it clockwise around the peg.
- Continue wrapping the yarn counterclockwise around each peg, moving towards the left side of the loom.
- Once you’ve wrapped each peg, return to the first peg on the far left side of the loom.
- Using the loom hook or your fingers, lift the bottom loop over the top loop and over the peg. Repeat this for each peg, moving from left to right.
- Continue wrapping and lifting the loops until you’ve cast on the desired number of stitches for your mitten. This will depend on the size of your loom and the size of your hand.
Now that you’ve cast on, you’re ready to start knitting your mittens! The cast on row forms the foundation of your mitten, and the next steps will guide you through creating the ribbing and main body of the mittens.
Knitting the Cuff
The first step in loom knitting mittens is to knit the cuff. The cuff is the section of the mitten that goes around the wrist. Here’s how to do it:
1. Cast On
Start by casting on your desired number of stitches on the loom. The number of stitches you cast on will depend on the size of the mitten you want to make. Typically, a child’s mitten will require around 20-30 stitches, while an adult mitten will require around 30-40 stitches.
2. Knit in Rib Stitch
After casting on, you will knit in rib stitch for the cuff. Rib stitch alternates between knit stitches and purl stitches, creating a stretchy and decorative pattern. To knit in rib stitch on a loom, follow these steps:
- Knit the first stitch. Wrap the working yarn around the peg clockwise and lift the bottom loop over the top loop.
- Purl the second stitch. Bring the working yarn in front of the peg and then wrap it counterclockwise. Lift the bottom loop over the top loop.
- Continue knitting the remaining stitches in this pattern until you reach the end of the round.
- Repeat this pattern for several rows, depending on how long you want the cuff to be. A typical cuff length is around 1-2 inches.
3. Bind Off
Once you have reached the desired length for the cuff, it’s time to bind off. To bind off on a loom, follow these steps:
- Knit the first stitch.
- Take the loop from the first peg and lift it over the second peg. Let the loop drop off the peg.
- Knit the next stitch.
- Take the loop from the second peg and lift it over the third peg. Let the loop drop off the peg.
- Continue this process until you have bound off all the stitches on the loom.
Congratulations! You have finished knitting the cuff of your mitten. Now you can move on to knitting the hand section.
Knitting the Hand
Once you have completed the cuff, it’s time to start knitting the hand of the mitten. This is where the mittens really take shape and you can start to see how they will fit.
1. Start by continuing to work in the round. You will be using the same loom and yarn as before.
2. Begin by knitting two stitches using the e-wrap stitch. This will create the first stitch of the thumb gusset and the first stitch of the hand.
3. Knit all the way around the loom using the e-wrap stitch until you reach the last two stitches.
4. Decrease one stitch by knitting the next two stitches together using the knit two together (k2tog) stitch. This will create the second stitch of the thumb gusset and decrease the number of stitches on your loom.
5. Continue knitting in the e-wrap stitch until you reach the beginning of the thumb gusset. This will be the first stitch of the thumb gusset that you created in step 2.
6. Begin the thumb gusset by making a yarn over (yo) and then knitting the next stitch. Repeat this pattern, yarn over and knit, all the way around the thumb gusset.
7. Continue knitting in the e-wrap stitch for the rest of the hand until you reach the desired length. You can measure the length by placing the mitten on your hand and comparing it to your wrist.
8. Once you have reached the desired length, it’s time to start the decreases for the top of the mitten. Switch to the flat stitch and knit two together (k2tog) for the first two stitches. Repeat this decrease pattern all the way around the loom.
9. Cut the yarn, leaving a long tail. Thread the tail through the remaining stitches on the loom and remove the stitches from the loom.
10. Pull the tail tight to close the top of the mitten and secure it with a knot.
11. Weave in any loose ends and trim off any excess yarn.
12. Congratulations, you have completed knitting the hand of your loom knit mittens! Now it’s time to move on to the thumb.
Note: Remember to always follow the pattern instructions and adjust the size and length of your mittens as needed.
Shaping the Thumb
The thumb is an important feature of mittens, as it provides flexibility and functionality. Here is how you can shape the thumb when loom knitting mittens:
- Measure the thumb placement: Fold the mitten in half with the thumb side facing up. Measure the distance from the edge of the cuff to the top edge of the thumb. This will determine where you will begin shaping the thumb.
- Divide the stitches: Starting from the thumb placement, count the number of stitches on the thumb side. Divide these stitches equally onto two separate pegs on the loom.
- Knit the thumb: Now that the thumb stitches are isolated, continue knitting the hand portion of the mitten, leaving the thumb stitches untouched for now.
- Create the thumb opening: After reaching the desired length for the hand portion, you will need to create an opening for the thumb. To do this, work the thumb stitches onto a separate piece of yarn or stitch holder.
- Shape the thumb: Transfer the thumb stitches back onto the loom, starting from the stitch closest to the hand portion. Gradually decrease the number of thumb stitches by knitting two pegs together at a time until you have reached the desired thumb size.
- Finish the thumb: Once you have shaped the thumb to the desired size, gather the remaining stitches and secure them by cinching the yarn tightly. This will prevent any gaps or holes in the thumb area. Cut the yarn, leaving a tail for weaving in later.
Shaping the thumb can be a bit tricky at first, but with practice and patience, you will be able to create well-fitting and functional thumb openings in your loom-knit mittens.
Finishing Off
Once you have completed knitting the mitten, it’s time to finish off and secure the stitches. Follow these steps:
- Bind off: Cut the yarn, leaving a tail that is long enough to weave in later. Thread the tail through a yarn needle. Insert the needle through the first stitch on the loom, and then through the next stitch, creating a loop. Continue this process until you have woven the tail through all the stitches on the loom.
- Weave in ends: Use the yarn needle to weave the yarn tail into the back of the stitches on the inside of the mitten. This will help secure the yarn and prevent it from unraveling.
- Seam the mitten: Fold the mitten in half, with the right sides facing in. Use the yarn needle and the tail of yarn to sew the side seams of the mitten. Start at the bottom edge and sew up to the top edge, creating a neat seam.
- Cut excess yarn: After seaming the mitten, trim any excess yarn tails, making sure not to cut too close to the stitches.
- Block the mitten (optional): You can block the finished mitten to even out the stitches and ensure a professional-looking finish. To do this, lightly mist the mitten with water and then reshape it by gently stretching and smoothing the fabric. Allow the mitten to air dry completely before wearing or gifting.
Once you have completed these finishing steps, your loom-knit mittens are ready to be worn or gifted to someone special. Enjoy the satisfaction of creating a beautiful and functional item with your loom knitting skills!
FAQ:
What materials do I need to loom knit mittens?
To loom knit mittens, you will need a loom knitting set, a loom hook, yarn, and a tapestry needle.
Is loom knitting suitable for beginners?
Yes, loom knitting is a great option for beginners as it is easier and more straightforward than traditional knitting with needles.
How long does it take to loom knit a pair of mittens?
The time it takes to loom knit a pair of mittens can vary depending on your skill level and the complexity of the mitten pattern. On average, it can take several hours or even a few days to complete a pair of mittens.
Can I customize the size of the mittens?
Yes, you can customize the size of the mittens by adjusting the number of pegs on the loom and the number of rows you knit. The pattern instructions will guide you on how to make adjustments for different sizes.
Are there different stitch patterns I can use for the mittens?
Yes, there are several stitch patterns you can use for loom knitting mittens, such as stockinette stitch, rib stitch, or seed stitch. The choice of stitch pattern will depend on the design you prefer and the level of difficulty you are comfortable with.


