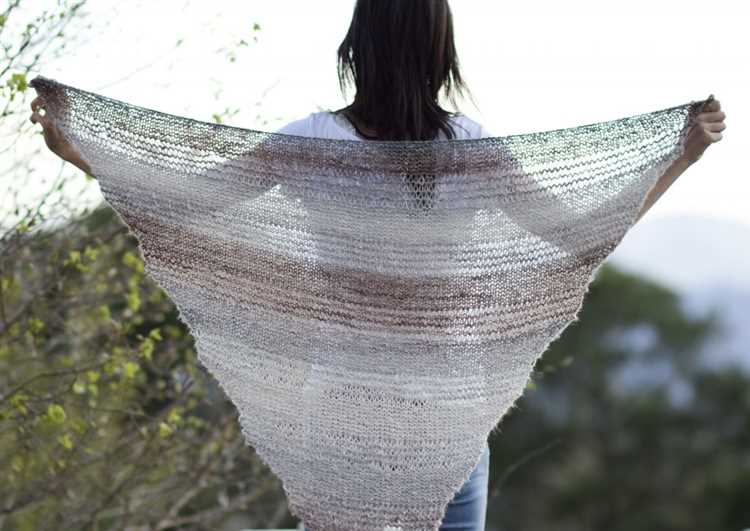
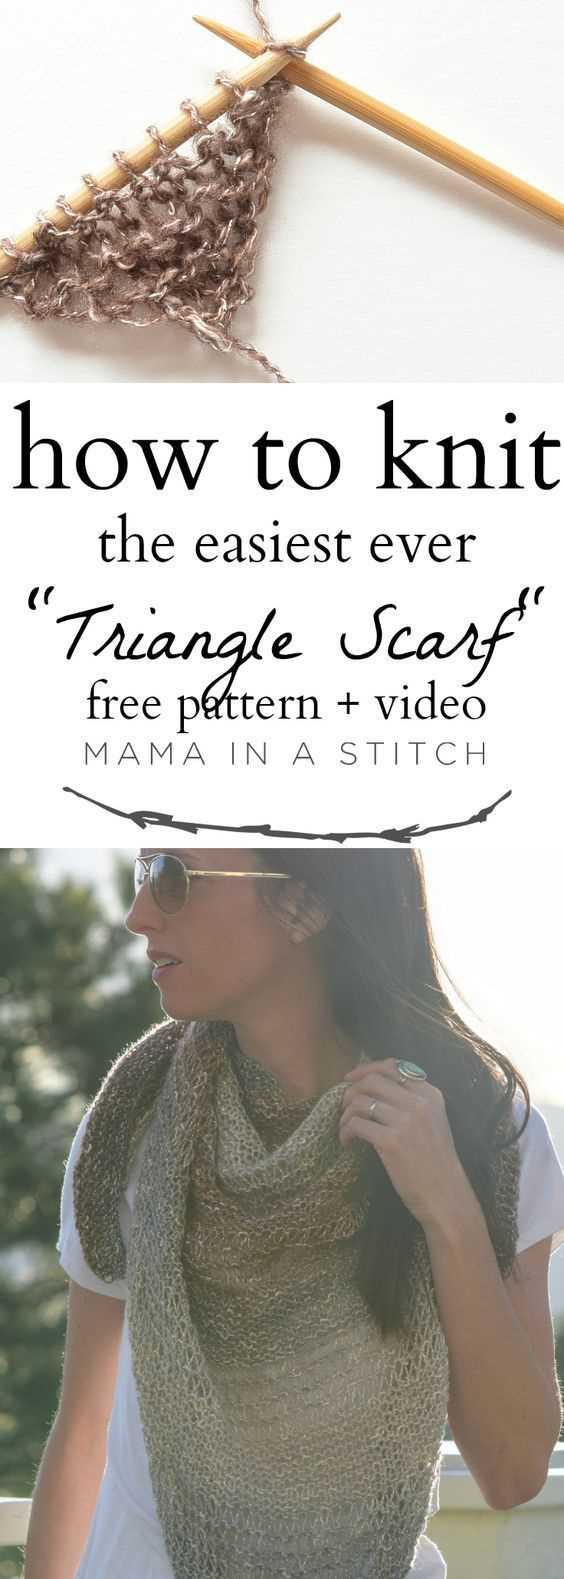
If you’re a knitting enthusiast looking to expand your repertoire, learning how to knit a triangle is a great project to tackle. Triangles are versatile and can be used to create a variety of items, from shawls and scarves to blankets and garments. In this step-by-step tutorial, we’ll guide you through the process of knitting a basic triangle, perfect for beginners or those looking for a quick and easy project.
Before you get started, make sure you have all the necessary materials. You’ll need a pair of knitting needles, a ball of yarn in your desired color, and a pair of scissors. It’s also helpful to have a tapestry needle and stitch markers, although these are optional.
To begin, cast on the desired number of stitches onto your knitting needles. This will be the width of your triangle’s base. For a smaller triangle, you may want to start with 20-30 stitches, while a larger triangle may require 40-50 stitches. Once you have cast on, make sure your stitches are not too tight or too loose, as this can affect the shape of your triangle.
Once you have cast on your stitches, you can start knitting the first row. Use the knit stitch (also known as the garter stitch) and knit across all the stitches on your needle. This will create the first row of your triangle. Repeat this process for the next few rows, knitting across all the stitches until you are ready to start increasing.
Choose the Right Yarn and Needles
One of the important steps in knitting a triangle is choosing the right yarn and needles. This will ensure that your finished project turns out the way you want it to. Here are some factors to consider when selecting your materials:
- Yarn Weight: The weight of the yarn refers to its thickness. For a triangle knitting project, it is best to choose a yarn that is lightweight and easy to work with. Yarns labeled as fingering, lace, or sport weight are good choices.
- Fiber Type: Different fibers have different properties, such as warmth, durability, and drape. Consider the qualities you want in your finished triangle and choose a fiber that matches your preferences. Some common yarn fibers include wool, cotton, acrylic, and blends.
- Needle Size: The size of the needles you use will affect the gauge and final size of your triangle. Check the yarn label for a recommended needle size range and choose needles that will create a fabric with a suitable drape and tension for your project.
- Knitting Style: Depending on your knitting style (e.g., loose or tight), you may need to adjust your needle size to achieve the desired gauge. Experiment with different needle sizes to find the one that works best for you.
It is always a good idea to create a gauge swatch before starting your actual triangle. This involves knitting a small test square with your chosen yarn and needles to determine the number of stitches and rows per inch. By comparing your swatch to the recommended gauge, you can adjust your needle size if necessary.
Cast on Stitches
Before you can begin knitting your triangle, you will need to cast on stitches to create the foundation of your work.
Here’s how to cast on stitches for your triangle:
- Hold the knitting needle in your right hand and make a slipknot by creating a loop with the working yarn.
- Insert the needle through the loop, and pull the yarn to tighten the loop around the needle.
- Hold the needle with the slipknot in your right hand, and use your left hand to hold the tail end of the yarn.
- With your left hand, bring the tail end of the yarn under the needle and over the top, creating a loop around the needle.
- Insert the right needle through the loop, from front to back, and then behind the left needle.
- Bring the right needle up and over the left needle, catching the yarn to create a new loop.
- Pull the new loop through the stitch, and slide it onto the left needle.
- Repeat steps 5-7 until you have cast on the desired number of stitches for your triangle.
Once you have cast on all the stitches, you are ready to start knitting your triangle!
Start Knitting
Knitting is a popular craft that involves creating fabric by interlocking loops of yarn with knitting needles. In this tutorial, we will guide you step by step on how to knit a triangle.
Materials Needed:
- Yarn of your choice
- Knitting needles (appropriate size for your yarn)
- Scissors
- Tapestry needle
Step 1: Cast On Stitches
- Hold one knitting needle in your dominant hand and the yarn in your non-dominant hand.
- Create a slipknot by making a loop with the yarn, crossing the end over the working yarn, and pulling it through the loop.
- Slide the slipknot onto the needle and tighten it.
- Hold the needle with the slipknot in your non-dominant hand and insert the other needle into the slipknot from front to back.
- Wrap the working yarn around the needle behind the slipknot and pull it through, creating a new stitch.
- Repeat steps 4 and 5 until you have cast on the desired number of stitches.
Step 2: Knit Rows
- Hold the knitting needles with the cast-on stitches in your non-dominant hand.
- Insert the other needle into the first stitch from left to right, going into the front of the stitch.
- Wrap the working yarn around the needle from back to front.
- Using the other needle, pull the yarn through the stitch, creating a new loop on the second needle.
- Slide the first stitch off the left needle, transferring it to the right needle.
- Repeat steps 2-5 until you have knitted all the stitches on the left needle.
- Turn the work and repeat steps 2-6 for each row until you have completed the desired length.
Step 3: Decrease Stitches
- To decrease stitches, knit two stitches together as one. Insert the needle into the next two stitches from left to right, as if you were going to knit them separately.
- Wrap the working yarn around the needle and pull it through both stitches, creating one new stitch.
- Repeat step 1 until you have decreased the desired number of stitches.
Step 4: Bind Off Stitches
- Knit the first two stitches as described in step 2.
- Using your left-hand needle, lift the first stitch on the right-hand needle over the second stitch and off the needle.
- Knit one stitch.
- Lift the first stitch over the second stitch and off the needle.
- Repeat steps 2-4 until you have only one stitch left on the right-hand needle.
- Cut the yarn, leaving a tail of about 6 inches.
- Thread the tail through the last stitch and pull tight to secure.
Congratulations! You have successfully knitted a triangle. Now you can use this skill to create various projects such as shawls, blankets, and more.
Increase Stitches
When knitting a triangle, you will need to increase stitches to create the shape. There are various methods for increasing stitches, but here are a few commonly used techniques:
- Knit into the front and back of a stitch (KFB): Insert your needle into the next stitch as if to knit, but instead of simply knitting it, also knit into the back loop of the same stitch. This will create two stitches out of one.
- Make one (M1): Use this technique when you want to increase a stitch without leaving a visible hole. Insert your left needle from front to back under the horizontal strand of yarn that lies between the stitch just worked and the next stitch on the left needle. Then, knit into the back loop of this strand.
- Increase by knitting two stitches into one: Knit the first stitch as usual, but do not slide it off the left needle. Instead, knit into the back loop of the same stitch again. Then, slide both stitches off the needle.
Choose the method that you find most comfortable and appropriate for your project. Make sure to follow the pattern instructions to determine how many stitches to increase and where to place them.
Remember to keep an accurate count of your stitches throughout the increasing process to ensure that your triangle shape is symmetrical and even.
Once you have increased the desired number of stitches, you can continue knitting according to the pattern instructions to complete your triangle.
Shape the Triangle
Once you have cast on your stitches and completed the first few rows, you are ready to start shaping your triangle. Shaping involves increasing or decreasing stitches to create a triangular shape.
1. Increase:
- Start by knitting the first stitch.
- Then, make a yarn over (yo) by bringing the yarn forward between the needles and then knitting the next stitch.
- Continue knitting the rest of the row as usual.
- On the next row, knit the yarn over (yo) through the back loop to create a new stitch.
- Repeat these steps until you have reached the desired width of your triangle. Remember to knit the last stitch of each row.
2. Decrease:
- To decrease stitches and shape the triangle, you will use a knit 2 together (k2tog) decrease.
- Knit the first two stitches together.
- Continue knitting the rest of the row as usual.
- On the next row, knit the last two stitches together to create a decrease.
- Repeat these steps until you have reached the desired point of your triangle.
3. Finishing:
Once you have shaped your triangle to the desired dimensions, you can finish off your knitting.
- Knit the last row without making any increases or decreases.
- Then, cut the yarn, leaving a tail long enough for weaving in.
- Thread the tail onto a yarn needle and weave it through the last row of stitches to secure them.
- Finally, trim any excess yarn.
Congratulations! You have successfully shaped a triangle in your knitting project. Now you can use this triangle as part of a larger knitting project or as a standalone design element.
Finish Knitting
Once you have completed all the rows of your triangle, it’s time to finish knitting. Follow these steps to finish off your project:
- Using your knitting needles, knit the last row of stitches.
- Cut the yarn, leaving a tail of about 6 inches.
- Thread the tail end of the yarn onto a yarn needle.
- Insert the yarn needle into the first stitch on the knitting needle, from front to back.
- Carefully slide the knitting needle out, keeping the yarn threaded through the first stitch.
- Insert the yarn needle into the second stitch on the knitting needle, from back to front.
- Slide the knitting needle out, keeping the yarn threaded through the second stitch.
- Continue this process until you have threaded the yarn through all the stitches on the knitting needle.
Once all the stitches are threaded onto the yarn, you can remove the knitting needle and pull the yarn tight to secure the stitches.
Finally, weave the yarn end into the edge of the triangle using the yarn needle. This will help to hide the end and keep it secure. Trim any excess yarn.
With these simple steps, you have successfully finished knitting your triangle! You can use this triangle for a variety of projects, such as a shawl or a decorative element in a larger knitting project.
Bind off Stitches
In knitting, “binding off” is the process of finishing your work and creating a neat edge. It is also known as casting off. Here is a step-by-step guide on how to bind off stitches:
- Knit the first 2 stitches.
- Using your left needle, lift the first stitch over the second stitch and off the right needle.
- Knit 1 stitch.
- Lift the previous stitch over the newly knitted stitch and off the right needle.
- Continue steps 3-4 until you have one stitch left on the right needle.
- Cut the yarn, leaving a tail of about 6 inches.
- Thread the yarn tail through the last stitch and pull tight to secure.
Once you have completed the bind off, you can remove the knitting from the needles and give it a gentle tug to even out the edge. Your triangle knitting project is now complete!
Block and Finish Triangle
Once you have finished knitting your triangle, it’s time to block and finish it to give it a polished look. Blocking helps to shape and even out the stitches in your knitting project.
Here is a step-by-step guide on how to block and finish your triangle:
- Start by filling a basin or sink with lukewarm water. Add a few drops of mild detergent and mix well.
- Gently place your knitted triangle into the water and let it soak for about 10-15 minutes.
- After the soaking time, carefully remove the triangle from the water and gently squeeze out the excess water. Do not wring or twist the fabric as it may stretch or distort the shape.
- Lay a clean towel on a flat surface and place the triangle onto the towel.
- Using your hands, gently shape the triangle into the desired shape. Smooth out any wrinkles or uneven areas.
- Pin the corners and edges of the triangle to the towel using rust-proof T-pins or blocking wires, if necessary. This will help the triangle hold its shape while drying.
- Allow the triangle to air dry completely. This may take several hours or overnight, depending on the thickness of the yarn and the humidity levels in your area.
- Once the triangle is completely dry, carefully remove the T-pins or blocking wires. The triangle should now be nicely shaped and even.
- If desired, you can weave in any loose ends of yarn using a yarn needle. This will give your triangle a neat and finished look.
Congratulations! You have successfully blocked and finished your knitted triangle. Now you can enjoy your beautiful creation or use it for various projects such as shawls, blankets, or home decor items.
FAQ:
What materials do I need to knit a triangle?
To knit a triangle, you will need a set of knitting needles, yarn of your choice, scissors, a tapestry needle, and stitch markers.
Is knitting a triangle difficult?
No, knitting a triangle is not difficult. It is a beginner-friendly project that can be easily accomplished by following a few simple steps.
What is the basic knitting stitch used for knitting a triangle?
The basic knitting stitch used for knitting a triangle is the garter stitch. It involves knitting every row of the pattern.
Can I use any yarn to knit a triangle?
Yes, you can use any yarn of your choice to knit a triangle. The weight and type of yarn will determine the size and texture of the finished triangle.
How do I increase stitches while knitting to create a triangle shape?
To increase stitches while knitting and create a triangle shape, you can use the yarn over (YO) technique or make one (M1) increases. These techniques will add stitches to each row and gradually shape the triangle.
How can I customize the size of my knitted triangle?
To customize the size of your knitted triangle, you can adjust the number of cast-on stitches and the number of rows you knit. More stitches and rows will create a larger triangle, while fewer stitches and rows will create a smaller triangle.
Can I use the same technique to knit a larger triangle, such as a shawl?
Yes, you can use the same technique to knit a larger triangle, such as a shawl. Simply cast on more stitches and continue increasing until you reach the desired size. You can also choose to use a different stitch pattern for more variety.


