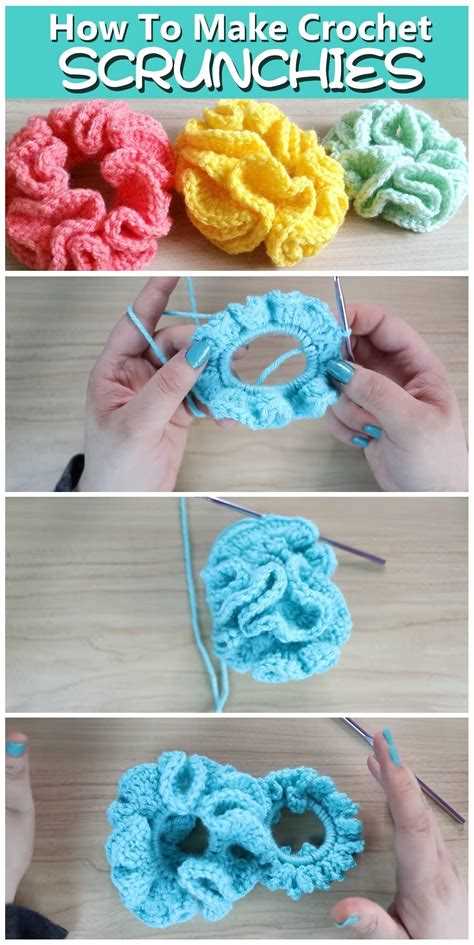
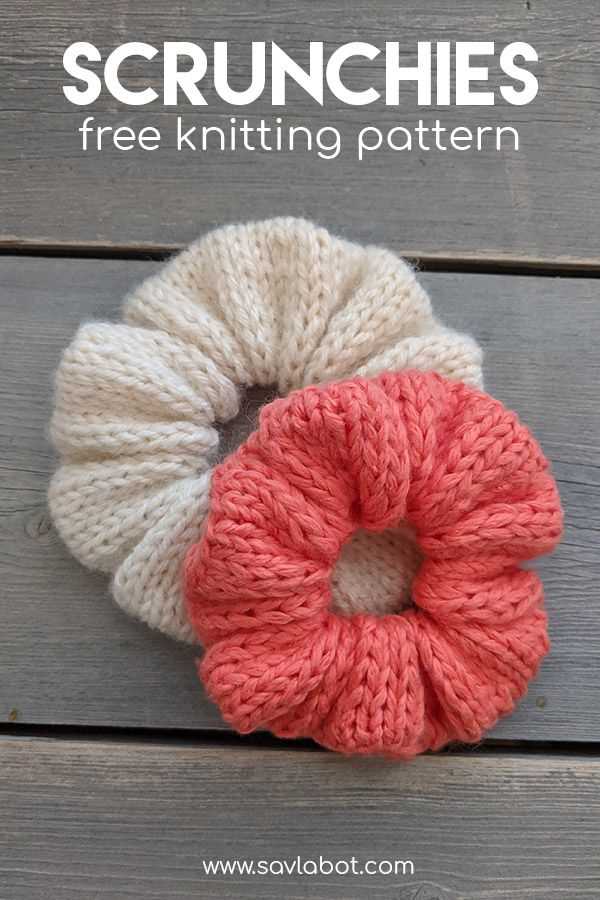
If you’re looking for a fun and stylish accessory to add to your hairdo, why not try knitting your own scrunchie? Scrunchies are a trendy and practical way to keep your hair up, and knitting your own allows you to customize colors and patterns to match your personal style. Plus, it’s a great project for knitters of all skill levels!
In this step-by-step tutorial, we’ll walk you through the process of knitting a scrunchie from start to finish. We’ll cover everything from selecting the right yarn and needles to casting on, knitting, and finishing off your project. Whether you’re a beginner or an experienced knitter, you’ll find this tutorial easy to follow and rewarding to create.
To get started, you’ll need a few basic supplies. First, choose a soft and stretchy yarn in your favorite color or pattern. Look for yarn specifically labeled for knitting or crochet, as it will have the right amount of stretch for a scrunchie. You’ll also need knitting needles in a size that matches the recommended gauge for your chosen yarn. Additionally, you’ll need a crochet hook or narrow tapestry needle for finishing off your scrunchie. Once you have your supplies gathered, you’re ready to begin!
In the next section, we’ll cover the first steps of the knitting process, including casting on and creating the foundation row. We’ll also explain how to create the elastic casing that gives the scrunchie its signature stretch. With our detailed instructions and helpful tips, you’ll be well on your way to knitting your very own fashionable scrunchie.
Materials Needed for Knitting Scrunchie
To knit a scrunchie, you will need the following materials:
- Yarn: Choose a soft and stretchy yarn that is suitable for knitting. You can use any type of yarn, but a lightweight yarn is recommended for a comfortable and flexible scrunchie.
- Knitting Needles: Use a pair of knitting needles that are appropriate for the thickness of your chosen yarn. Circular needles are recommended for easy knitting in the round, but straight needles can also be used.
- Elastic: You will need a piece of elastic that is approximately 8-10 inches long, depending on your preferred tightness for the scrunchie.
- Tapestry Needle: A tapestry needle with a large eye is useful for weaving in loose ends and attaching the elastic to the knitted fabric.
Optional materials include:
- Stitch Markers: Stitch markers can be helpful for keeping track of your stitches, especially if you are using circular needles.
- Scissors: A pair of scissors will be needed for cutting the yarn and elastic.
- Decorative Items: If you want to add embellishments to your scrunchie, you can gather beads, buttons, or ribbon to incorporate into the design.
Once you have gathered all the necessary materials, you will be ready to start knitting your scrunchie!
Step 1: Casting On
Before you can start knitting your scrunchie, you’ll need to cast on your stitches. Casting on is the process of creating the foundation row of your knitting project.
To cast on for your scrunchie, you will need a pair of knitting needles and your chosen yarn. You can use any size knitting needles and yarn weight that you prefer, but a medium weight yarn and size 8 or 9 needles are recommended for beginners.
- Hold the knitting needle in your dominant hand (right hand for right-handed knitters) and make a slip knot at the end of the yarn. Leave a long tail of yarn, around 6-8 inches, as this will be used later to sew the ends of the scrunchie together.
- Insert the needle into the slip knot, then gently tighten the knot around the needle. You should now have a loop of yarn on your needle.
- Hold the needle with the slip knot in your non-dominant hand (left hand for right-handed knitters).
- Using your dominant hand, wrap the yarn from the back to the front around your index finger, then slip the needle under the yarn on your finger.
- Bring the needle over the loop of yarn, then pull the loop through the slip knot on the needle. This creates a new loop on your needle.
- Continue this process, wrapping the yarn around your finger, slipping the needle under the yarn, and pulling a loop through the slip knot, until you have the desired number of stitches for your scrunchie. A typical scrunchie will require around 40-50 stitches.
Once you have cast on all of your stitches, you are ready to move on to the next step in knitting your scrunchie.
Step 2: Knitting the Body of the Scrunchie
After you have chosen your yarn and gathered all the necessary materials, it’s time to start knitting the body of the scrunchie. Follow these simple steps:
- Begin by making a slipknot and placing it on your knitting needle.
- Hold the knitting needle with the slipknot in your dominant hand and the other knitting needle in your non-dominant hand.
- Insert the non-dominant knitting needle into the slipknot from left to right, making sure the slipknot stays on the needle.
- Using your dominant hand, bring the working yarn under and over the non-dominant knitting needle, creating a loop.
- Pull the loop through the slipknot and slide it onto the non-dominant knitting needle. This is called a knit stitch.
- Repeat steps 3-5 until you have reached your desired length for the body of the scrunchie. This will depend on how stretchy you want your scrunchie to be and the size of your elastic.
- Once you have reached the desired length, cut the working yarn, leaving a tail that is long enough to weave in later.
- Carefully remove the stitches from the knitting needle, making sure they don’t unravel.
- To finish off the body of the scrunchie, you will need to sew the two ends together. Lay the knitted piece flat and fold it in half with the right sides facing each other.
- Using a tapestry needle and the remaining tail of yarn, sew the two ends of the knitted piece together using a mattress stitch or any other preferred method.
- Make sure to secure the yarn at the end and weave in any remaining loose ends.
Once you have completed these steps, you will have successfully knitted the body of your scrunchie. It’s time to move on to the next step and attach the elastic to create a functional and stylish accessory.
Step 3: Decreasing Stitches
Once you have reached the desired length for your scrunchie, it’s time to start decreasing stitches to create a tapered end.
1. Knit the first two stitches together:
- Insert your right-hand needle into the next two stitches on the left-hand needle.
- Wrap the yarn around the right-hand needle as if to knit.
- Pull the right-hand needle through both stitches, and slide the two stitches off the left-hand needle.
- You have now decreased one stitch.
2. Repeat step 1 until you have reached the desired number of stitches:
- Continue knitting two stitches together until you have decreased the desired number of stitches.
3. Bind off:
- Once you have decreased all the stitches, cut the yarn, leaving a long tail.
- Thread the tail through the last stitch, and pull tight to secure the end.
Congratulations! You have successfully finished knitting your scrunchie. Now you can tie it around your hair and enjoy your handmade creation.
Step 4: Binding Off
Once you have reached the desired length for your scrunchie, it’s time to bind off the stitches. This will create a finished edge and secure the loops in place. Follow the steps below to bind off:
- Begin by knitting or purling two stitches.
- Insert the left needle into the first stitch on the right needle.
- Using the left needle, lift the first stitch over the second stitch and off the right needle.
- Knit or purl the next stitch on the left needle.
- Repeat steps 2-4 until you have one stitch left on the right needle.
- Cut the yarn, leaving a tail of about 6 inches.
- Thread the yarn tail through the last stitch on the right needle and pull tight to secure.
- Remove the knitting needles from the stitches, being careful not to let them unravel.
Now that you have bound off your stitches, your scrunchie is complete! You can try it on or give it as a gift to someone special. Enjoy your newly knitted scrunchie!
Step 5: Finishing Touches
Once you have finished knitting the scrunchie, it’s time to add the finishing touches to make it complete.
1. Secure the loose ends: Take the loose ends of the yarn and weave them into the knitted fabric using a yarn needle. This will help to secure them and prevent the scrunchie from unraveling.
2. Sew the ends together: Fold the knitted fabric in half so that the cast-on row aligns with the bind-off row. Use a yarn needle and matching yarn to sew the two ends together, creating a loop.
3. Flatten the scrunchie: Flatten the loop of the scrunchie so that the seam is at the center and the knitted fabric is evenly distributed.
4. Adjust the gathers: If you want your scrunchie to have more gathers, you can adjust them by pushing the fabric along the loop. This will create a more ruffled appearance.
5. Trim any excess: If there is any excess yarn or fabric, trim it carefully with scissors. Be sure not to cut any of the stitches or the seam.
6. Give it a final stretch: Gently stretch the scrunchie to give it some elasticity and flexibility. This will help it to fit comfortably around your hair.
7. Try it on: Put the scrunchie on your wrist or in your hair to see how it looks and fits. Make any necessary adjustments to the gathers or size.
8. Enjoy your new scrunchie: Congratulations! You have successfully completed knitting a scrunchie. Now you can enjoy wearing it or give it as a gift to someone special.
FAQ:
What materials do I need to knit a scrunchie?
To knit a scrunchie, you will need a ball of yarn, a knitting needle, a crochet hook, and an elastic band.
Can I use any type of yarn to knit a scrunchie?
Yes, you can use any type of yarn to knit a scrunchie. However, it is recommended to use a lightweight and stretchy yarn for better results.
How long does it take to knit a scrunchie?
The time it takes to knit a scrunchie depends on your knitting speed and experience. On average, it can take anywhere from 30 minutes to an hour to complete.
Do I need to know how to knit to make a scrunchie?
Yes, basic knitting skills are required to make a scrunchie. You will need to know how to cast on, knit stitches, and cast off.
Can I customize the size of the scrunchie?
Yes, you can customize the size of the scrunchie by adjusting the length of the yarn and the size of the elastic band. You can make it larger or smaller to fit your preference.
Are there different patterns or designs I can use for the scrunchie?
Yes, there are various patterns and designs you can use for the scrunchie. You can experiment with different stitches, colors, or even add embellishments like beads or buttons.
Can I wash the knitted scrunchie?
Yes, you can wash the knitted scrunchie. It is recommended to hand wash it with mild detergent and lay it flat to dry.

