Knitting is not only a great way to create beautiful and functional items, but it is also a relaxing and fulfilling hobby. If you’re just starting out with knitting, learning the basic stitches is essential. One of the most commonly used stitches in knitting is the purl stitch. In this step-by-step guide, we will teach you how to knit a purl stitch, so you can add this versatile stitch to your knitting repertoire.
Before we dive into learning the purl stitch, it’s important to understand the difference between a knit stitch and a purl stitch. In knitting, the knit stitch creates a “V” shape, while the purl stitch creates a horizontal bar. The purl stitch is often used to create texture and patterns in knitting, and it is also used in combination with the knit stitch to create different stitch patterns.
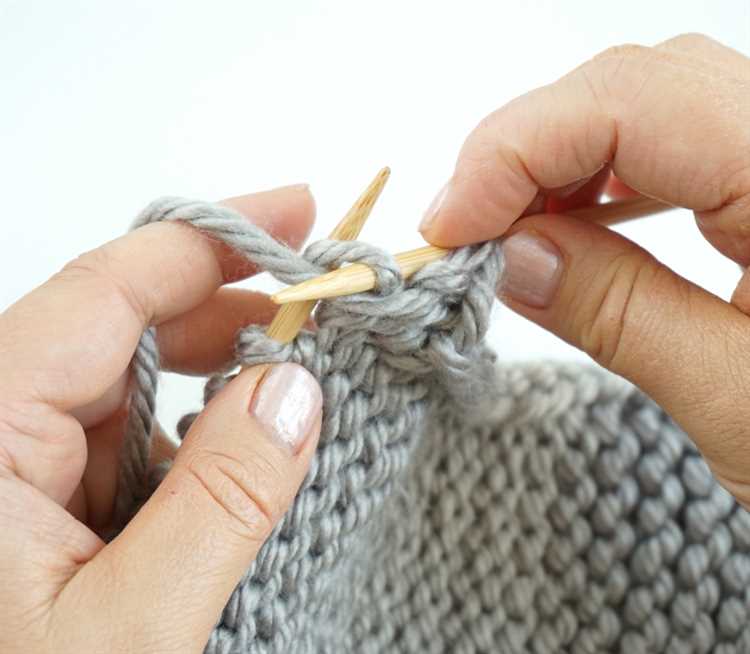
To knit a purl stitch, you will need a pair of knitting needles and yarn. Start by holding the knitting needles in your hands, with one needle in the right hand and the other in the left hand. Hold the yarn in your right hand, allowing it to hang loosely between your fingers. Insert the right needle into the first stitch on the left needle, from right to left. The needles should cross each other, with the right needle behind the left needle. Wrap the yarn around the right needle, from back to front, crossing over the left needle.
Now, comes the tricky part. With the yarn wrapped around the right needle, use the right needle to push the point of the needle through the stitch on the left needle. This will create a loop of yarn around the right needle. Hold the right needle in your right hand, and use your right index finger to guide the yarn as you pull the right needle back through the stitch on the left needle. The loop of yarn will slide off the left needle and onto the right needle, creating a new purl stitch.
Repeat this process for each stitch on the left needle, moving the newly created purl stitches onto the right needle. As you practice knitting the purl stitch, you will begin to develop a rhythm and the process will become easier. Remember to keep the tension of the yarn consistent and to keep your stitches neither too loose nor too tight. With time and practice, you will be able to knit the purl stitch effortlessly and incorporate it into your knitting projects.
What Is a Purl Stitch?
A purl stitch is a basic knitting stitch that creates a textured pattern in your knitting. It is one of the two fundamental stitches in knitting, with the other being the knit stitch. The purl stitch is commonly used to create ribbing, stockinette stitch, and many other stitch patterns.
To create a purl stitch, you pull the working yarn through the stitch on the left-hand needle from back to front, creating a loop on the right-hand needle. This loop is twisted in the opposite direction from the loop created by the knit stitch, resulting in a different texture.
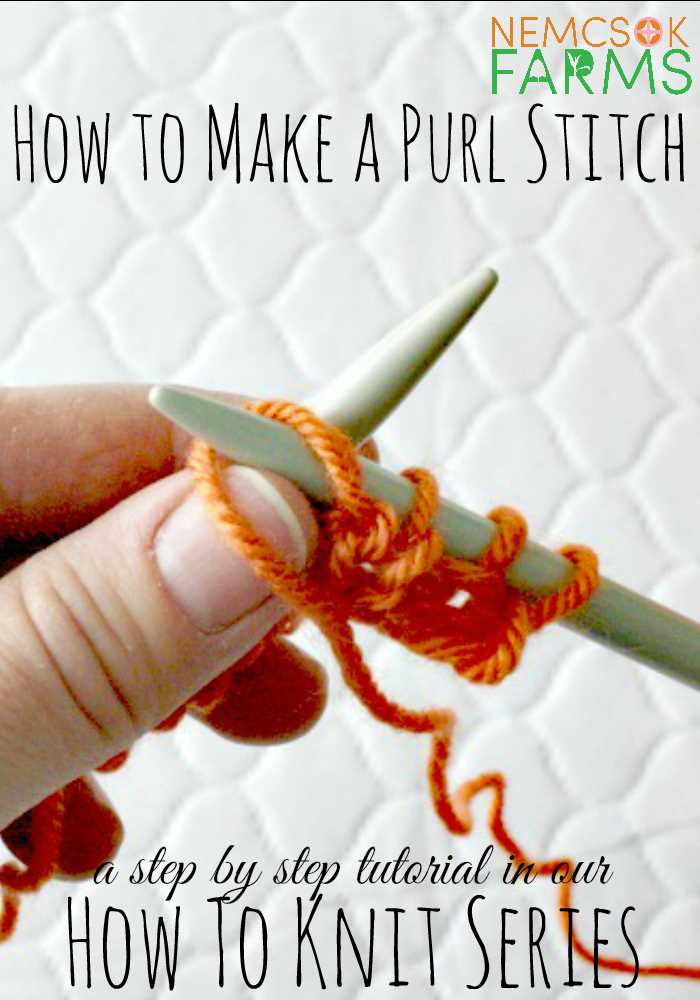
Here is a step-by-step guide on how to knit a purl stitch:
- Hold the knitting needles with the stitches on the left-hand needle and the working yarn hanging from the right needle.
- Insert the right-hand needle into the first stitch on the left-hand needle from right to left, positioning the right needle behind the left needle.
- Wrap the working yarn counterclockwise around the right-hand needle, bringing it to the front of the work.
- Use the right-hand needle to pull the loop of working yarn through the stitch on the left-hand needle, creating a new loop on the right-hand needle.
- Slip the stitch off the left-hand needle, leaving the new loop on the right-hand needle.
- Repeat steps 2-5 for each stitch until you have completed the desired number of purl stitches.
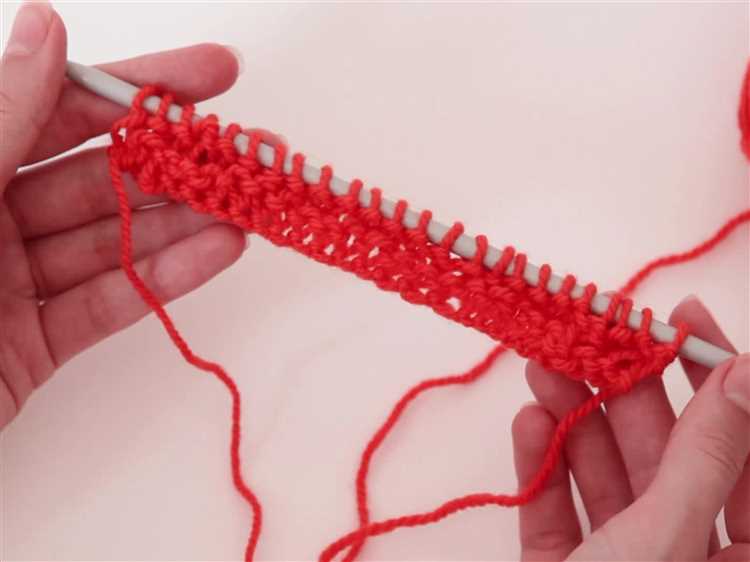
The purl stitch creates a raised bump on the right side of the fabric, making it easy to identify. When combined with knit stitches and other stitch patterns, it can create intricate designs and textures in your knitting.
Mastering the purl stitch opens up a whole new world of knitting possibilities. With a solid foundation in both knit and purl stitches, you can create a wide variety of patterns and projects, from scarves and sweaters to blankets and accessories. So grab your needles and yarn, and start practicing your purl stitches!
Source: Learn How to Knit a Purl Stitch – Step-by-Step Guide Knitting Tutorial
Materials Needed
- Yarn – You will need a ball of yarn to practice the purl stitch. Choose a yarn that is smooth and has a medium thickness. Acrylic or wool yarns are suitable options.
- Knitting needles – You will need a pair of knitting needles that are appropriate for the yarn you are using. The size of the needles will depend on the thickness of the yarn.
- Tapestry needle – This needle will be used to weave in the ends of your yarn when you finish your project.
- Scissors – You will need a pair of scissors to cut the yarn when needed.
- Row counter – A row counter can be useful to keep track of the number of rows you have knitted, especially if you are working on a larger project.
- Stitch holder – If you are planning to put your stitches on hold, you may need a stitch holder to keep them in place.
- Knitting gauge – A knitting gauge can help you determine if your knitting tension matches the recommended gauge for the pattern you are working on.
Step 1 – Casting On
The first step in learning how to knit is casting on, which is the process of creating the initial row of stitches on your knitting needle. This step sets the foundation for the rest of your knitting project.
To cast on, you’ll need a pair of knitting needles and your chosen yarn. Follow these steps to cast on:
- Hold the Needle: Hold one knitting needle in your right hand and the other needle in your left hand.
- Make a Slip Knot: Take the end of the yarn and make a loop. Pull the end of the yarn through the loop to create a slip knot. Tighten the slip knot onto the right needle, leaving a small tail of yarn.
- Insert the Needle: With the right needle, insert it into the slip knot from left to right, going under the left needle.
- Wrap the Yarn: Hold the yarn in your right hand and wrap it around the right needle counterclockwise.
- Pull Through: With the right needle, pull the loop through the slip knot, creating a new stitch.
- Slide the Stitch: Slip the new stitch off the left needle, onto the right needle.
- Repeat: Repeat steps 3-6 until you have cast on the desired number of stitches for your knitting project. Each loop around the right needle counts as one stitch.
Now you have successfully completed the first step of casting on and are ready to move on to the next step in your knitting journey!
Step 2 – Holding the Needles
Properly holding the knitting needles is crucial for effectively knitting the purl stitch. Here is how you should hold the needles:
- Start by holding one knitting needle in your dominant hand. Grip the needle towards the bottom with your palm facing up. Rest the needle against your hand’s base.
- Hold the other knitting needle in your non-dominant hand. Grip it towards the top and rest it against your hand’s base.
- Your hands should feel relaxed and comfortable. Find a grip that works for you, ensuring that you have control over the needles.
Here are some additional tips for holding the needles:
- Avoid gripping the needles too tightly, as this can result in discomfort and tension.
- Hold the needles with a loose, relaxed grip to allow for easy movement.
- Keep your fingers away from the tips of the needles to prevent accidentally poking yourself.
By properly holding the needles, you’ll be able to knit the purl stitch with more ease and efficiency. Now that you have a good grip on the needles, we’ll move on to the next step – working the purl stitch.
Step 3 – Inserting the Right Needle
Now that you have the first loop on your right needle, it’s time to move on to the next step. This step involves inserting the right needle into the next stitch on the left needle.
To do this, hold the right needle in your right hand. With your right hand, bring the tip of the right needle to the front of the left needle.
Next, insert the right needle into the next stitch on the left needle from left to right. The right needle should be positioned under the left needle.
Make sure to insert the right needle into the stitch between the two strands of yarn that form the stitch on the left needle. This will ensure that the stitch is not twisted.
Once the right needle is inserted into the stitch, you should have both needles held together in your left hand, with the right needle inserted into the stitch on the left needle.
At this point, you are ready to move on to the next step – wrapping the yarn around the right needle to create the purl stitch.
Step 4 – Wrapping the Yarn
Now that you have mastered the knit stitch, let’s move on to the purl stitch. The purl stitch creates a bumpy texture on the right side of your work and is the basis for many different patterns.
To purl, you will need to wrap the yarn in the opposite direction around the needle compared to the knit stitch.
- Hold the knitting needle with the stitches in your left hand. Your working yarn should be in the front of your work.
- Insert the right needle from right to left into the first stitch on the left needle, going behind the left needle.
- Take the working yarn and bring it under and then over the right needle, creating a loop around the right needle.
- With your right hand, pull the right needle with the loop towards you, through the stitch on the left needle.
- Slide the stitch off the left needle, leaving the newly formed stitch on the right needle.
Repeat these steps for each stitch on the left needle until you have finished purling all the stitches.
Remember to keep your tension even and to practice regularly to improve your purl stitch. With time and practice, you’ll be able to create beautiful textured patterns using the purl stitch.
Step 5 – Pulling the Loop Through
Once you have inserted the right-hand needle into the front of the stitch on the left-hand needle, you are ready to pull the loop through.
- With the right-hand needle inserted into the front of the stitch, use your right thumb and index finger to grip the yarn.
- Pull the yarn through the stitch by gently moving your right-hand needle towards you.
- As you pull the yarn through, the stitch will slide off the left-hand needle and onto the right-hand needle.
- You should now have the new stitch on the right-hand needle, and the old stitch on the left-hand needle.
Repeat steps 3 through 5 for each stitch in your row until you have completed all of the stitches.
Note: It’s important to maintain a consistent tension on the yarn as you pull the loop through. Make sure the loop is not too tight or too loose, as this can affect the appearance and tension of your finished knit fabric.
Once you have completed pulling the loop through each stitch, you can continue to the next step – knitting your next row or repeating the purl stitch to create your desired pattern.
Step 6 – Completing the Purl Stitch
After inserting the right needle into the loop on your left needle from right to left, you are now ready to complete the purl stitch.
- Wrap the yarn: With the right needle still inserted into the loop, use your right hand to wrap the working yarn counterclockwise around the right needle.
- Pull through the loop: Once the yarn is wrapped around the right needle, use your right hand to pull the right needle and the wrapped yarn through the loop on the left needle.
- Slide the stitch off: After pulling the right needle through the loop, slide the newly formed stitch off the left needle, allowing it to rest on the right needle.
Repeat Steps 4-6 to continue purling the remaining stitches on your left needle.
Remember to keep a consistent tension and maintain a relaxed grip on the needles as you purl. It may take some practice to get the hang of it, but with time, you’ll be able to purl stitches effortlessly.
Continue practicing and experimenting with different knitting stitches to expand your knitting skills and create beautiful projects.
FAQ:
What is a purl stitch in knitting?
A purl stitch is one of the basic knitting stitches, in which the yarn is held in front of the work and the needle is inserted from right to left into the front of the stitch, wrapping the yarn around the needle and pulling it through the stitch to create a new loop.
How do you purl stitch in knitting?
To purl stitch in knitting, start with the yarn in front of the work. Insert the right needle from right to left into the front of the stitch, wrap the yarn around the needle, and pull it through the stitch to create a new loop. Drop the old stitch off the left needle.
Can you purl stitch without knitting?
Yes, you can purl stitch without knitting. Purl stitch is one of the two basic stitches in knitting, along with knit stitch. If you only want to purl, you can simply work rows of purl stitches without knitting any stitches.
What are the advantages of learning how to purl stitch in knitting?
Learning how to purl stitch in knitting opens up a whole new range of patterns and stitch combinations. It allows you to create ribbing, seed stitch, and many other textured patterns. It is an essential skill for any knitter who wants to expand their repertoire and have more design options.


