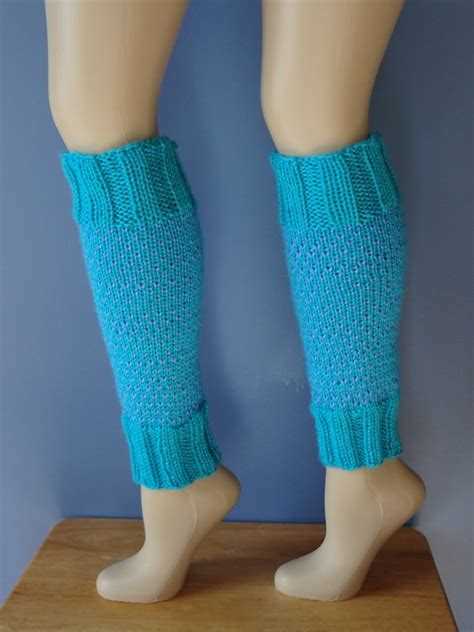
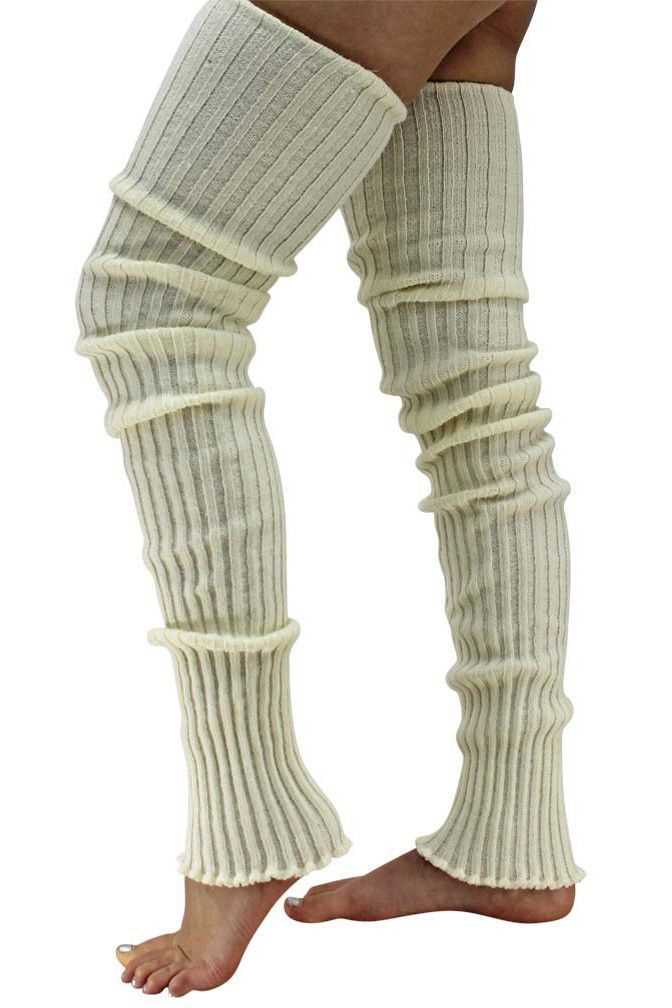
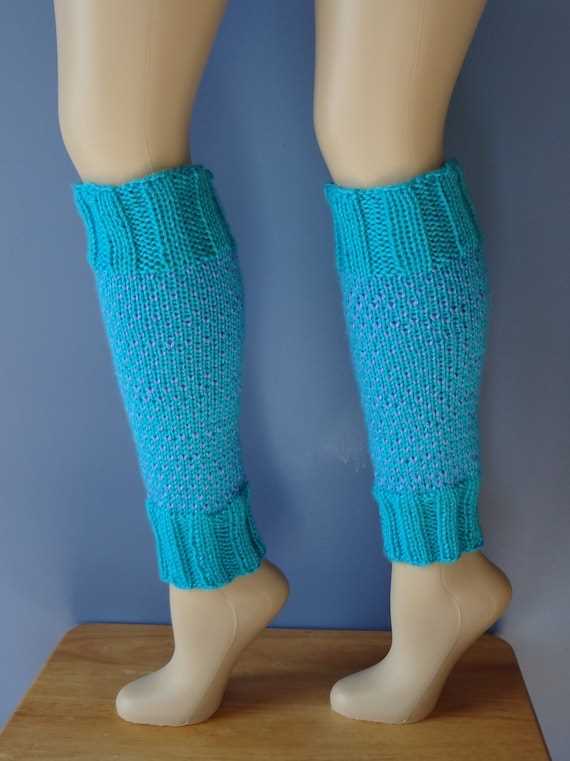
Knitting your own leg warmers can be a fun and rewarding project. Not only will you have a practical accessory to keep your legs warm during the colder months, but you’ll also have the satisfaction of creating something with your own two hands. Whether you’re an experienced knitter or a beginner looking for a challenge, this step-by-step guide will help you create a pair of cozy leg warmers from scratch.
Materials:
1. Knitting needles: Choose a pair of needles that are appropriate for the thickness of yarn you will be using. Generally, larger needles are used for bulkier yarn, while smaller needles are used for finer yarn.
2. Yarn: Select a soft and warm yarn that is suitable for leg warmers. Consider the color and texture you want for your leg warmers, whether it’s a bold and vibrant shade or a subtle and neutral hue.
Note: Depending on the length and width of your leg warmers, you may need anywhere from one to three skeins of yarn. It’s always better to have more yarn than you think you’ll need, as running out in the middle of a project can be frustrating.
3. Stitch markers: These will help you keep track of your progress and mark important sections of your leg warmers.
Once you have gathered all of your materials, you’re ready to start knitting your leg warmers. Follow the steps outlined in the next sections to create your very own pair of cozy leg warmers.
What are leg warmers?
Leg warmers are long, tubular garments that are worn to cover the lower legs. They are typically made of knitted or stretchy fabric and were originally popularized in the 1980s as a fashion trend. However, leg warmers also serve a practical purpose by providing warmth and insulation to the legs, making them popular among dancers, athletes, and those who engage in outdoor activities during colder weather.
Leg warmers are usually worn on top of leggings, tights, or fitted pants, and they can be pulled up to cover the calves or scrunched down around the ankles for a stylish look. They come in various lengths, colors, and patterns, allowing individuals to express their personal style.
Aside from their fashion and functional uses, leg warmers can also provide additional support and compression to the legs, helping to improve blood circulation and reduce muscle fatigue during physical activities.
Leg warmers have become a versatile accessory that can be worn for both practical and aesthetic reasons. Whether you’re looking to stay warm during cold weather, add a fashionable touch to your outfit, or enhance your performance during physical activities, leg warmers can be a stylish and practical addition to your wardrobe.
Why knit leg warmers?
Knitting leg warmers can be a fun and rewarding project for several reasons:
- Style: Leg warmers add a fashionable touch to any outfit. They can be worn with skirts, dresses, or even over leggings, giving your legs an extra layer of warmth and a stylish look.
- Customization: When you knit your own leg warmers, you have full control over the colors, patterns, and yarn type. You can create unique designs that reflect your personal style and preferences.
- Warmth: Leg warmers provide an extra layer of insulation, keeping your legs warm and cozy during the colder months. They are particularly useful for outdoor activities like hiking, skiing, or running.
- Comfort: Knitted leg warmers can be soft and comfortable to wear. Using high-quality yarns and taking care to create a good fit, you can ensure that your leg warmers feel great on your skin.
- Creative outlet: Knitting leg warmers allows you to express your creativity and enjoy a relaxing and fulfilling hobby. The repetitive nature of knitting can be meditative and therapeutic, providing a break from the busyness of everyday life.
- Gift-giving: Handmade leg warmers make thoughtful and unique gifts for friends and loved ones. You can personalize each pair to suit the recipient’s taste and style, making them feel extra special.
Whether you’re a beginner or experienced knitter, making leg warmers can be a satisfying project that combines both fashion and function.
Materials Needed
- Knitting needles – size 8 (5mm)
- Worsted weight yarn – approximately 200-300 yards
- Tapestry needle
- Scissors
- Stitch marker
- Measuring tape
Before starting your leg warmer project, make sure you have all the necessary materials. The knitting needles you will need should be size 8 (5mm) to create the desired gauge and stitch definition.
Worsted weight yarn is recommended for this project, as it provides the right thickness and warmth for leg warmers. You will need approximately 200-300 yards of yarn, depending on the length and width of the leg warmers you want to make. Choose a yarn color that suits your style and preferences.
A tapestry needle is essential for weaving in loose ends and finishing your leg warmers. Make sure you have a sharp pair of scissors for cutting yarn and a stitch marker to help you keep track of your stitches.
Finally, a measuring tape will come in handy to ensure accurate sizing and length. Take the time to measure your legs and determine the appropriate length for your leg warmers before you begin knitting.
Yarn
Yarn is the main material you will need to knit a leg warmer. It is a long continuous thread composed of fibers that can be spun into a textile. There are different types of yarn available, each with its own characteristics and properties. Here are some things to consider when choosing yarn for your leg warmer:
- Fiber content: Yarn can be made from various materials such as wool, acrylic, cotton, or a blend of different fibers. Each fiber has its own feel, look, and performance, so choose one that suits your preferences and needs.
- Weight: Yarn comes in different weights, indicated by a number on the label. The weight determines how thick or thin the yarn is, and it affects the drape and warmth of your leg warmer. Choose a weight that matches the pattern or use a different weight to achieve the desired size and density.
- Color: Yarn is available in a wide range of colors, so you have plenty of options to choose from. Consider the color you want your leg warmer to be and whether you want a solid color or a variegated yarn with multiple colors for a more vibrant look.
When purchasing yarn, make sure to buy enough to complete your leg warmer project. The amount of yarn you will need depends on the size of the leg warmer and the pattern you are following. Check the yarn label or consult the pattern instructions for guidance.
Once you have chosen your yarn, wind it into a ball or use a yarn bowl to keep it organized and easily accessible during the knitting process.
Note: It is always a good idea to practice with a small swatch before starting your leg warmer to familiarize yourself with the yarn and ensure you are happy with the chosen needle size and gauge.
Knitting needles
Knitting needles are the essential tools for any knitting project, including making leg warmers. They come in different sizes and materials, and selecting the right ones can make a big difference in the outcome of your project.
When choosing knitting needles for leg warmers, consider the following factors:
-
Size: The size of the knitting needles will determine the thickness and tightness of your stitches. The size is usually indicated by a number, with bigger numbers indicating thicker needles.
-
Material: Knitting needles can be made from various materials, such as bamboo, aluminum, or plastic. Each material has its own unique characteristics, so choose the one that feels comfortable in your hands and suits your knitting style.
To start knitting your leg warmers, you will need two knitting needles of the appropriate size and material. Check the pattern or instructions for the recommended needle size, as it may vary depending on the yarn thickness and desired tightness of the stitches.
Tape measure
A tape measure is an essential tool for knitting leg warmers. It is used to accurately measure the length and width of the leg warmers, ensuring a perfect fit. Here are some steps on how to use a tape measure:
- Start by finding a flat surface to work on, such as a table or a countertop.
- Take out your tape measure and extend it fully.
- Hold one end of the tape measure on one side of the leg and wrap it around the leg to the desired length, making sure to keep it snug but not too tight.
- Take note of the measurement indicated on the tape measure.
- Repeat the process for the other leg to ensure a symmetrical fit.
In addition to measuring the length of the leg warmers, you may also need to measure the width for the top and bottom openings. To do this, follow these steps:
- Place the tape measure at the top or bottom opening of the leg warmer and stretch it across to the opposite side.
- Again, keep the tape measure snug but not too tight.
- Take note of the measurement indicated.
- Repeat the process for the other opening.
Once you have all the necessary measurements, you can use them as a guide when knitting the leg warmers. It is important to take accurate measurements to ensure a perfect fit and avoid any discomfort when wearing the leg warmers.
Choosing a Pattern
Before you begin knitting your leg warmer, you’ll need to choose a pattern that suits your style and skill level. There are countless patterns available online and in knitting books, so take some time to browse through different designs and find one that inspires you.
When choosing a pattern, consider the following:
- Skill Level: Make sure the pattern matches your knitting abilities. If you’re a beginner, look for patterns labeled “easy” or “beginner-friendly.” If you’re more experienced, you can challenge yourself with more complex patterns.
- Style: Leg warmers come in various styles, including ribbed, textured, striped, and lacy. Find a pattern that matches your preferred style and complements your wardrobe.
- Sizing: Leg warmers can be knitted in different sizes, so choose a pattern that includes the size you need. Some patterns may also provide instructions for customizing the fit to your measurements.
- Yarn Weight: The pattern should specify the recommended yarn weight and gauge. Consider the warmth and drape you desire, and choose a yarn that matches the pattern’s requirements.
- Construction: Leg warmer patterns can vary in their construction methods, such as knitting in the round or flat. Choose a construction method that you’re comfortable with and suits your project goals.
Once you’ve identified a pattern that meets your criteria, it’s time to gather your materials and get ready to start knitting. Follow the pattern instructions carefully, and don’t be afraid to make any necessary adjustments or modifications to make the leg warmers uniquely yours.
Simple ribbed pattern
The simple ribbed pattern is a classic knitting technique that creates a stretchy and textured fabric. It is perfect for leg warmers as it gives them a snug fit and adds visual interest to the design.
To knit the simple ribbed pattern, follow these steps:
- Start with any multiple of 2 stitches. For leg warmers, you’ll need to cast on the desired number of stitches, keeping in mind that ribbing will contract the fabric, so you may want to cast on a few extra stitches.
- Row 1: *Knit 1, purl 1*, repeat from * to * until the end of the row.
- Row 2: *Purl 1, knit 1*, repeat from * to * until the end of the row.
- Repeat rows 1 and 2 until you reach the desired length for your leg warmers.
- Bind off the stitches in pattern.
By repeating rows 1 and 2, you will create a ribbed pattern that alternates between knit and purl stitches. This creates the characteristic raised ridges and creates a fabric that stretches easily. The knit stitches will be slightly raised, while the purl stitches will be recessed.
The simple ribbed pattern is great for beginners as it only requires two basic stitches: knit and purl. It also adds some texture and visual interest to your leg warmers, making them look more professional and stylish.
Feel free to experiment with different variations of ribbing, such as a 1×1 rib (knit 1, purl 1) or a 2×2 rib (knit 2, purl 2), to create different effects with your leg warmers.
Cable stitch pattern
The cable stitch pattern is a classic knitting technique that adds texture and depth to any knitted project. In this step-by-step guide, we will show you how to create a beautiful cable stitch pattern for your leg warmers.
What you’ll need:
- Knitting needles
- Yarn
- Cable needle
Instructions:
- Start by casting on the desired number of stitches for your leg warmer. For example, if you want a 24-stitch cable pattern, cast on 24 stitches.
- Knit the first few rows in a basic knit stitch to create a border for your leg warmer.
- Once you have your border, it’s time to start the cable stitch pattern. The cable pattern is typically worked over a certain number of stitches, with some stitches held in the back or front while others are being worked.
- For a simple cable stitch pattern, you will work the following steps:
- Take the first few stitches (for example, 4 stitches) and hold them in the back of your work using the cable needle.
- Knit the next few stitches (for example, 4 stitches) as usual.
- Now, knit the stitches that were held in the back using the cable needle.
- Finish the pattern by knitting the remaining stitches in the row.
- Repeat steps 4 and 5 for the desired length of your leg warmer, making sure to always work the cable stitch pattern on the same stitches.
- Once you have finished knitting the leg warmer, bind off the stitches and weave in any loose ends.
Tips:
- When working with cable stitches, it’s important to keep your tension consistent. This will help maintain the shape and definition of the cables.
- If you’re new to cables, start with a simple pattern and gradually increase the complexity as you gain more experience.
- Experiment with different cable stitch patterns to create unique designs for your leg warmers.
With these step-by-step instructions, you can easily create a beautiful cable stitch pattern for your leg warmers. Get creative with different cable designs and make a cozy and stylish accessory to keep your legs warm in colder weather.
Lace stitch pattern
Creating a lace stitch pattern can add a beautiful and intricate design to your leg warmers. Here is a step-by-step guide on how to knit a lace stitch pattern:
- Start with a multiple of stitches that works for your desired lace pattern. For example, you can use a multiple of 4 stitches for a basic lace pattern.
- Row 1: Knit all stitches.
- Row 2: Purl all stitches.
- Row 3: *Knit 2 together, yarn over, repeat from * to the end of the row.
- Row 4: Purl all stitches.
- Row 5: Knit all stitches.
- Row 6: Purl all stitches.
- Repeat rows 1-6 until you have reached the desired length for your leg warmers.
Remember, lace stitch patterns can vary greatly, so feel free to experiment with different combinations of stitches and yarn overs to create a unique design. Don’t forget to keep track of your row count to maintain consistency in your leg warmers.
Once you have finished knitting the lace stitch pattern, you can continue with the rest of the leg warmer pattern instructions to complete your project. Happy knitting!
FAQ:
What materials do I need to knit a leg warmer?
To knit a leg warmer, you will need knitting needles, yarn, and a tape measure. The size of the needles and the weight of the yarn will depend on the desired thickness and texture of the leg warmer.
How long does it take to knit a leg warmer?
The time it takes to knit a leg warmer can vary depending on your knitting speed and the complexity of the pattern. On average, it may take a few hours to complete a basic leg warmer.
Are there any specific knitting techniques I should know for this project?
For knitting leg warmers, you will need to know basic knitting stitches such as casting on, knitting, purling, and binding off. You may also need to know ribbing or cable stitches, depending on the pattern you choose.
Can I knit leg warmers with circular needles?
Yes, you can use circular needles to knit leg warmers. Circular needles are a great option as they can hold a large number of stitches and make it easier to knit in the round.
Can I customize the size of the leg warmers?
Yes, you can customize the size of the leg warmers by adjusting the number of stitches and rows in the pattern. You can use a tape measure to measure the circumference and length of your leg to ensure a perfect fit.
Do I need to have any previous knitting experience to knit leg warmers?
It is helpful to have some basic knitting experience before attempting to knit leg warmers. You should be comfortable with knitting and purling, as well as following a knitting pattern. However, there are beginner-friendly leg warmer patterns available that can be great for learning new skills.


