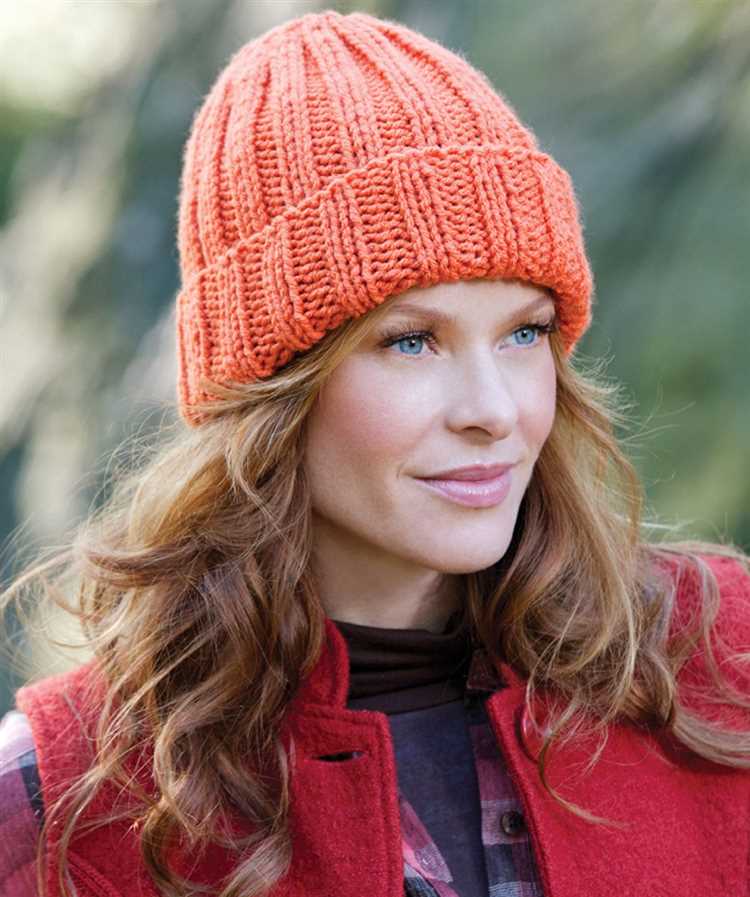
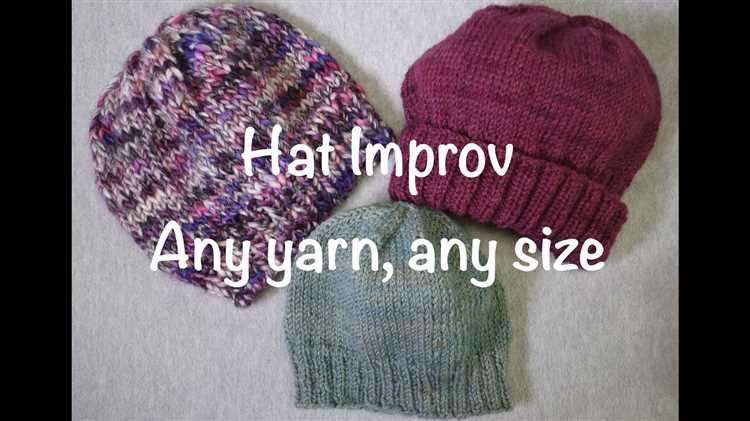
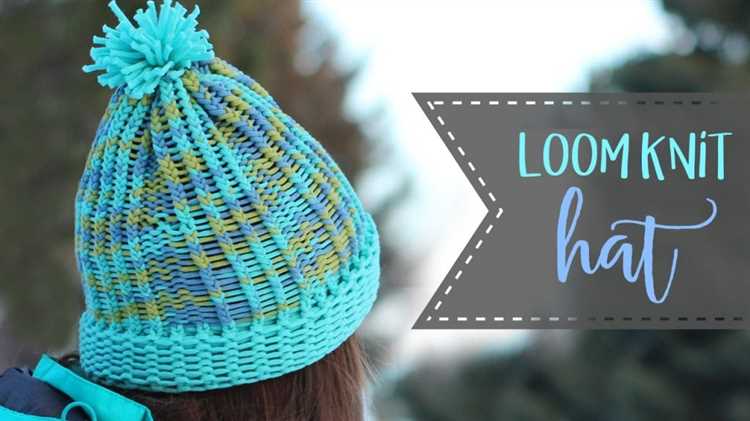
If you’ve always wanted to learn how to knit but didn’t know where to start, you’re in luck! Knitting a hat is a great beginner project that can teach you the basics of knitting while also giving you a useful and stylish accessory to wear. In this step-by-step guide, we’ll walk you through the process of knitting a hat from start to finish.
Before we dive into the knitting, let’s talk about the materials you’ll need. You’ll need a pair of knitting needles and some yarn. It’s best to choose a medium-weight yarn that is easy to work with. You’ll also need a yarn needle for finishing off your hat. Once you have all your materials gathered, you’re ready to get started!
The first step is to cast on your stitches. This is the foundation of your hat and will determine the size. There are several ways to cast on stitches, but the long-tail cast on is a popular choice for hats. Once you’ve cast on your stitches, you’ll begin working in the round. This means that instead of knitting back and forth in rows, you’ll be creating a seamless tube.
Pro tip: If you’re new to knitting in the round, it can be helpful to use circular needles instead of straight needles. Circular needles allow you to knit in the round without having to switch to double-pointed needles. Plus, they’re more comfortable to hold!
Once you’re comfortable with knitting in the round, you’ll begin working the body of the hat. This is where you can get creative with different stitch patterns and colors. You can choose a simple stockinette stitch for a classic look, or experiment with ribbing, cables, or even colorwork. The body of the hat is a great place to let your creativity shine!
Benefits of Knitting
Knitting is more than just a hobby – it offers a wide range of benefits for both the mind and body. Here are some of the top benefits of knitting:
- Relaxation: Knitting can be a soothing and calming activity, helping to reduce stress and anxiety. The repetitive motions of knitting can promote a state of relaxation and mindfulness.
- Creativity: Knitting allows you to tap into your creative side. You can choose different yarns, colors, and patterns to create unique pieces. The possibilities are endless, and you can express your individuality through your knitting projects.
- Mental Stimulation: Knitting requires concentration and focus, which helps keep your brain active. It can improve cognitive function and memory, and may even help reduce the risk of developing conditions like dementia.
- Social Connection: Knitting can be a social activity, whether you join a knitting group or take part in knitting circles. It provides an opportunity to meet like-minded individuals, share ideas, and foster connections and friendships.
- Stress Relief: Engaging in a creative activity like knitting can help lower your stress levels. It can act as a form of meditation, allowing you to focus on the present moment and take a break from the worries of daily life.
- Sense of Accomplishment: Completing a knitting project gives a sense of satisfaction and accomplishment. It allows you to see a tangible result of your efforts and can boost your self-esteem.
- Hand-Eye Coordination: Knitting involves coordinating your hands and eyes, which can improve hand-eye coordination and fine motor skills. It can be particularly beneficial for individuals with conditions that affect dexterity, such as arthritis.
- Gift-Giving: Knitted items make heartfelt and personal gifts for friends and family. You can create scarves, hats, gloves, and blankets that are not only practical but also filled with love and care.
These are just a few of the many benefits that knitting can offer. Whether you’re a beginner or an experienced knitter, picking up your needles and yarn can have a positive impact on your overall well-being.
Basic Knitting Tools and Materials
Before you start knitting a hat, you will need a few basic tools and materials to get started. Here is a list of essential items you will need:
- Knitting Needles: Choose a pair of knitting needles suitable for your chosen yarn. The size of the needles will depend on the yarn weight and the pattern you are using.
- Yarn: Select a yarn of your choice for your hat project. Consider the weight, fiber content, and color of the yarn. This will also depend on the pattern you are following.
- Tapestry Needle: A tapestry needle is used for weaving in loose ends of yarn and assembling the finished hat.
- Scissors: A pair of sharp scissors is essential for cutting the yarn and trimming any loose ends.
- Stitch Markers: Stitch markers are helpful for keeping track of specific points in your knitting, such as the beginning of a round or a particular stitch pattern.
- Measuring Tape: A measuring tape is useful for checking the gauge of your knitting and ensuring the correct size of the hat.
- Row Counter: A row counter is a useful tool for keeping track of your knitting rows, especially if you are working on a pattern with multiple increases or decreases.
- Knitting Gauge Tool: A knitting gauge tool helps you measure the gauge of your knitting to ensure it matches the pattern requirements.
- Pattern: Choose a knitting pattern for the hat you want to make. Make sure to read and understand the instructions before starting.
These tools and materials will give you a good start in knitting a hat. As you gain more experience, you may find additional tools that suit your knitting style and preferences. Happy knitting!
Choosing Yarn for Your Hat
When it comes to knitting a hat, one of the most important decisions you’ll make is choosing the right yarn. The yarn you choose will not only determine the look and feel of your hat but can also affect how easy or difficult it is to knit. Here are some factors to consider when selecting yarn for your hat:
- Fiber: The type of fiber used in the yarn will affect the warmth, softness, and durability of the hat. Common fiber choices for hats include wool, acrylic, and alpaca. Wool is known for its warmth and elasticity, acrylic is affordable and easy to care for, and alpaca is incredibly soft and luxurious.
- Weight: The weight of the yarn refers to its thickness. The weight you choose will impact the overall look and feel of your hat. Bulky yarn will create a chunky and cozy hat, while fingering weight yarn will result in a lightweight and delicate hat. Consider the season and how warm you want your hat to be when selecting the weight.
- Color: The color of the yarn is a personal choice and will depend on your preference and the style you’re going for. Some knitters prefer solid colors for a classic look, while others enjoy experimenting with variegated or self-striping yarns for a more vibrant and unique hat.
- Yardage: Before purchasing yarn, make sure to check the yardage on the label. The amount of yarn you’ll need for your hat will depend on its size and the weight of the yarn. It’s always a good idea to buy extra yarn to avoid running out in the middle of your project.
- Price: Yarn can vary greatly in price, so it’s important to consider your budget when selecting yarn for your hat. While there are affordable options available, keep in mind that higher-quality yarns often produce a better result and may be worth the investment.
Once you’ve considered these factors, it’s time to head to your local yarn store or browse online to find the perfect yarn for your hat. Remember that the yarn you choose can greatly impact the final outcome, so take your time and enjoy the process of selecting the perfect yarn for your knitting project.
Casting On: Starting Your Hat
Before you can start knitting your hat, you need to cast on the stitches. This is the foundation of your knitting project and will determine the size and fit of your hat.
To cast on, follow these steps:
- Hold your knitting needles together, with the working yarn at the back.
- Make a slipknot by creating a loop with the yarn.
- Place the slipknot on one of the needles and tighten it.
- Hold the needle with the slipknot in your right hand and the empty needle in your left hand.
- Insert the empty needle from left to right into the slipknot loop on the other needle.
- Bring the working yarn between the needles and wrap it around the empty needle.
- Use the needle to pull the yarn through the slipknot loop, creating a new loop on the empty needle.
- Slide the new loop onto the right-hand needle, leaving the old loop on the left-hand needle.
- Repeat steps 5-8 until you have cast on the desired number of stitches for your hat.
Once you have finished casting on, you are ready to start knitting your hat. The number of stitches you cast on will depend on the size and style of hat you want to create.
Remember to keep your tension even while casting on to ensure a consistent and neat edge for your hat.
Knitting the Body of the Hat
Once you have finished knitting the ribbing for your hat, it’s time to start knitting the body. The body of the hat is where you will create the length and shape of the hat.
Follow these steps to knit the body of the hat:
- Continue in the pattern: If you are following a specific stitch pattern, such as a cable or lace pattern, continue working in that pattern for the body of the hat. If you are not following a specific pattern, continue working in the main stitch pattern you have established, such as stockinette stitch or garter stitch.
- Work in the round: If you are using circular needles, continue working in the round. If you are using straight needles, you will need to switch to knitting flat and sew the seam later.
- Knit in your chosen stitch pattern: Repeat the desired stitch pattern for the designated number of rounds or until the hat reaches your desired length. Remember to keep track of your rounds if you are using a stitch pattern that requires a specific number of rows.
- Measure your hat: To ensure that your hat is the correct length, measure it from the base of the ribbing to the desired length. Keep in mind that the hat will stretch when worn, so it’s better to err on the side of making it slightly shorter rather than longer.
- Shape the crown: Once the body of the hat is the desired length, it’s time to shape the crown. This can be done through decreasing stitches. There are various ways to shape the crown, such as using simple decreases or more elaborate stitch patterns. Follow a pattern or experiment with different decrease techniques to create the desired crown shape.
- Bind off: Once the crown shaping is complete, it’s time to bind off your stitches. Use your preferred bind-off method to secure the stitches and finish the hat.
- Weave in ends: Lastly, weave in any loose ends using a yarn needle to give your hat a neat and finished look.
Now that you have completed the body of the hat, you can try it on and admire your knitting skills. The next step will be to block your hat to help it hold its shape and achieve a polished appearance.
Decreasing and Shaping the Crown
Once you have reached the desired length for your hat, it’s time to start decreasing and shaping the crown. This is where you will create the tapered shape that fits snugly on the head.
- Divide your stitches evenly onto three or four double-pointed needles, depending on the number of stitches you have.
- Begin the first round of decreasing by knitting two stitches together. This reduces the number of stitches in the round by one.
- Continue knitting each stitch until you reach the last two stitches of the round. Knit these two stitches together to decrease by one more stitch.
- Repeat the last two steps for all rounds until you have a few stitches left on your needles.
- Cut the yarn, leaving a long tail. Thread the tail through the remaining stitches and pull tight to close the top of the hat.
This process creates a neat, tapered shape at the top of the hat. It’s important to evenly distribute your decreases throughout the round to maintain an even shape.
Once you have finished closing the top of the hat, weave in any loose ends and trim off excess yarn. Your hat is now complete and ready to be worn or gifted to a lucky recipient!
Remember, practice makes perfect when it comes to knitting. Don’t be discouraged if your first hat doesn’t turn out exactly as planned. With time and experience, you’ll become more comfortable with the process and be able to create hats that fit perfectly and showcase your unique style.
Finishing Touches: Binding Off and Sewing Weaving Ends
After you have completed knitting the body of your hat, it’s time to finish off the edges and weave in any loose ends. This final step will give your hat a clean and polished look.
Binding Off
To bind off, start by knitting the first two stitches as you normally would. Then, using your left needle, lift the first stitch over the second stitch and off the right needle. This is known as “binding off.” Continue knitting the next stitch and binding it off until you have reached the end of the row.
After you have bound off all the stitches, cut the yarn, leaving a tail that is about 6 inches long. Thread the tail through the last stitch and pull it tight to secure it.
Sewing Weaving Ends
Next, you will need to sew in any loose ends. Take a tapestry needle and thread it with the yarn tail. Insert the needle into the stitches on the wrong side of the hat and weave it back and forth, making sure to go under the yarn strands to secure it in place.
Continue weaving the yarn tail until you have gone through several stitches. Trim any excess yarn, leaving a small tail that will be hidden inside the hat.
Repeat the binding off and sewing weaving ends process for any other edges or loose ends on your hat, such as the brim or any design elements.
Once you have finished binding off and sewing weaving all the loose ends, your hat is complete! Give it a final inspection to make sure everything is secure and tidy. Now you can proudly wear your handmade knitted hat or give it as a thoughtful gift.
FAQ:
What supplies do I need to knit a hat?
To knit a hat, you will need knitting needles, yarn, a tapestry needle, and scissors.
What type of yarn is best for knitting a hat?
The best yarn for knitting a hat is usually a medium-weight yarn, such as worsted weight or bulky weight yarn. This type of yarn will give your hat a nice, cozy feel.
Can I use circular needles to knit a hat?
Yes, circular needles are a great option for knitting a hat. They allow you to knit in the round without having to seam the hat later.
How do I cast on stitches to start knitting a hat?
To cast on stitches for a hat, you can use the long-tail cast on method. This method creates a neat, flexible edge.
What stitches do I need to know to knit a hat?
To knit a hat, you will need to know how to knit and purl stitches. These basic stitches will allow you to create a variety of textures and patterns on your hat.
Can I add a pom-pom to my knitted hat?
Yes, adding a pom-pom to your knitted hat is a fun way to customize your project. You can use the same yarn as your hat or a contrasting color to create a playful look.


