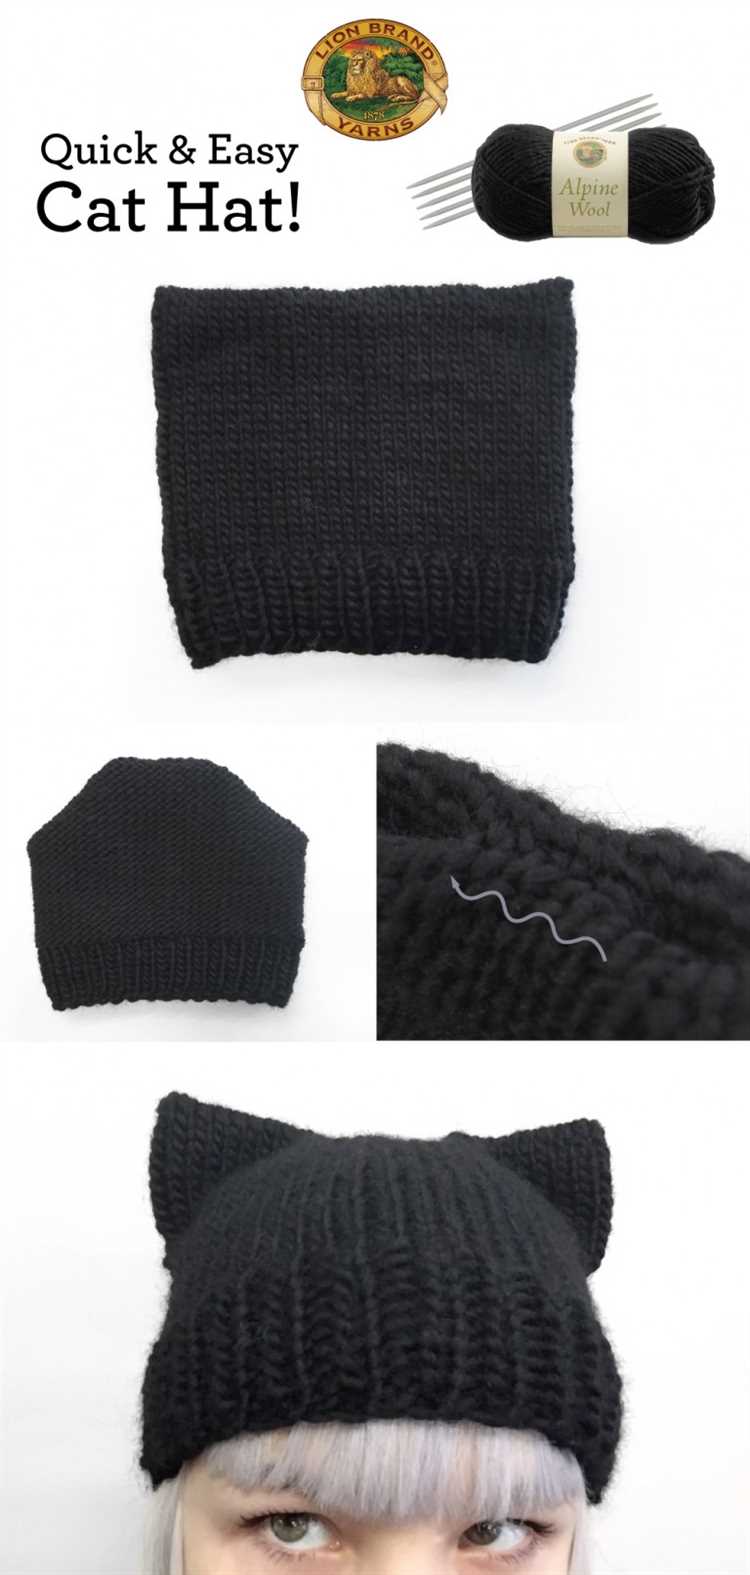
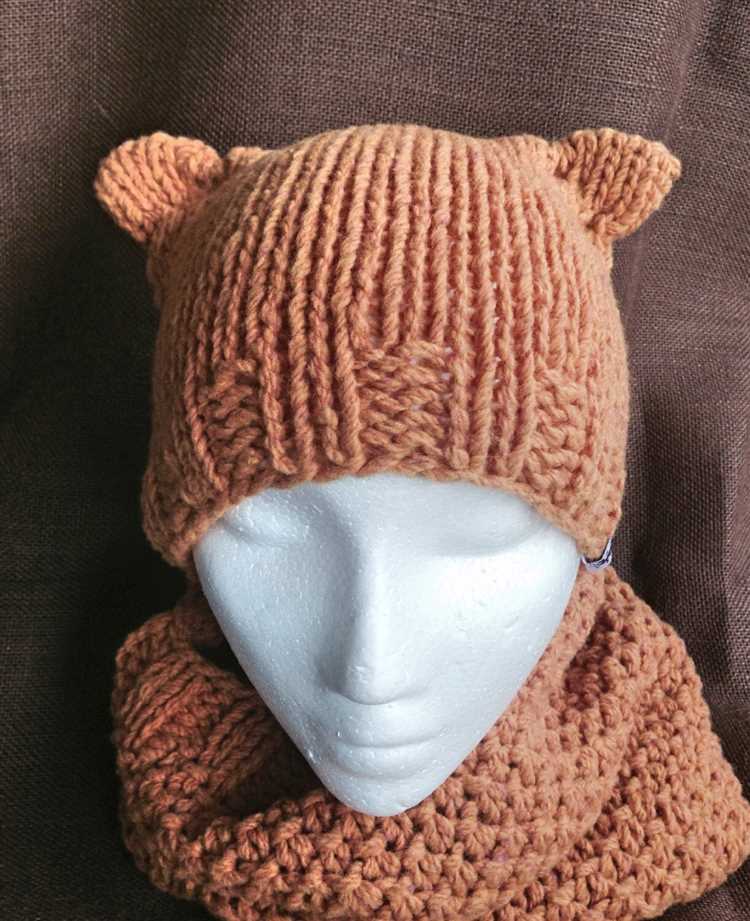
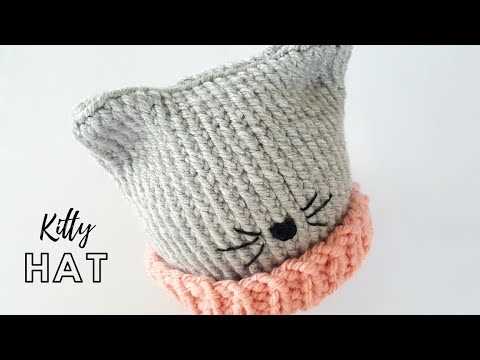
Knitting can be a relaxing and rewarding hobby, and what better way to show off your newfound skills than by making a cute cat hat? Whether you’re a complete beginner or have some knitting experience under your belt, this step-by-step guide will walk you through the process of making a cat hat for your furry friend.
Materials needed:
– Worsted weight yarn
– Pair of knitting needles (size 8 or 9)
– Stitch markers
– Tapestry needle
– Measuring tape
Step 1: Measure your cat’s head
Before you start knitting, it’s important to measure your cat’s head to ensure the hat will fit properly. Use a measuring tape to measure the circumference of their head, starting from the base of their ears and going around their forehead.
Step 2: Cast on stitches
Using your chosen yarn and knitting needles, cast on the required number of stitches, which will vary depending on the size of your cat’s head. A good starting point is to cast on about 60 stitches for an average-sized cat, but adjust as needed based on your measurements.
Step 3: Knit in the round
Join the cast on stitches in a circle and place a stitch marker to mark the beginning of the round. Knit all stitches in the round using the stockinette stitch pattern (knit one round, purl one round) until the hat measures approximately 1 inch less than the desired length, keeping in mind that the brim will fold up.
Step 4: Decrease stitches
To shape the crown of the hat, start decreasing stitches. Follow a decrease pattern such as knit two stitches together, knit two stitches, repeat to the end of the round. Continue decreasing every other round until you have a small number of stitches left.
Step 5: Finish the hat
Once you have a few stitches left, cut the yarn, leaving a long tail. Thread the tail through a tapestry needle and draw it through the remaining stitches, removing them from the knitting needle. Pull tight to close the top of the hat. Weave in any loose ends, fold up the brim, and your cat hat is complete!
Now your feline friend can stay warm and stylish in their new handmade hat. With practice, you can experiment with different yarn colors and patterns to create unique hats for your kitty. So grab your knitting needles and get started on this fun and creative project!
Gathering the materials
Before you start knitting your cat hat, you will need to gather all the necessary materials. Here’s a list of what you will need:
- Knitting needles: Choose a pair of knitting needles in the size recommended for your yarn. A size US 8 (5mm) needle is usually a good choice for a cat hat.
- Yarn: Pick a soft and warm yarn suitable for the hat. Worsted weight yarn is a common choice for cat hats.
- Tapestry needle: This needle will be used for sewing up the seams.
- Scissors: You’ll need a good pair of scissors for cutting the yarn.
- Measuring tape: This will help you measure your cat’s head size for a perfect fit.
- Stitch markers: These will be useful for marking specific stitches or sections in your knitting.
- Row counter: If you tend to lose track of your rows, a row counter can be helpful for keeping count.
Once you have gathered all the materials, you’re ready to move on to the next step in knitting your cat hat.
Choosing the right yarn and needles
When it comes to knitting a cat hat, selecting the right yarn and needles is essential for achieving the desired result. Here are some tips to help you choose the perfect materials:
- Yarn weight: Consider the weight of the yarn you want to use. For a cat hat, a medium-weight (also known as worsted weight or Aran weight) yarn is generally a good choice. It provides a nice balance between warmth and flexibility.
- Fiber content: Opt for a yarn that is soft and comfortable for your feline friend. Popular options include acrylic, cotton, and wool blends. Make sure to consider any allergies your cat may have before choosing a yarn.
- Color and pattern: Select a color and pattern that you think will look adorable on your cat! Have fun with it and let your creativity shine.
When it comes to needles, here are some factors to consider:
- Needle size: The size of needles you use will depend on the yarn weight you have chosen. Check the yarn label for the recommended needle size range. For a cat hat, a set of double-pointed needles in a size appropriate for your yarn (typically around US 7 to US 9) is commonly used.
- Material: Needles come in a variety of materials, such as bamboo, metal, or plastic. Choose a material that feels comfortable and suits your knitting style.
- Length: For knitting in the round, it is recommended to use double-pointed needles or circular needles. The length of the needles will depend on the circumference of the hat you are knitting. For a cat hat, needles around 8 to 9 inches long should work well.
Remember to consider your personal preferences and the specific needs of your project when selecting yarn and needles. Have fun experimenting and finding the perfect materials for your cat hat!
Creating a gauge swatch
Before you start knitting your cat hat, it’s important to create a gauge swatch to ensure that your stitches are the correct size. This will help ensure that your hat fits snugly and is the right size for your cat.
To create a gauge swatch, you’ll first need to choose your knitting needles and yarn. It’s essential to use the same materials that you’ll be using for the cat hat for accurate results.
Here’s how you can create a gauge swatch:
- Cast on a few stitches using your chosen knitting needles and yarn. It’s a good idea to cast on a multiple of 4 or 8 stitches to make it easier to measure your gauge later.
- Knit a few rows in your chosen stitch pattern. This will give you an idea of how your stitches will look in the final hat.
- Measure the width and height of your swatch using a ruler or tape measure. The width is the number of stitches per inch, and the height is the number of rows per inch.
- Calculate your gauge by dividing the number of stitches by the width of the swatch and the number of rows by the height of the swatch.
- If your gauge doesn’t match the recommended gauge for the cat hat pattern, you may need to adjust your knitting needles or yarn size to achieve the correct gauge. You can also try knitting more tightly or more loosely to change your gauge.
Creating a gauge swatch may seem like an extra step, but it will save you time and frustration in the long run. By ensuring that your stitches are the correct size, you’ll be able to knit a cat hat that fits your feline friend perfectly.
Casting on stitches
Before you begin knitting the cat hat, you need to start by casting on stitches. Casting on is the process of creating a foundation row of stitches on your knitting needle.
To cast on stitches for your cat hat, follow these step-by-step instructions:
- Hold your knitting needle in your right hand and the end of the yarn in your left hand. Leave a long enough tail to weave in at the end.
- Make a slip knot by folding the yarn in a loop and pulling the end through the loop. Place the slip knot onto the needle, leaving a short tail of yarn.
- Hold the needle with the slip knot in your right hand and the loose yarn end in your left hand.
- Insert the right-hand needle into the slip knot from left to right, with the yarn end on top.
- Wrap the loose yarn end around the right-hand needle counterclockwise.
- Using your right-hand needle, pull the loop of yarn through the slip knot, creating a new stitch on the right-hand needle. This is called the knit stitch.
- Repeat steps 4 to 6 until you have cast on the desired number of stitches for your cat hat. Make sure to keep the stitches loose enough to easily work with.
Once you have finished casting on the stitches, you are ready to start knitting the cat hat! The next step is to begin the first row of knitting, which is called the knit stitch row.
Remember to practice your casting on technique a few times if you are new to knitting. It may take some time to get comfortable with the process, but with practice, you will be able to cast on stitches quickly and confidently.
Knitting the brim and body of the hat
Once you have cast on the desired number of stitches for your cat hat, it’s time to start knitting the brim. The brim is the part of the hat that covers the forehead and keeps the hat in place.
Here’s how you can knit the brim:
- Row 1: Knit all stitches.
- Row 2: Purl all stitches.
- Repeat rows 1 and 2: Continue knitting in a rib stitch pattern, alternating between knitting and purling, until the brim reaches your desired length. A common length for a cat hat’s brim is 1-2 inches.
Once you’re satisfied with the length of the brim, you can start knitting the body of the hat. The body is the main part that covers the top of your cat’s head.
Here’s how you can knit the body:
- Row 1: Knit all stitches.
- Repeat row 1: Continue knitting all stitches in every row until the body reaches the desired length. The length will depend on how long you want the hat to cover your cat’s head.
Remember to measure your cat’s head circumference while knitting to ensure the hat will fit properly. You can also try the hat on your cat occasionally to check the fit.
Once the body reaches the desired length, it’s time to finish off your cat hat by binding off the stitches. This will secure the stitches and prevent them from unraveling.
Congratulations! You have now completed the brim and body of your cat hat. The next step is to sew any remaining open edges together to form the hat shape. Check out the next section for more information on how to sew and finish your cat hat.
Shaping the crown
Once you have completed the ribbing and body of the hat, it’s time to shape the crown. This is where the hat starts to take its cat shape.
To shape the crown, you will need to decrease stitches in a specific pattern. Here’s how to do it:
- Knit the first two stitches together to decrease one stitch.
- Purl the next stitch.
- Repeat steps 1 and 2 until the end of the round.
Continue knitting the decrease row until you have reached the desired number of stitches. This will depend on the size of the hat and the desired fit.
After completing the decrease rows, you can finish off the crown by threading the yarn through the remaining stitches and pulling tight to close the top of the hat.
Once the crown is shaped and closed, you can weave in any loose ends and trim them to finish off the hat. You can also add any embellishments or ears to give your hat that extra cat-like touch.
And there you have it! You have successfully knitted a cat hat. Now your furry friend will be ready for the colder months in style.
Binding off and finishing touches
Once you have completed knitting the cat hat, it’s time to bind off and add the finishing touches to give it a polished look.
To bind off, follow these steps:
- Knit the first two stitches as usual.
- Insert the left-hand needle into the first stitch on the right-hand needle.
- Lift the first stitch over the second stitch and off the right-hand needle, leaving only the second stitch on the right-hand needle.
- Knit the next stitch as usual. Repeat steps 2 and 3 until only one stitch remains on the right-hand needle.
- Cut the yarn, leaving a tail that is long enough to weave through the remaining stitch.
- Thread the tail through the last stitch and pull tightly to secure.
Now that the hat is bound off, it’s time to add the final touches:
- Weave in any loose ends of yarn using a tapestry needle. This will ensure that the hat looks neat and there are no loose threads.
- Try the hat on your cat to check the fit. Make any necessary adjustments by stretching or reshaping the hat.
- If desired, you can embellish the hat with decorations such as pompoms, buttons, or ribbons. Simply sew or glue them onto the hat using a needle and thread or fabric glue.
- Give the hat a final inspection to make sure there are no loose stitches or other imperfections. Make any necessary repairs.
Once you are satisfied with the appearance of the cat hat, it’s ready to be worn by your furry friend! Enjoy watching your cat’s adorable transformation and take plenty of pictures to cherish the moment.
Admiring your completed cat hat
Congratulations on completing your cat hat! Now it’s time to admire your creation and see how it looks on your feline friend.
1. Try it on your cat
Gently place the hat on your cat’s head, making sure it fits comfortably and securely. Take a step back and observe how adorable your cat looks wearing the hat. If your cat seems uncomfortable or tries to remove the hat, it may be best to remove it and try again at a later time.
2. Take some pictures
Now that your cat is wearing the hat, it’s the perfect time to capture some cute photos. Make sure to have your camera or phone ready and take a few shots from different angles. These photos will be great keepsakes and can also serve as inspiration for future knitting projects.
3. Show off your cat’s hat to family and friends
Share the adorable pictures of your cat wearing the hat with your loved ones. Post them on social media or send them in a message to your friends and family. They will surely appreciate the cuteness overload!
4. Consider making more hats
If you enjoyed the process of knitting the cat hat and your cat seems to enjoy wearing it, you might consider making more hats in different colors or patterns. Knitting is a relaxing and rewarding hobby, and your cat will appreciate having a collection of stylish hats to choose from.
5. Care for the hat
To ensure the longevity of the hat, it’s important to properly care for it. Hand wash the hat using mild detergent and lukewarm water. Gently squeeze out the excess water and lay the hat flat to dry. Avoid wringing or twisting the hat, as this may distort its shape.
6. Enjoy the warmth and cuteness
Now that your cat has a cozy hat, they will be protected from the cold weather while looking adorable. Enjoy the warmth and cuteness that the cat hat brings to your furry friend.
Remember, knitting is a wonderful skill that allows you to create unique and personalized items. With practice, you can explore different patterns and designs to create hats and other accessories for your cat. Happy knitting!
FAQ:
What materials do I need to knit a cat hat?
To knit a cat hat, you will need knitting needles, a knitting yarn suitable for cat hats, a tape measure, and a yarn needle.
What size should the finished cat hat be?
The size of the cat hat will depend on the size of the cat’s head. Measure the circumference of your cat’s head and adjust the pattern accordingly. It’s best to make the hat slightly smaller than the head circumference to ensure a snug fit.
Is knitting a cat hat difficult for beginners?
No, knitting a cat hat can be a beginner-friendly project. The pattern typically includes basic stitches and simple shaping techniques. With some practice and patience, even a beginner knitter can successfully knit a cat hat.
Can I use any knitting yarn for a cat hat?
While you can technically use any knitting yarn for a cat hat, it’s recommended to choose a yarn that is suitable for animal accessories. Look for a yarn that is soft, durable, and easy to wash. Avoid using yarns with loose fibers that could irritate a cat’s skin.
How long does it take to knit a cat hat?
The time it takes to knit a cat hat can vary depending on your knitting speed, the complexity of the pattern, and your experience level. On average, it may take a few hours to a couple of days to complete a cat hat.


