Are you looking for a fun and creative way to make your own cozy scarf? Look no further! Finger knitting is a simple and enjoyable technique that allows you to create beautiful knitted pieces using just your hands and some yarn. Whether you’re a beginner or an experienced knitter, finger knitting is a great skill to have in your repertoire.
In this step-by-step guide, we will walk you through the process of finger knitting a cozy scarf. You’ll learn how to choose the right yarn, how to cast on, how to knit stitches, and how to bind off. With just a few hours of your time, you’ll have a warm and stylish scarf that you can wear or give as a thoughtful handmade gift.
One of the best things about finger knitting is that it requires minimal supplies. All you need is some soft and chunky yarn, your hands, and a bit of patience. Unlike traditional knitting, there are no needles involved, making finger knitting a great option for those who may find knitting needles cumbersome or challenging. So, grab your yarn and let’s get started on this exciting finger knitting adventure!
Note: Finger knitting is a versatile technique that can be used to create a variety of items, not just scarves. Once you’ve mastered the basic finger knitting stitch, you can experiment with different yarns and patterns to create blankets, hats, and even home decor.
Gather Your Materials
Before you start finger knitting your cozy scarf, make sure you have all the necessary materials. Here is a list of what you will need:
- Yarn: Choose a yarn in your preferred color and thickness. Make sure it is suitable for finger knitting.
- Scissors: You will need a pair of scissors to cut the yarn.
- Tapestry Needle (optional): This is only necessary if you want to weave in any loose ends of yarn.
Once you have gathered all your materials, you are ready to move on to the next step: Casting On.
Start Knitting
Once you have gathered all the materials you need, it’s time to start finger knitting your cozy scarf. Follow these simple steps:
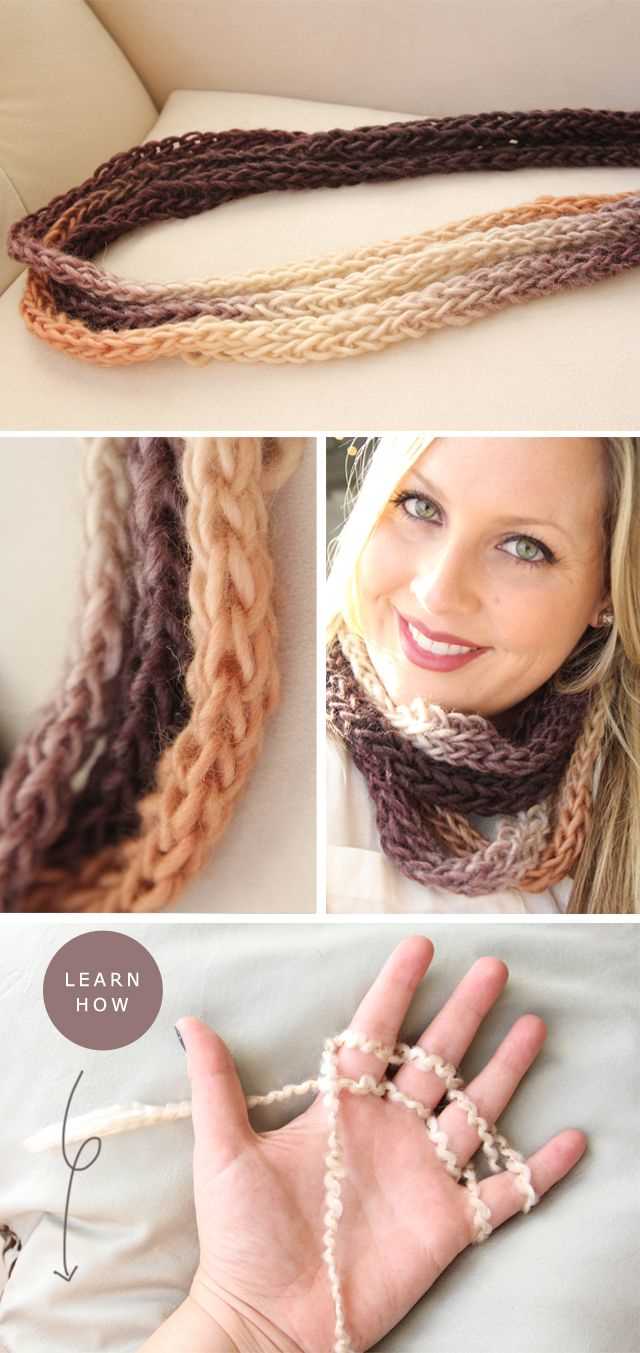
- Begin by making a slip knot. To do this, wrap the yarn around your finger twice, pull the second loop through the first loop, and tighten.
- Place the slip knot on your index finger of your non-dominant hand. This will serve as your starting point.
- Take the working yarn (the yarn that is connected to the ball) and weave it over and behind your four fingers of your non-dominant hand.
- Bring the working yarn up towards your index finger and weave it behind your index finger.
- Loop the working yarn around your index finger and bring it back towards the rest of your fingers.
- Now take your dominant hand and use your fingers to pull the loop of the working yarn through the loop that is on your index finger of your non-dominant hand.
- Gently tug on the working yarn to tighten the loop on your finger, but not too tight.
- Repeat steps 3-7 to create more loops on your fingers. This will create the foundation row of your scarf.
Continue finger knitting and creating more rows until you reach your desired scarf length. Remember to leave a long enough tail of yarn at the end for finishing off your project.
Once you have finished knitting your scarf, you can bind off by carefully removing the loops from your fingers and pulling the tail of yarn through the loops to secure them. Trim any excess yarn and your cozy finger-knit scarf is ready to wear!
Create the Length
Once you have your starting row, it’s time to create the length of your scarf. Here’s how:
- Take the working yarn and loop it around your pinky finger.
- Bring the yarn across the back of your hand and loop it around your index finger.
- Continue to loop the yarn around each finger, moving from your middle finger to your ring finger, and finally your pinky finger again.
- Once you’ve looped the yarn around your fingers, start at your pinky finger and lift the bottom loop up and over your finger, dropping it off completely. Repeat this for each finger until there is only one loop left on each finger.
- Repeat steps 1-4 until you reach the desired length for your scarf. You can measure the length by holding the scarf up to your body or using a measuring tape. Keep in mind that the length of the finger-knitted loops will stretch when the scarf is worn.
As you work on creating the length of your scarf, make sure to keep an eye on your tension. If you’re pulling the yarn too tightly, the loops will be difficult to work with, and if you’re leaving the loops too loose, the scarf will become too wide. Finding the right tension may take some practice, so don’t be discouraged if it doesn’t come easily at first.
Once you’ve reached the desired length, you’re ready to finish off your scarf. In the next section, you’ll learn how to bind off and add any finishing touches to complete your finger-knitted scarf.
Add Some Style
Once you’ve mastered the basic finger knitting technique and have completed your cozy scarf, it’s time to add some style to your creation. Here are some ideas to make your scarf unique and personalized:
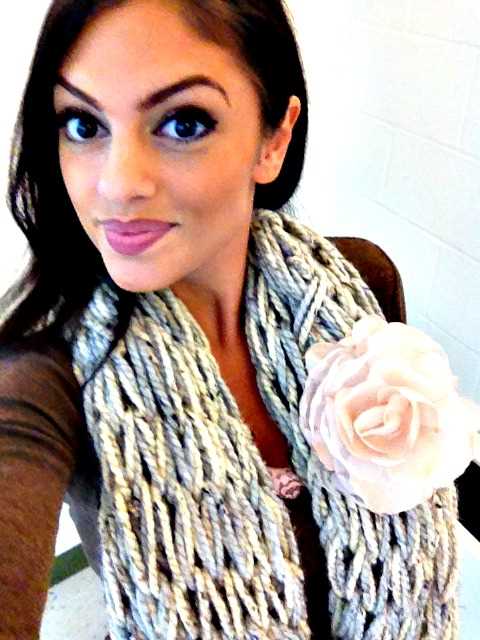
- Experiment with Different Yarns: Try using different types of yarn to create different textures and patterns. You can use chunky yarn for a cozy and warm scarf, or variegated yarn for a colorful and eye-catching design.
- Add Embellishments: Embellish your scarf with buttons, beads, or sequins to add a touch of sparkle and glamour. You can sew them onto one end of the scarf or scatter them throughout for a more whimsical look.
- Create Patterns: Instead of knitting a plain scarf, experiment with different patterns and stitches. You can create stripes by changing colors every few rows, or try a more complex stitch pattern such as cables or lace for an intricate design.
- Add Fringe: Attach fringe to the ends of your scarf to give it a boho-inspired look. You can use yarn of the same color or a contrasting color to add a pop of color and movement.
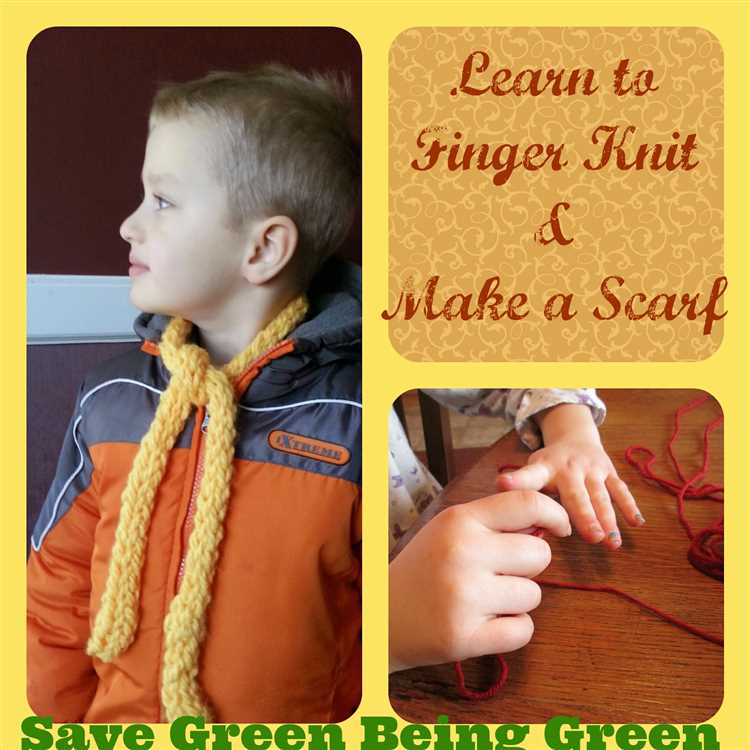
- Try Different Lengths: Instead of knitting a traditional long scarf, try making a shorter neck scarf or an infinity scarf that you can loop around your neck. Different lengths can give your scarf a different style and look.
Remember, finger knitting is a fun and creative way to make your own accessories. Don’t be afraid to experiment and let your imagination run wild. With these tips, you’ll be able to create a one-of-a-kind scarf that reflects your personal style.
Finish Off
Once you have reached your desired scarf length, it’s time to finish off your finger knitting.
To finish off, cut the working yarn, leaving a tail that is about 6-8 inches long.
Next, remove the loops from your fingers one at a time, making sure to keep the loops in order.
Take the tail of yarn that you left and thread it through each loop, from the bottom to the top.
Once all the loops are threaded onto the tail, pull the tail tight to cinch the loops together.
Tie a secure knot at the end of the tail to secure the loops in place.
You can then trim any excess yarn from the tail.
Your finger-knitted scarf is now complete! You can wear it or gift it to a friend or family member.
An Extra Touch
Once you’ve finished finger knitting your cozy scarf, you can add an extra touch to make it even more special. Here are some ideas:
- Embroidery: Use colorful embroidery thread to stitch a design onto your scarf. You can create flowers, geometric patterns, or even write your name.
- Tassels: Attach tassels to the ends of your scarf for a fun and decorative touch. You can use matching or contrasting yarn to make the tassels.
- Pom-poms: Add pom-poms along the edges of your scarf for a playful and whimsical look. You can create pom-poms using a pom-pom maker or even with a piece of cardboard.
- Beads: String small beads onto the yarn and incorporate them into your scarf. This will add some sparkle and texture to your finished piece.
- Fringe: Cut strands of yarn and attach them to the ends of your scarf to create a fringe. You can make the fringe as long or as short as you like.
Get creative and experiment with different embellishments to make your scarf unique to you. Remember, the possibilities are endless!
Show Off Your Scarf
Now that you’ve completed your cozy finger-knit scarf, it’s time to show off your handiwork to the world! Here are a few ways you can wear and style your new scarf:
1. Classic Drape
The easiest way to wear your scarf is to simply drape it around your neck, letting it hang loose in the front. This style is perfect for adding an extra layer of warmth and can be worn with any outfit.
2. Double Loop
To create a more snug and cozy look, try looping your scarf twice around your neck. This not only keeps you warm but also adds a stylish touch to your outfit. It’s particularly great for colder days.
3. Knotted Knot
If you’re feeling a bit more adventurous, try tying your scarf in a knot. This can be done by folding the scarf in half, placing it around your neck, and pulling the loose ends through the loop. It’s a fun and trendy way to wear your scarf.
4. Belted Scarf
For a unique and fashion-forward look, you can even wear your scarf as a belt. Simply wrap it around your waist and tie it in a knot or bow at the front. This works best with longer scarves and can add a stylish accent to any outfit.
5. Accessorize Your Bag
If you have a shorter scarf or want to switch things up, you can also use your scarf as an accessory for your bag. Simply tie it around the handle or strap of your bag to add a pop of color and personalize your look.
Remember, the key to styling your scarf is to have fun and experiment with different looks. Whether you choose a classic drape or get creative with knots and loops, your finger-knit scarf is sure to keep you warm and stylish all winter long.
FAQ:
What materials do I need to finger knit a cozy scarf?
You will need thick yarn of your choice and your fingers. That’s it! No needles or crochet hooks required.
Is finger knitting difficult to learn?
No, finger knitting is actually quite easy and suitable for beginners. With a little practice, you will be able to create beautiful scarves in no time.
Can I use any type of yarn for finger knitting?
Yes, you can use any type of yarn for finger knitting. However, it is recommended to use thick yarn to create a cozy and warm scarf.
How long does it take to finger knit a scarf?
The time it takes to finger knit a scarf varies depending on your skill level and the length of the scarf. On average, it can take a few hours to complete a basic scarf.
Are there different patterns I can use for finger knitting a scarf?
Yes, there are various patterns you can try for finger knitting a scarf. You can experiment with different stitch patterns, colors, and textures to create unique designs.
Can I make other items besides scarves with finger knitting?
Definitely! Finger knitting is not limited to scarves. You can also make blankets, hats, headbands, and even jewelry using finger knitting techniques.


