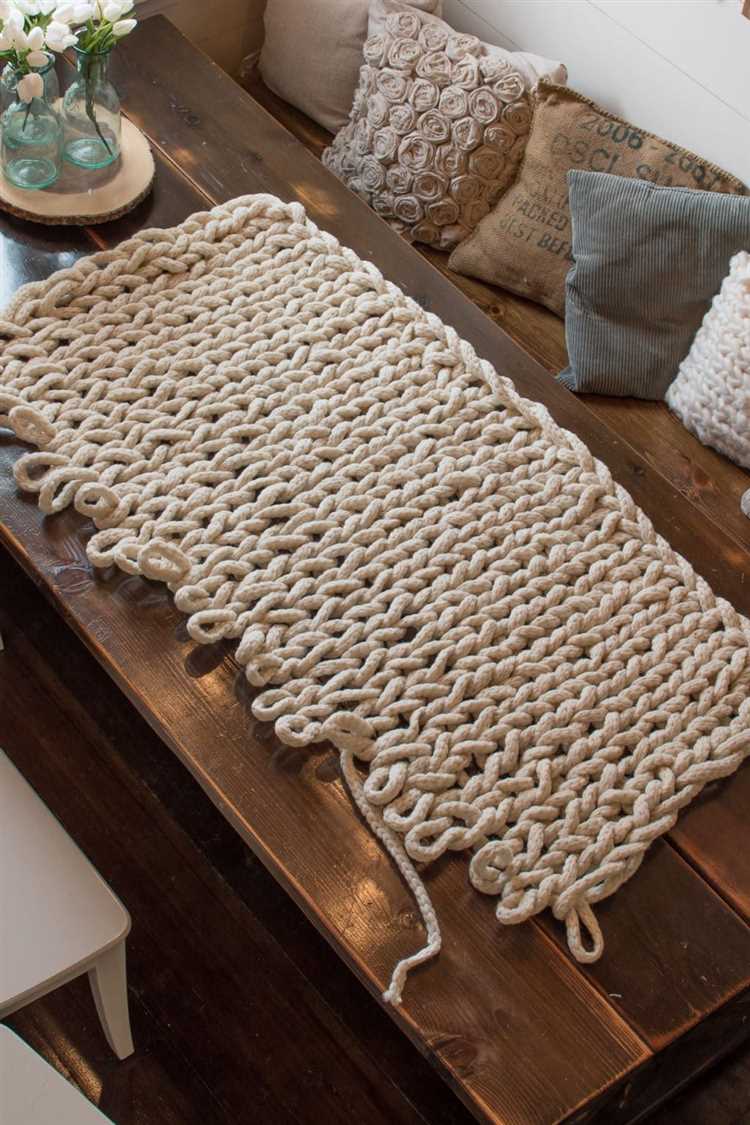
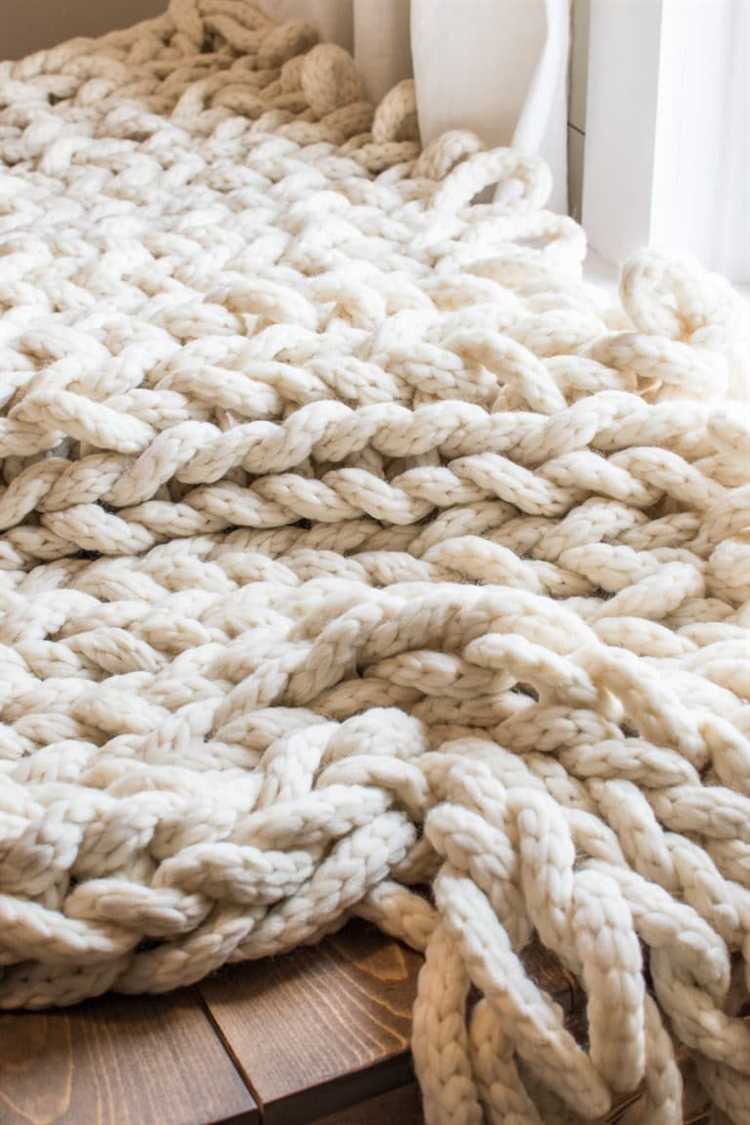
Are you looking for a fun and easy DIY project that will keep you warm all winter long? Look no further than finger knitting! With just a few simple steps, you can master the art of finger knitting and create a cozy blanket that will be the envy of all your friends.
Finger knitting is a great way to relax and unwind while creating something beautiful. Plus, it’s a perfect activity for all ages, from kids to adults. All you need is some chunky yarn, a set of fingers, and a little bit of patience. No needles or hooks required!
In this step-by-step guide, we will walk you through the process of finger knitting a cozy blanket. We’ll cover everything from choosing the right yarn to finishing touches. So whether you’re a seasoned knitter or a complete beginner, you’ll be able to create a stunning blanket in no time.
“Finger knitting is a fantastic technique that allows you to knit without any tools. It’s a wonderful way to get creative and make something special with just your hands and some yarn.”
So grab your favorite yarn and get ready to dive into the world of finger knitting. By the end of this guide, you’ll have a beautiful and cozy blanket that you can snuggle up with all winter long. Let’s get started!
Gather Materials for Finger Knitting Blanket
Before you begin finger knitting your cozy blanket, it’s important to gather all the necessary materials. Here is a list of items you will need:
- Yarn: Choose a soft and chunky yarn for your blanket. You can select any color or a combination of colors to match your personal style.
- Scissors: You will need a pair of scissors to cut the yarn.
- Tapestry Needle: A tapestry needle will be used to weave in the loose yarn ends and finish off your blanket.
- Measuring Tape: Use a measuring tape to check the length and width of your blanket as you progress.
- Knitting Gauge: This is optional but helpful to ensure consistent stitch sizes throughout your blanket.
- Table or Lap: Find a comfortable place to sit and work on your finger knitting project. A table or your lap can provide a stable surface.
Once you have gathered all these materials, you are ready to start finger knitting your cozy blanket!
Choose the Perfect Yarn for Your Cozy Blanket
When it comes to finger knitting a cozy blanket, choosing the right yarn is essential. The yarn you select will determine the softness, warmth, and overall look of your blanket. Here are some factors to consider when choosing the perfect yarn:
- Material: Yarn can be made from various materials such as acrylic, wool, cotton, or blends. Consider the properties and benefits of each material before making a decision.
- Softness: If you want a blanket that feels luxurious against the skin, opt for a soft yarn. Look for yarn labeled as “ultra-soft” or “baby alpaca” for the coziest texture.
- Warmth: Depending on your location and climate, you may want a yarn that offers extra warmth. Wool is a great option as it is naturally insulating.
- Color and Pattern: Choose a yarn color or pattern that complements your home decor or personal style. Consider whether you want a solid colored blanket or a more intricate design.
- Weight: The weight of the yarn refers to its thickness. Consider whether you want a lightweight blanket for warmer months or a chunky blanket for extra coziness during colder seasons.
Once you have considered these factors, you can visit your local craft store or browse online to find the perfect yarn for your cozy blanket project. Don’t be afraid to touch and feel the yarn before making a purchase. Remember, the right yarn will make all the difference in creating a blanket that you’ll love to snuggle up with.
Prepare Your Workspace for Finger Knitting
Before you start finger knitting, it’s important to set up your workspace properly. Having a clean and organized area will make the process much easier and more enjoyable. Here are some steps to follow:
- Gather your materials: Make sure you have all the necessary supplies for finger knitting. This usually includes yarn, scissors, and your fingers!
- Clear a flat surface: Find a table or desk where you can work. Clear off any clutter so you have enough space to lay out your yarn.
- Protect your workspace: It’s a good idea to lay down a protective surface, such as a plastic tablecloth or a cutting mat. This will prevent any accidental spills or damage to your table.
- Organize your yarn: If you have multiple colors of yarn, consider winding them into separate balls or placing them in small bowls or containers. This will make it easier to access the colors you need while finger knitting.
- Set up a comfortable seating arrangement: Make sure you have a comfortable chair or cushion to sit on during the finger knitting process. You’ll be spending some time in this position, so it’s important to be comfortable.
- Check your lighting: Ensure that the area has sufficient lighting so you can see your work clearly. Natural light or a bright lamp will help prevent any mistakes or tangles in your knitting.
By following these steps, you’ll be ready to start finger knitting in a clean and organized workspace. This will help you stay focused and enjoy the process of creating your cozy blanket!
Learn the Basics of Finger Knitting
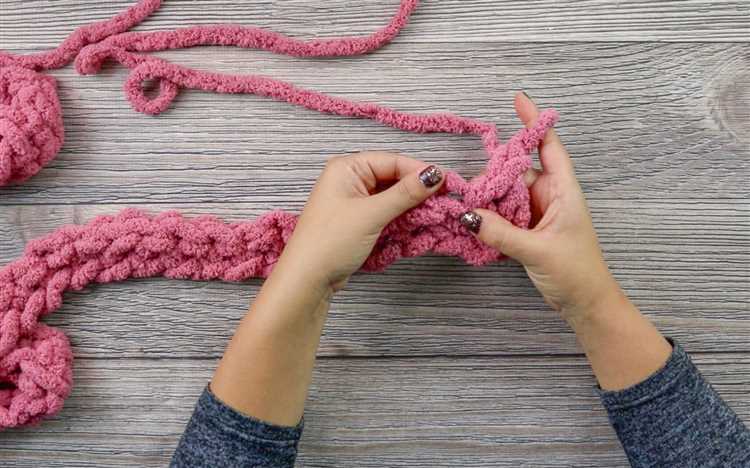
Finger knitting is a fun and easy way to create beautiful knitted items without the need for needles. Whether you’re a beginner or an experienced knitter, finger knitting can be a relaxing and enjoyable craft to try. Here is a step-by-step guide to help you get started:
- Choose your yarn: Select a yarn that is soft and chunky to make it easier to work with your fingers. Avoid yarns that are too thin or delicate, as they may be more difficult to manipulate.
- Create a slip knot: Start by creating a slip knot at the end of the yarn. This will serve as the first loop on your finger.
- Place the slip knot on your finger: Slide the slip knot onto one of your fingers, typically the index finger or the middle finger.
- Hold the yarn: With the slip knot on your finger, hold the yarn securely with your other hand. Make sure there is some tension in the yarn, but not too tight.
- Loop the yarn around your fingers: Take the working end of the yarn and loop it around your fingers, starting from the back and coming around to the front. Repeat this step for each finger, leaving one finger empty.
- Push the looped yarn through: Using your empty finger, reach through the loops on your other fingers and pull the working end of the yarn through. This will create a new loop on your empty finger.
- Repeat the looping process: Continue looping the yarn around your fingers, pushing the loops through with your empty finger, and creating new loops. This will help you build up the length of your knitting.
- Continue finger knitting: Keep finger knitting until you have reached your desired length or completed the project you are working on. You can create scarves, blankets, or even accessories like headbands using finger knitting.
Remember to maintain a consistent tension throughout your finger knitting to ensure that your stitches are even. Don’t be afraid to experiment with different yarn colors and textures to add a unique touch to your projects. With practice, your finger knitting skills will improve, and you’ll be able to create beautiful and cozy items for yourself or to give as gifts.
Start Finger Knitting Your Cozy Blanket
To get started with finger knitting your cozy blanket, you will need a few supplies:
- Chunky yarn in the color of your choice
- Your fingers
Once you have gathered your supplies, follow these step-by-step instructions to begin finger knitting your cozy blanket:
- Choose a comfortable and quiet place to work, where you can easily spread out your arms and yarn.
- Start by making a slipknot at the end of your yarn. This will serve as your first stitch.
- Slide the slipknot onto your index finger, making sure it is not too tight or too loose.
- Insert your other hand through the slipknot, reaching for the yarn that is coming out of the slipknot.
- Grab the yarn with your other hand and pull it through the slipknot, creating a new loop. This loop will become your second stitch.
- Repeat steps 4 and 5 for the desired number of stitches. The number of stitches will determine the width of your blanket.
- Once you have reached the desired number of stitches, you can start knitting the next row.
- To knit the next row, take the last loop you created and transfer it to your other hand, making sure to hold onto the yarn.
- Repeat steps 4 and 5 to create a new loop and continue knitting the next row.
- Continue knitting rows until your blanket reaches the desired length.
- To finish off your blanket, cut the yarn, leaving a long tail.
- Pass the tail of the yarn through the last loop and pull tight to secure.
- Weave in any loose ends and your cozy finger-knitted blanket is complete!
Remember to take breaks and stretch your fingers and arms as needed while finger knitting your cozy blanket. Enjoy the process and the satisfaction of creating your very own handmade blanket!
Add Color and Variation to Your Finger Knit Blanket
Once you have mastered the basic finger knitting technique for creating a cozy blanket, it’s time to add some color and variation to make your blanket truly unique! Here are a few ideas to help you get started:
- Choose a Color Palette: Consider the overall look and feel you want for your blanket. Decide on a color palette that matches your personal style or complements your home décor. You can go for a monochromatic look with shades of the same color, or mix and match different colors.
- Use Different Yarn Thickness: Experiment with different yarn thicknesses to create texture and visual interest in your blanket. Try combining thick and thin yarns for a dimensional effect, or use only chunky yarn for a cozy, bulky blanket.
- Add Stripes or Color Blocks: To add a bold and graphic look to your blanket, incorporate stripes or color blocks. Finger knit sections of your blanket in different colors and then stitch them together to create a striped pattern. Alternatively, you can finger knit longer sections in one color and then switch to a different color for a color blocking effect.
- Integrate Texture: Combine different stitches and techniques to add texture to your blanket. For example, you can create a ribbed pattern by alternating between knit and purl stitches, or try a cable stitch for a raised, woven effect. Experiment with different stitches to create a one-of-a-kind texture.
- Embroider or Applique: If you want to take your finger knit blanket to the next level, consider adding embroidered designs or appliques. You can stitch on flowers, stars, or any other design of your choice using embroidery floss or fabric scraps. This will give your blanket a personalized touch.
Remember, finger knitting allows for endless possibilities when it comes to adding color and variation to your blanket. Let your creativity flow and have fun experimenting with different techniques and ideas!
Finishing Touches for Your Cozy Knit Blanket
After completing your finger-knit cozy blanket, there are a few finishing touches you can add to enhance its look and functionality.
- Blocking: To ensure your blanket looks its best, consider blocking it. This involves gently stretching and reshaping the blanket, then allowing it to dry in its new shape. Blocking can help even out any uneven sections and give the blanket a polished appearance.
- Add Fringe: If you want to add some extra flair to your blanket, consider adding fringe to the edges. Cut strands of yarn to your desired length and attach them evenly along the edge of the blanket. This can give your blanket a stylish and textured look.
- Embroidery or Appliqué: Another way to personalize your blanket is by adding embroidery or appliqué. You can use yarn or fabric to create designs or add initials or names. This adds a unique touch and makes your blanket truly one-of-a-kind.
- Make a Matching Pillow: Complete the cozy look of your finger-knit blanket by making a matching pillow. Use the same yarn and finger-knitting technique to create a pillow cover that perfectly complements your blanket. This will make your cozy corner even more inviting.
- Care Instructions: Don’t forget to include care instructions for your blanket. If it’s machine washable, indicate the appropriate settings and temperature. If it requires handwashing or dry cleaning, make sure to provide those instructions as well. This will help ensure that your blanket stays in great condition for years to come.
With these finishing touches, your finger-knit cozy blanket will not only keep you warm and cozy but also add a personal touch to your home decor.
Enjoy Your Handmade Finger Knit Blanket!
Congratulations on completing your finger knit blanket! Now it’s time to enjoy the fruits of your labor and cozy up with your new creation. Whether you made it for yourself or as a gift, your handmade blanket is sure to bring warmth and comfort to any space.
Here are some suggestions on how to fully enjoy your finger knit blanket:
- Curl up with a good book: Find a cozy spot, grab your favorite book, and snuggle up under your blanket. Let the softness of the yarn and the warmth of your creation enhance your reading experience.
- Add it to your home decor: Your finger knit blanket can be a beautiful addition to your living room or bedroom. Drape it over a sofa or chair, fold it neatly at the foot of your bed, or display it in a decorative basket. It will not only add warmth but also bring a touch of handmade charm to your space.
- Share the warmth: If you’ve made your finger knit blanket as a gift, give it to someone special who will appreciate the time and effort you put into creating it. They will surely cherish the cozy gift and think of you every time they wrap themselves up in it.
- Create a picnic nook: Take your finger knit blanket outdoors and set up a cozy picnic spot in the park or your backyard. Lay the blanket on the grass, bring some snacks and drinks, and enjoy a relaxing afternoon surrounded by nature.
- Use it as a meditation mat: Lay your finger knit blanket on the floor or ground and use it as a comfortable surface for your meditation or yoga practice. The softness and warmth of the blanket will create a cozy atmosphere and enhance your relaxation experience.
No matter how you choose to enjoy your finger knit blanket, remember to take a moment to appreciate the time, effort, and love you put into making it. Your blanket is a beautiful reflection of your creativity and will bring joy and coziness to your life for years to come.
FAQ:
What materials do I need to finger knit a cozy blanket?
To finger knit a cozy blanket, you will need chunky yarn, your hands, and a pair of scissors.
Can I use any type of yarn to finger knit a cozy blanket?
Yes, you can use any type of yarn as long as it is thick enough to create a cozy blanket.
Do I need any knitting needles or other tools?
No, finger knitting eliminates the need for knitting needles or other tools. You simply use your fingers to create the stitches.
How long does it take to finger knit a cozy blanket?
The time it takes to finger knit a cozy blanket will vary depending on the size of the blanket and your knitting speed. However, it can generally be completed in a few hours to a few days.
Is finger knitting a cozy blanket difficult?
No, finger knitting a cozy blanket is not difficult. It is a beginner-friendly knitting technique that is easy to learn and does not require any previous knitting experience.
Can I customize the size of the cozy blanket?
Yes, you can customize the size of the cozy blanket by adjusting the length and width of the starting chain. You can make it as small or as large as you like.
Can I use different colors of yarn to create a pattern?
Yes, you can use different colors of yarn to create a pattern in your cozy blanket. You can alternate between colors or create stripes to add visual interest to the blanket.


