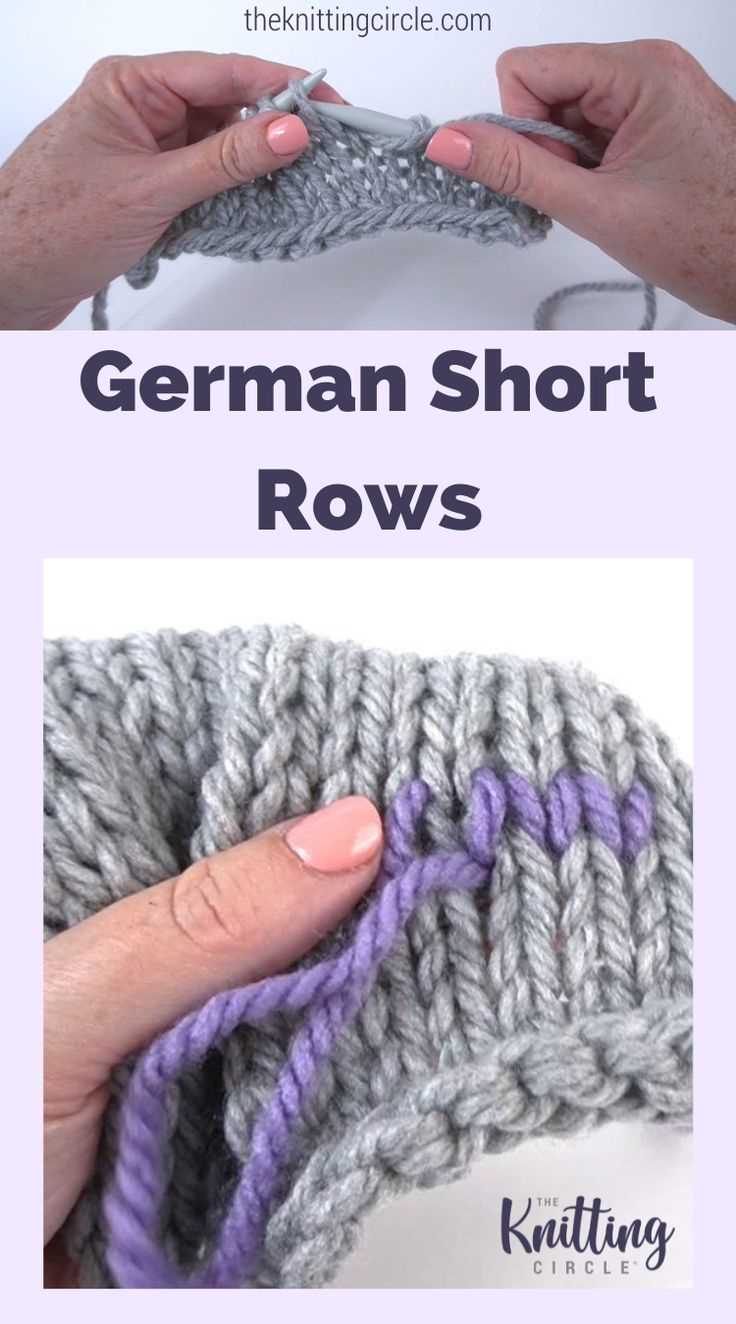
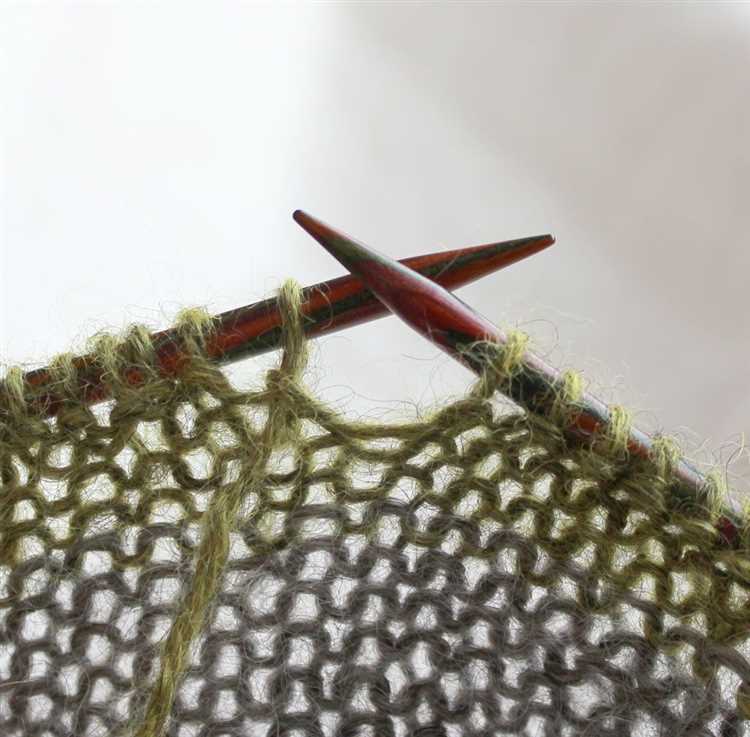
Knitting in the round is a popular method for creating seamless projects like hats, socks, and sweaters. However, when it comes to shaping and adding dimension to your knitting, traditional methods can be challenging. That’s where German short rows come in. They provide a simple and effective way to create curves and angles in your knitting without the need for complicated techniques.
In this step-by-step guide, we will walk you through the process of knitting German short rows in the round. Whether you’re a beginner or an experienced knitter, you’ll find this technique easy to learn and incorporate into your projects.
German short rows are a variation of the wrap and turn method, but with a slight twist. Instead of wrapping the yarn around the stitch, you will work a double stitch to create a clean and invisible transition. This technique is ideal for shaping the heel of socks, the bust of a sweater, or the waistline of a skirt, among other things.
To begin, you’ll need a project that is worked in the round, such as a circular needle or double-pointed needles. You’ll also need your chosen yarn and a set of stitch markers. With these materials ready, you’ll be able to follow along and discover the wonders of German short rows.
Benefits of Knitting German Short Rows
German short rows are a technique used in knitting that offers several benefits to the knitter. Here are some of the advantages of using German short rows:
- Neat and Invisible: German short rows create a smooth and seamless transition between the knitted sections, resulting in an almost invisible appearance. This makes them ideal for projects that require a clean and professional finish.
- Easy to Learn: Compared to other short row techniques, German short rows are relatively straightforward to learn. Once you understand the basic steps, you can quickly incorporate them into your knitting projects.
- No Wraps: Unlike traditional wrap and turn short rows, German short rows do not require wrapping the stitches. This eliminates the need to pick up and hide wraps later, saving time and effort.
- Flexible for Different Projects: German short rows can be used in various knitting projects, including garments, accessories, and home décor items. They work well in both flat and circular knitting, allowing you to add shaping and modify patterns as needed.
- Efficient Use of Yarn: With German short rows, you can minimize the amount of yarn used for each turn. This can be particularly beneficial when working with limited yarn quantities or on projects where yarn usage is a concern.
- Enhanced Comfort: When knitting with German short rows, the transition between the short row section and the rest of the knitting is smooth and practically undetectable. This makes the finished project more comfortable to wear, as there are no bulky or uneven areas.
Overall, incorporating German short rows into your knitting repertoire can expand your skills and provide you with a versatile technique for achieving professional-looking results. Whether you are a beginner or an experienced knitter, learning German short rows will open up new possibilities for your knitting projects.
Materials Needed for Knitting German Short Rows
Before you start knitting German short rows in the round, make sure you have the following materials:
- Yarn: Choose a yarn that is suitable for the project you are working on. It should be a weight and fiber content that you are comfortable knitting with.
- Knitting Needles: Select the appropriate size of circular needles based on your yarn and the desired gauge. You will need needles with a cable long enough to accommodate your stitches comfortably.
- Stitch Markers: Use stitch markers to mark the beginning and end of the short row section, as well as any other points you need to keep track of.
- Tapestry Needle: A tapestry needle will be needed for weaving in ends and finishing your project.
- Scissors: You will need a pair of scissors for cutting yarn and trimming ends.
Having these materials ready before you start knitting will ensure that you can complete the German short rows smoothly and without interruptions.
Step 1: Begin Your Knitting Project
Before you can start learning how to knit German short rows in the round, you need to begin your knitting project. Choose the yarn and needles you want to work with and cast on the required number of stitches for your pattern.
Make sure to familiarize yourself with the instructions provided for your knitting project, as different patterns may require different techniques. It’s also important to determine the gauge of your project, which will help ensure that your finished product turns out correctly.
Once you have cast on and are ready to begin knitting, remember to take your time and be patient with yourself as you learn this new technique. Knitting is a skill that takes time and practice to master, so don’t get discouraged if you make a mistake or need to unravel your work and start over.
As you continue with your knitting project, keep the following tips in mind:
- Follow the instructions provided in your pattern carefully.
- Take breaks if you need to, as knitting for long periods of time can strain your hands and wrists.
- Make sure your knitting environment is well-lit and comfortable.
- If you are a beginner, start with a simple project to practice your knitting skills.
- Remember to have fun and enjoy the process of creating something unique!
By following these tips and beginning your knitting project with the right mindset, you will set yourself up for success in learning how to knit German short rows in the round.
Step 2: Create the First German Short Row
To create the first German short row, follow these steps:
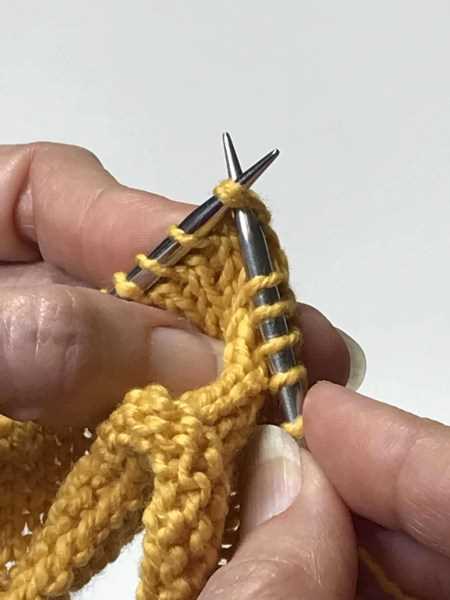
- Select the stitch on which you want to place the German short row. Insert your right-hand needle into the stitch from front to back as if you were going to knit it.
- Instead of knitting the stitch, bring the working yarn to the front of your work between the needles.
- Slip the stitch from the left-hand needle to the right-hand needle without actually knitting it.
- Turn your work and bring the working yarn to the back of your work between the needles.
- Now, insert your right-hand needle into the slipped stitch from back to front.
- Pick up the working yarn and bring it over the right-hand needle to the front of your work again.
- Slip the stitch from the left-hand needle to the right-hand needle without knitting it.
- Turn your work again and bring the working yarn to the back of your work between the needles.
- Continue knitting the rest of the round until you reach the next stitch where you want to place another German short row.
By following these steps, you will have successfully created the first German short row in your knitting project. Repeat these steps as necessary to create additional German short rows in the round.
Step 3: Turn Your Work and Begin the Next Round
After completing the short row shaping, it’s now time to turn your work and begin the next round.
To turn your work, follow these steps:
- Stop knitting when you reach the stitch where the short row shaping begins.
- Take the working yarn and bring it to the front of your work.
- Insert your right needle into the next stitch as if you were going to knit.
- Keeping the working yarn at the front of your work, slip the stitch from the left needle to the right needle without knitting it.
- Turn your work so that the wrong side is now facing you. The working yarn should be at the back of your work.
Now that you have turned your work, you can begin the next round. Follow these steps:
- Bring the yarn to the back of your work and knit the next stitch.
- Continue knitting the rest of the stitches in the round, following the pattern instructions or your desired stitch pattern.
By turning your work and beginning the next round, you have successfully completed one round of German short rows in the round. Repeat steps 1-5 for each short row until you have completed all the shaping required.
Step 4: Continue Knitting with German Short Rows
Once you have completed the short row section, you will continue knitting in the round as usual. Here’s how:
- After completing the last short row, turn your work so that the wrong side is facing you.
- Knit across the stitches on the wrong side until you reach the gap left by the wrapped stitch from the previous row.
- When you reach the gap, pick up the wrap and place it onto the left needle.
- Insert the right needle into the wrap and the next stitch on the left needle, then knit them together through the back loop. This will effectively close the gap.
- Continue knitting across the remaining stitches on the wrong side.
- When you reach the end of the row, turn your work again so that the right side is facing you.
- Knit across all the stitches on the right side.
- Repeat the above steps until you have reached the desired length for your project.
Remember to always turn your work before beginning the next row, as this will ensure that you are knitting in the round without any visible gaps or holes.
Using German short rows in your knitting projects can add beautiful shaping and design elements. Once you have mastered this technique, you can incorporate it into sweaters, hats, socks, and more!
Final Step: Finishing Your Knitting Project with German Short Rows
Once you have completed your knitting project using German short rows, it’s time to finish it off and give it that final polished look. Follow these steps to complete your project:
- Weave in the ends: Begin by weaving in any loose ends or tails from your yarn. Use a yarn needle to thread the tail through the stitches on the wrong side of your work, ensuring it is secure and won’t come undone.
- Block your project: Blocking is an important step in knitting that helps your project take its final shape. Depending on the fiber content of your yarn, you can wet block or steam block. Wet blocking involves soaking your finished project in water, gently squeezing out the excess, and shaping it to the desired dimensions. Steam blocking is done by using a steam iron or steamer to lightly steam your project, being careful not to touch the iron directly to the yarn. This helps relax the stitches and give your project a professional finish.
- Add any finishing touches: If desired, you can add buttons, zippers, or other embellishments to your project. Sew them onto the appropriate places using thread that matches your yarn or a contrasting color for a pop of interest.
- Give your project a final inspection: Before considering your project complete, take a moment to inspect it for any loose stitches, uneven edges, or other imperfections. Make any necessary adjustments to ensure your project looks its best.
By following these steps, you can finish your knitting project using German short rows and have a beautiful and professional-looking finished piece. Take pride in your work and enjoy the final result!
FAQ:
What are German short rows?
German short rows are a technique used in knitting to create shaping in a garment. They involve turning the work before reaching the end of a row, which creates a gap or a “short row.” This technique is often used when knitting in the round to shape the bust or the back of a garment.
Why would you use German short rows instead of other shaping techniques?
German short rows offer a few advantages over other shaping techniques. First, they create a smooth and invisible shaping line, making the finished garment look more polished. Additionally, German short rows are relatively easy to learn and execute, making them a popular choice for knitters of all skill levels. Finally, this technique is seamless, as it can be worked without the need for any wraps or additional stitches.
Can German short rows be used in any knitting project, or are they specific to certain designs?
German short rows can be used in a wide variety of knitting projects. They are commonly used in garments where shaping is needed, such as sweaters, cardigans, and shawls. However, they can also be used to create interesting design elements in accessories like hats and socks. Once you understand the basic technique, you can incorporate German short rows into your knitting projects as needed.


