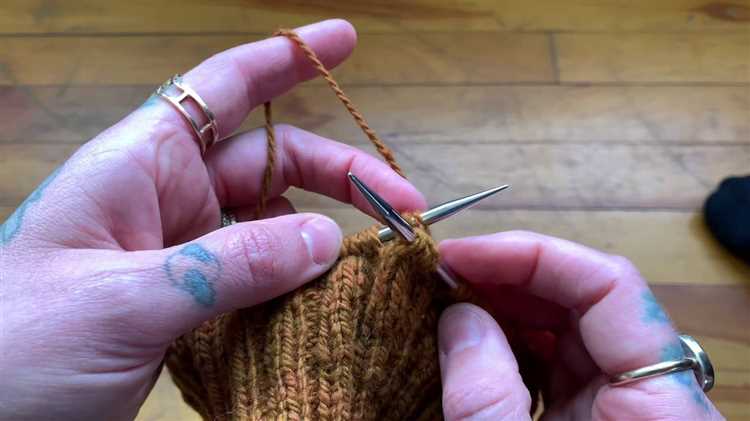
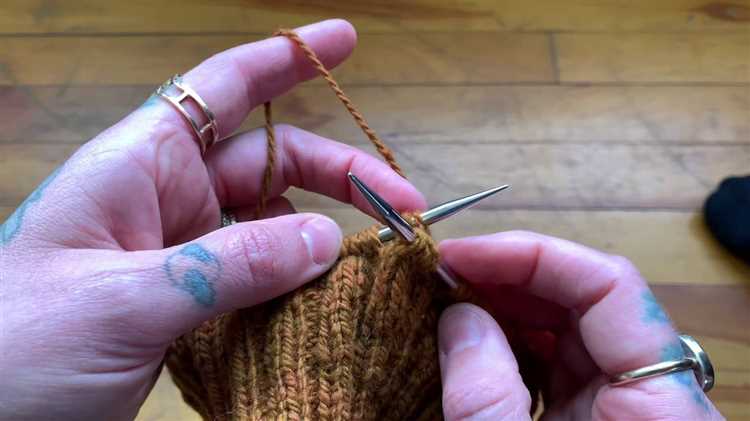
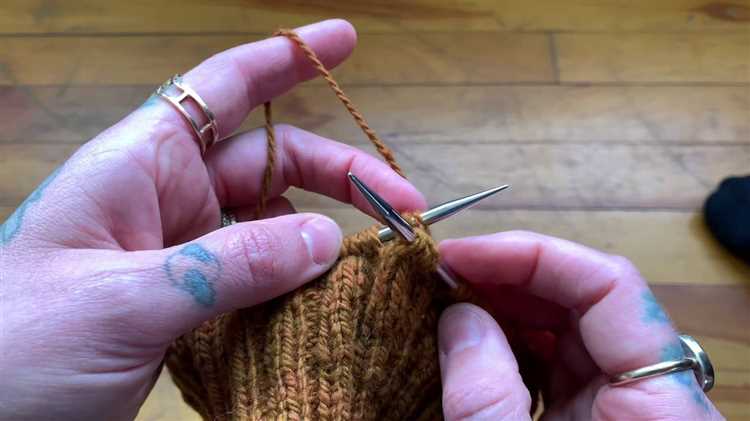
Knitting cables can add beautiful texture and visual interest to your projects, but using a cable needle can be fiddly and slow. Fortunately, there is a technique called “knitting cables without a cable needle” that allows you to create cables without the need for an extra tool. This technique can save you time and make your knitting process more efficient.
When knitting cables without a cable needle, you will be temporarily slipping stitches, working them out of order, and then knitting them together to create the cable twist. This technique requires a bit of practice and patience, but once you get the hang of it, you’ll be able to knit cables without skipping a beat.
To start, make sure you have a basic understanding of how cables are formed. Cables are created by crossing a set number of stitches over each other, typically in a specific order. The most common cables are 2-stitch cables or 4-stitch cables, but there are many variations to explore.
Once you’re comfortable with the concept of cables, it’s time to learn how to knit them without a cable needle. The basic steps involve identifying the stitches involved in the cable twist, slipping them onto the right-hand needle as if to purl, and then rearranging the stitches in the correct order before knitting them together. It’s important to keep your tension consistent and secure the slipped stitches to prevent them from unraveling.
This step-by-step guide will walk you through the process of knitting cables without a cable needle, providing clear instructions and helpful tips along the way. With practice, you’ll soon be able to knit intricate cables with ease and confidence, opening up a world of design possibilities for your knitting projects.
Understanding Cable Patterns
Cable patterns are a popular technique used to create beautiful textured designs in knitting. They add visual interest and depth to your knitting projects. Understanding how cable patterns work will help you to confidently knit cables without a cable needle.
What are cable patterns?
Cable patterns involve crossing stitches over each other to create a twist or cable effect in the fabric. The stitches that are crossed are usually worked in a specific order, such as a 1/1 right cable (where one stitch is crossed over another stitch to the right) or a 1/1 left cable (where one stitch is crossed over another stitch to the left). The number before the slash indicates the number of stitches involved in the cable, and it can vary depending on the pattern.
How to read cable charts
Cable patterns are often represented using cable charts, which are visual diagrams that show you how to cross the stitches. Each stitch is represented by a box, and arrows indicate the direction of the cross. The number of stitches involved in each cable is usually indicated above or below the chart.
Understanding cable symbols
Cable charts use symbols to represent the different types of cable crosses. The most common symbols include:
- / – A right-leaning cable cross
- \ – A left-leaning cable cross
- no symbol – A simple cable cross where the stitches are crossed in the same direction
Working cable patterns without a cable needle
By understanding how cable patterns work, you can knit cables without the need for a cable needle. This technique involves manipulating the stitches with your knitting needles to create the cable twists. It saves time and makes the knitting process faster.
Conclusion
Understanding cable patterns is essential if you want to knit cables without a cable needle. Cable patterns add texture and interest to your knitting projects. By reading cable charts and understanding cable symbols, you can confidently create beautiful cable designs in your knitting.
Benefits of Knitting Cable Without Cable Needle
Knitting cables without a cable needle can seem like an advanced technique, but once you master it, you’ll discover a range of benefits that make it worth the effort.
- Saves time: Knitting cables without a cable needle can significantly speed up your knitting process. With traditional cable knitting, you need to constantly slip stitches onto and off a cable needle, which can slow you down. By eliminating the need for a cable needle, you can complete your cables more quickly.
- Reduces the risk of dropping stitches: Dropping stitches is a common fear when knitting cables, especially when using a cable needle. It’s easy to accidentally drop the stitches from the cable needle, leading to frustration and potentially having to restart your work. By knitting cables without a cable needle, you minimize the risk of dropping stitches and decrease the chances of making mistakes.
- Enhances portability: Knitting cables without a cable needle allows you to work on your projects anywhere, without the need to carry an additional tool. You can easily knit cables on the go, whether you’re traveling, waiting in a queue, or enjoying a coffee at your favorite cafe.
- Creates a more flexible fabric: When you knit cables without a cable needle, the tension of the stitches is maintained, resulting in a more fluid and flexible fabric. This can be especially beneficial when knitting garments that require stretch, such as socks, sweaters, or hats.
- Improves your knitting skills: Learning to knit cables without a cable needle is a fantastic skill to add to your knitting repertoire. It challenges you to become more confident in your knitting abilities and allows you to tackle more complex cable patterns. It also expands your understanding of the construction and manipulation of knitted fabric.
While knitting cables without a cable needle may take some practice to master, the benefits are well worth the effort. Whether you’re looking to speed up your knitting, reduce the risk of mistakes, or enhance the flexibility of your fabric, this technique can revolutionize your cable knitting experience.
Step-by-Step Guide
Follow these step-by-step instructions to knit cables without a cable needle:
- Start by knitting the required number of stitches before the cable section.
- Identify the cable stitch pattern you will be working on.
- Insert the right needle into the next stitch as if you were going to knit it.
- Using your left thumb and index finger, pinch the stitch right below the one you just inserted your needle into.
- Slip the stitch off the left needle, taking care not to let it unravel.
- Hold the stitch you just slipped with your left index finger and thumb.
- With the right needle, insert it into the next stitch as if you were going to knit it.
- Wrap the working yarn around the right needle and pull it through, creating a new stitch while leaving the slipped stitch intact.
- Insert the tip of the right needle into the stitch you were holding with your left hand.
- Pass the slipped stitch over the newly created stitch on the right needle, letting it fall off the left needle.
- Repeat these steps for the remaining cable stitches.
- Continue knitting the remaining stitches of the row according to the pattern instructions.
By following these steps, you can easily create intricate cable patterns without the need for a cable needle. It may take some practice to get comfortable with this technique, but with time, you’ll be able to knit cables quickly and efficiently.
Step 1: Preparing Your Needles and Yarn
Before you begin knitting cables without a cable needle, you will need the following materials:
- Knitting needles: Make sure you have a pair of knitting needles in the appropriate size for your yarn. The size of your needles will depend on the weight and thickness of your yarn. Refer to the yarn label for the recommended needle size.
- Yarn: Choose a yarn that is suitable for the project you wish to knit. Consider the fiber content, weight, and color of the yarn. Make sure you have enough yarn for your project.
- Tapestry needle: You will need a tapestry needle to weave in any loose ends of yarn when you finish knitting.
Once you have gathered all the necessary materials, you can proceed to the next step of knitting cables without a cable needle.
Step 2: Slipping Stitches
Once you have cast on the desired number of stitches for your cable pattern, you are ready to start working on the cable without a cable needle. The first step in this process is to slip stitches.
To slip stitches, you will be moving them from the left-hand needle to the right-hand needle without knitting them. This technique helps to hold the stitches in place while you work on the other stitches of the cable pattern.
Here is how you can slip stitches:
- Hold the right-hand needle with the cast-on stitches in your right hand.
- Insert the left-hand needle into the first stitch on the right-hand needle as if you were going to knit it.
- Instead of knitting the stitch, simply slide it off the left-hand needle and onto the right-hand needle.
- Repeat this process for all the stitches that need to be slipped in the cable pattern.
It is important to note that when slipping stitches, you should not pull the yarn tight. Keep the tension loose to ensure that the stitches are not distorted or stretched.
Slipping stitches is an essential step in knitting cables without a cable needle, as it allows you to hold the stitches in the correct position while working on the other stitches of the cable pattern. By mastering this technique, you will be able to create beautiful cable designs with ease.
Step 3: Cross Stitches Without a Cable Needle
Once you’ve mastered the basic cable knitting technique, you can move on to crossing stitches without a cable needle. This method saves time and eliminates the need for an extra needle, making your knitting process faster and more efficient.
Follow these steps to cross stitches without a cable needle:
- Identify the stitches you need to cross. In cable knitting, the stitches to be crossed are usually denoted by a number. For example, a C4B means you need to cross 4 stitches to the back.
- Insert your right-hand needle into the first stitch as if you were going to knit it, but instead of knitting it off the left-hand needle, slip it onto the right-hand needle without knitting it.
- Gently pull the right-hand needle forward, making sure the slipped stitch stays on the needle.
- Insert the right-hand needle into the next stitch on the left-hand needle and knit it off.
- Now, insert the left-hand needle into the slipped stitch from the front, positioning it behind the right-hand needle.
- Slip the slipped stitch off the right-hand needle and onto the left-hand needle.
- Knit the slipped stitch off the left-hand needle.
- Repeat steps 2 through 7 for each stitch you need to cross.
- Continue knitting according to the pattern instructions once all stitches have been crossed.
Remember to keep your knitting tension even while crossing stitches without a cable needle to ensure your finished project looks neat and professional.
Step 4: Finishing Your Cable Without a Cable Needle
Finishing your cable without a cable needle is a simple process that requires attention to detail and precision. Following these steps will ensure that your cable looks seamless and professional.
- Identify the stitches to be crossed: Look for the stitches that need to be crossed, usually indicated by a chart or pattern instructions. These stitches are typically denoted by a cable symbol or a number.
- Slip the stitches onto the right-hand needle: Insert the right-hand needle into the first stitch to be crossed, as if to purl, and slip it off the left-hand needle. Repeat this step for each stitch to be crossed, until all the stitches are on the right-hand needle.
- Hold the stitches securely: Use your thumb and index finger to hold the stitches that are on the right-hand needle, ensuring they do not slip off.
- Swap the right-hand needle to the left hand: Transfer the stitches from the right-hand needle back to the left-hand needle. Take care not to twist the stitches during this step.
- Reorder the stitches: Rearrange the stitches on the left-hand needle so that the stitches that were crossed are in the correct order. This may require repositioning the stitches from the front to the back or vice versa.
- Knit the rearranged stitches: Once the stitches are in the correct order, knit them as instructed by the pattern. This may involve knitting them out of order or in a specific sequence.
- Continue knitting: Once the cable stitches have been crossed and knit, continue knitting the remaining stitches according to the pattern. Pay attention to any additional instructions or stitch changes.
By following these steps, you can successfully knit cables without a cable needle. Practice and patience are key, and soon you’ll be able to create beautifully twisted cable designs with ease!
FAQ:
Can you explain how to knit cables without using a cable needle?
Yes, knitting cables without using a cable needle is a technique known as “cabling without a cable needle” or “cabling without a CN.” It involves using the main knitting needles to hold the stitches while you twist the cables. Here’s a step-by-step guide on how to do it.
What are the benefits of knitting cables without a cable needle?
Knitting cables without a cable needle has a few benefits. It can make the process faster since you don’t have to constantly switch between needles. It also reduces the risk of dropping or losing the cable needle, especially when knitting on the go. Additionally, it creates a more fluid knitting motion and can give the cables a slightly looser, more relaxed appearance.
Is it difficult to knit cables without a cable needle?
Knitting cables without a cable needle can be a bit tricky at first, especially if you’re new to cable knitting. It requires some practice to get used to holding the stitches with the main needles while maneuvering the cables. However, with a bit of patience and persistence, most knitters can master this technique.
Do I need any special knitting needles to knit cables without a cable needle?
No, you don’t need any special knitting needles to knit cables without a cable needle. You can use regular knitting needles that are appropriate for your yarn and project. However, it may be helpful to use needles with a slightly pointier tip, as it can make it easier to manipulate the stitches.


