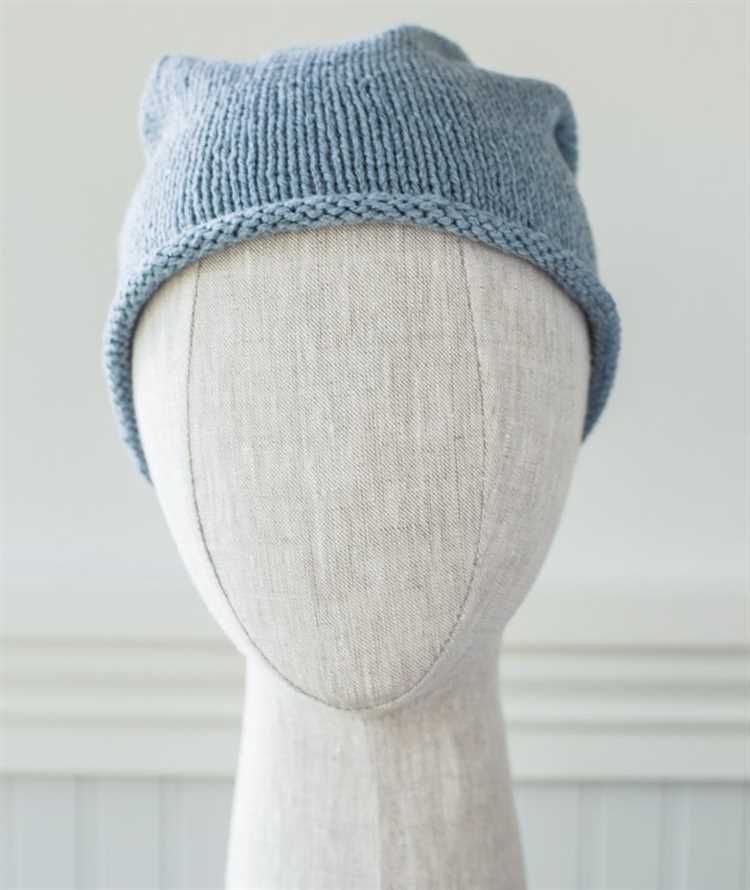
Knitting is a versatile craft that allows you to create beautiful and functional items with just a pair of needles and some yarn. One popular project for knitters of all skill levels is knitting a beanie in the round. Knitting in the round eliminates the need for seams and creates a seamless, professional-looking finished product.
In this step-by-step guide, we will walk you through the process of knitting a beanie in the round. Whether you’re a beginner knitter or an experienced pro, this guide will help you create a cozy and stylish beanie that you’ll be proud to wear or gift to a loved one.
Before we get started, you’ll need a few supplies. You’ll need a set of circular needles in the appropriate size for your yarn, a set of double-pointed needles (DPNs), a stitch marker, and a skein of yarn in your desired color. Additionally, you may want to have a tapestry needle and a pair of scissors handy for finishing touches.
Disclaimer: This guide assumes that you have basic knitting knowledge and are familiar with common knitting abbreviations and techniques. If you are new to knitting, we recommend starting with some beginner-friendly projects and familiarizing yourself with the basics before attempting to knit a beanie in the round.
Choosing the Right Yarn and Needles
When knitting a beanie in the round, it’s important to choose the right yarn and needles to ensure a successful project. Here are some factors to consider:
Yarn Weight
The weight of the yarn refers to its thickness. Different yarn weights will create different fabric densities and beanie sizes. For a typical beanie, a medium or worsted weight yarn is usually a good choice.
Fiber Content
The fiber content of the yarn will determine the overall feel and properties of the beanie. Options include wool, acrylic, cotton, and blends. Wool yarns tend to be warm and stretchy, while acrylic yarns are often soft, durable, and machine-washable.
Needle Size
The needle size you choose will depend on the weight of the yarn and your desired beanie fabric. Thicker yarns will require larger needles, while thinner yarns will need smaller needles. You can often find recommended needle sizes on the yarn label.
Circular Needles
A circular needle is necessary for knitting in the round. The length of the needle should be appropriate for the circumference of your beanie. It’s recommended to use a 16-inch circular needle for most adult-size beanies.
Remember to always check your yarn label for specific recommendations regarding gauge, needle size, and care instructions. Choosing the right yarn and needles will help ensure that your beanie turns out just the way you want it!
Creating a Cast-On and Joining in the Round
Before you can start knitting your beanie, you’ll need to cast on and join your stitches in the round. This process will create a seamless circle of stitches that you’ll continue knitting in to create your hat.
To create a cast-on, you can use any method you prefer. Some popular techniques include the long-tail cast-on, the knitted cast-on, and the cable cast-on. As long as you have the desired number of stitches on your needle, you’re ready to move on to the next step.
Once your stitches are cast on, it’s time to join them in the round. Here’s how:
- Hold your needle with the stitches in your right hand, and your empty needle in your left hand.
- Make sure the cast-on edge is not twisted or flipped over.
- Insert the tip of your left needle into the first stitch on the right needle from front to back.
- Wrap the yarn counterclockwise around the left needle tip.
- Use your right hand to pull the right needle to the right, pulling the stitch through the loop on the left needle.
- Continue this process for each stitch until all the stitches are transferred onto the left needle.
- Now, the last stitch on your right needle will be next to the first stitch on your left needle, forming a complete circle of stitches.
At this point, you’re ready to start knitting in the round! Remember to use a stitch marker to mark the beginning of your round, and to work your stitches in the desired pattern or stitch that you’ve chosen for your beanie.
By casting on and joining your stitches in the round, you’re well on your way to creating a cozy and stylish knitted beanie!
Knitting the Ribbing
The first step in knitting a beanie in the round is to create the ribbing. The ribbing adds stretch and elasticity to the brim of the beanie. It is typically knit using a smaller needle size than the main body of the hat.
To begin, cast on the desired number of stitches using your smaller needles. The number of stitches will depend on the size of the beanie you are knitting and the desired width of the ribbing. It is common to cast on anywhere from 80 to 100 stitches for an average-sized adult beanie.
Once you have cast on your stitches, join them in the round by knitting the first stitch from the first needle onto the last stitch of the cast on needle. Be careful not to twist your stitches as you join them.
Next, you will begin knitting the ribbing pattern. The most common ribbing pattern is a 1×1 rib, which is created by alternating between knitting one stitch and purling one stitch. This creates a stretchy ribbing with a subtle texture.
Continue knitting the ribbing pattern for the desired length. Most ribbing patterns are knit for about 1 to 2 inches, but you can adjust the length to your preference. Remember to keep track of your rows or use a row counter to ensure your ribbing is consistent.
Once you have completed the ribbing, you are ready to move on to the main body of the beanie. At this point, you can switch to your larger needles and begin knitting the body in your desired stitch pattern.
It is important to note that the ribbing will be slightly smaller and tighter than the rest of the beanie to create a snug fit around the head. If you prefer a looser fit, you can use a larger needle size for the ribbing or increase the number of cast-on stitches.
Congratulations! You have successfully knitted the ribbing for your beanie. Now you can continue knitting the rest of the beanie, following the pattern instructions or your own design, until it is the desired length.
Switching to the Main Stitch Pattern
Once you have completed the ribbing, it’s time to switch to the main stitch pattern for the body of the beanie. The main stitch pattern is typically a combination of knit and purl stitches, but you can choose any pattern you like.
Here is how to switch to the main stitch pattern:
- Row 1: Begin by knitting the first stitch, then continue with the main stitch pattern for the rest of the row. This is usually a repeat of a specific sequence, such as knit 2, purl 2.
- Row 2: Repeat the main stitch pattern for the entire row. Make sure to follow the pattern instructions carefully.
- Repeat: Continue repeating rows 1 and 2 until the beanie reaches the desired length. The number of repeats will depend on your gauge and the length you want.
Remember to always check your gauge as you switch to the main stitch pattern to ensure that your beanie will fit properly. You may need to adjust your needle size or tension if necessary.
Additionally, make sure to keep track of your rows using a stitch marker or by keeping count. This will help you to stay organized and keep track of your progress.
Switching to the main stitch pattern is an exciting step in knitting a beanie as it transforms the ribbing into the body of the beanie. Enjoy the process and have fun experimenting with different stitch patterns to create a unique design!
Shaping the Crown
Once you’ve reached the desired length for your beanie, it’s time to start shaping the crown. This is where you’ll decrease stitches to create the round top of the beanie.
To begin, you’ll need to divide your stitches evenly onto double-pointed needles or a circular needle if you prefer. This will allow you to work in the round and decrease the stitches evenly across each section.
To decrease stitches, you can use one of several techniques, such as the knit two together (k2tog) or the slip, slip, knit (ssk). These stitches will help to reduce the number of stitches in each round, creating a tapering effect.
The specific decrease pattern will depend on the pattern you’re following or your desired design. Generally, decreasing is done by knitting or purling two stitches together at regular intervals.
Continue working the decrease pattern until you have a small number of stitches remaining on your needles, typically 4-8 stitches. At this point, you’ll need to gather the remaining stitches and secure them to close the top of the beanie.
There are several methods for finishing the crown, including the kitchener stitch or simply pulling the yarn through the remaining stitches and tightening. Choose the method that works best for you and your design.
Once the top of the beanie is closed and secure, weave in any loose ends and give your project a final block or steam to shape the beanie. And that’s it – you’ve successfully shaped the crown of your knitted beanie!
Binding Off and Finishing
After you have completed the desired length of your beanie, it’s time to bind off and finish your project. Follow these steps to complete your knitting in the round:
-
Begin the bind off by knitting the first two stitches on the round as usual. This will leave you with two stitches on the right needle.
-
Insert the tip of the left needle into the first stitch on the right needle, and lift it over the second stitch and off the needle. You will have now bound off one stitch.
-
Knit the next stitch on the round and repeat step 2. Continue to knit and bind off stitches until you reach the end of the round.
-
Once you have bound off all the stitches, cut the yarn, leaving a long tail. Thread the tail through the last stitch and pull it tight to secure the end.
-
To finish off your beanie and hide the tail, weave the yarn tail through the remaining stitches on the needle. Insert the needle under the back loop of each stitch, from right to left, and pull the yarn through.
-
Finally, trim any excess yarn and weave in the loose ends on the inside of the beanie using a tapestry needle.
Congratulations! You have successfully completed your beanie. Give it a final steam blocking if desired and enjoy wearing your hand-knit creation!
Blocking and Care Instructions
Blocking is an important step in finishing your knitted beanie. Blocking helps to even out the stitches, shape the beanie, and give it a polished look. Here are the steps to block your knitted beanie:
- Fill a basin or sink with lukewarm water.
- Add a small amount of gentle wool wash or detergent designed for delicate garments.
- Submerge the beanie in the water and gently agitate it to ensure it is fully saturated.
- Let the beanie soak for about 10 to 15 minutes.
- After soaking, carefully remove the beanie from the water and gently squeeze out the excess water. Do not wring or twist the beanie, as this can stretch and distort the stitches.
- Lay a clean towel or blocking mat on a flat surface.
- Place the beanie on the towel or blocking mat and gently reshape it to the desired size and shape.
- Use rustproof pins or blocking wires to secure the beanie’s shape. Pinning the edge of the beanie is usually sufficient.
- Leave the beanie to dry completely. This can take up to 24 hours, depending on the humidity and temperature.
- Once the beanie is dry, unpin it and it’s ready to wear!
To care for your knitted beanie, follow these guidelines:
- Hand wash your beanie using a gentle wool wash or detergent designed for delicate garments.
- Do not machine wash or tumble dry your beanie, as this can cause it to shrink or lose its shape.
- Dry your beanie flat on a clean towel or blocking mat, away from direct sunlight or heat sources.
- If necessary, reshape your beanie while it is damp and let it dry in the desired shape.
- Avoid using bleach or harsh chemicals on your beanie, as this can damage the fibers.
- Store your beanie in a cool, dry place to prevent it from becoming damp or attracting moths.
By following these blocking and care instructions, you can keep your knitted beanie looking beautiful and extend its lifespan.
Adding Embellishments and Personalization
Once you have finished knitting the basic beanie, you can add embellishments and personalize it to make it unique and special. Here are a few ideas:
Embroidery
One way to add flair to your beanie is through embroidery. You can use embroidery floss or yarn to create intricate designs or add text to your beanie. Choose contrasting colors to make the embroidery stand out.
Pom Pom
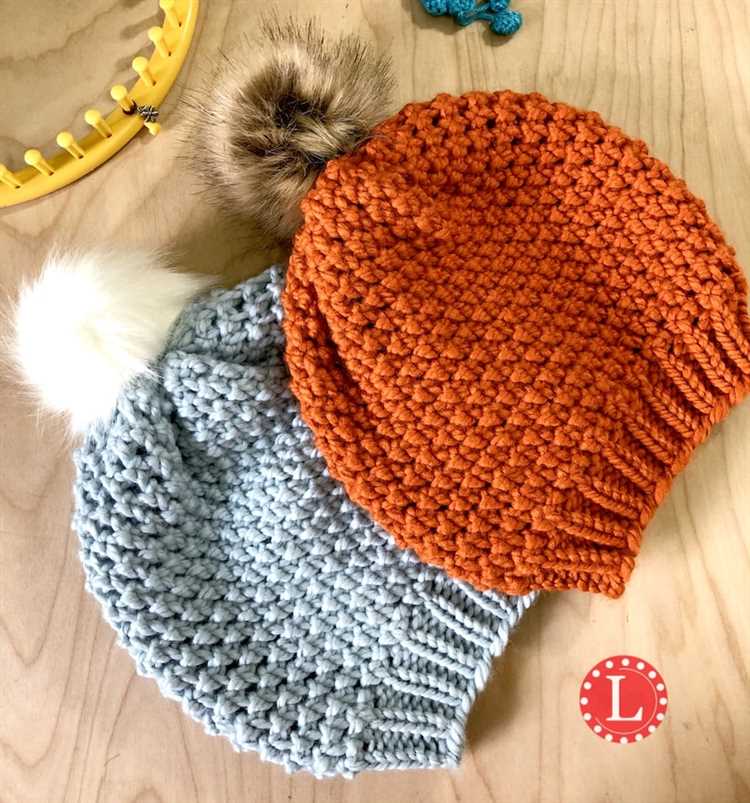
A classic way to decorate a beanie is by adding a pom pom on top. You can purchase pre-made pom poms or make your own using yarn. Attach the pom pom securely to the top of the beanie using a needle and thread.
Buttons
Another option to enhance the look of your beanie is by adding buttons. Choose buttons in various shapes, sizes, and colors that complement the yarn used in your beanie. Sew them onto the brim or other areas of the beanie for added style.
Charms and Trinkets
If you want to add a personal touch to your beanie, consider attaching charms or trinkets. These can be small metal or plastic charms that reflect your interests or hobbies. Attach them securely to the beanie using a jump ring or by sewing them on.
Colorwork
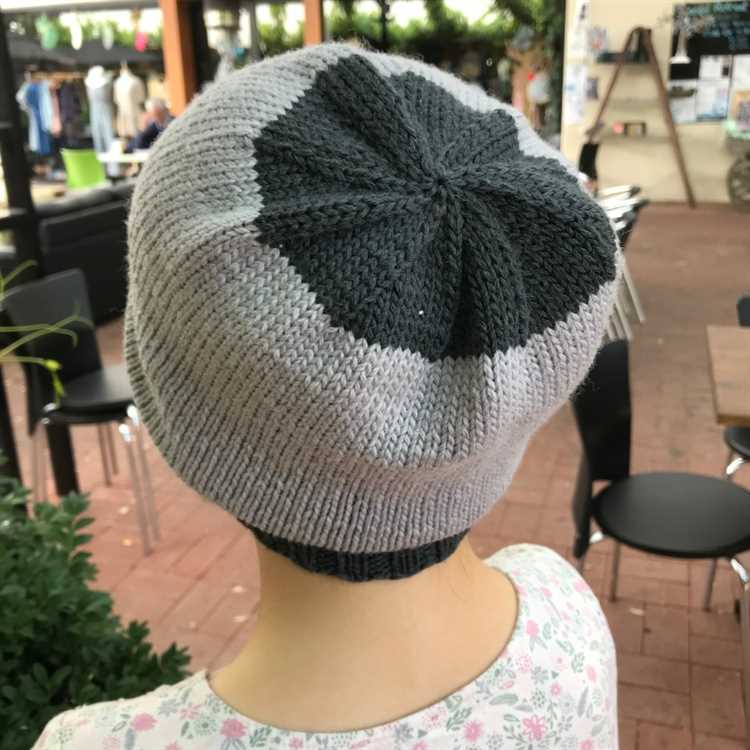
Another way to personalize your beanie is through colorwork. You can use different colored yarns to create patterns or motifs on the beanie. Fair Isle and intarsia are popular techniques for colorwork. Experiment with different color combinations and patterns to make your beanie truly one-of-a-kind.
Remember, when adding embellishments and personalization, make sure to consider the durability and comfort of the beanie. Avoid adding anything that could cause discomfort or hinder the functionality of the hat. Have fun expressing your creativity and making your beanie uniquely yours!
FAQ:
What is knitting in the round?
Knitting in the round is a technique used to create a seamless tube of fabric, such as a beanie, without the need for seams. It involves using circular knitting needles instead of straight ones, and continuously knitting in a spiral.
What materials do I need to knit a beanie in the round?
To knit a beanie in the round, you will need circular knitting needles in the appropriate size for your desired gauge, a set of double-pointed knitting needles for the decreases at the crown, yarn in the color and weight of your choice, a stitch marker, and a yarn needle for weaving in ends.
Can I use any type of yarn to knit a beanie in the round?
You can use any type of yarn to knit a beanie in the round, as long as it is the appropriate weight for your desired gauge. Thicker yarns will result in a warmer and bulkier beanie, while thinner yarns will create a lighter and more delicate beanie.
What if I don’t have circular knitting needles?
If you don’t have circular knitting needles, you can still knit a beanie in the round using double-pointed knitting needles. However, using circular needles is generally easier and more comfortable, especially for beginners, as they help distribute the weight of the work more evenly.
How do I know what size beanie to knit?
To determine what size beanie to knit, you will need to measure the circumference of the wearer’s head. You can then refer to a size chart or knitting pattern to find the appropriate size based on the head circumference. It is important to consider the stretchiness of the stitch pattern and the desired fit of the beanie when choosing a size.


