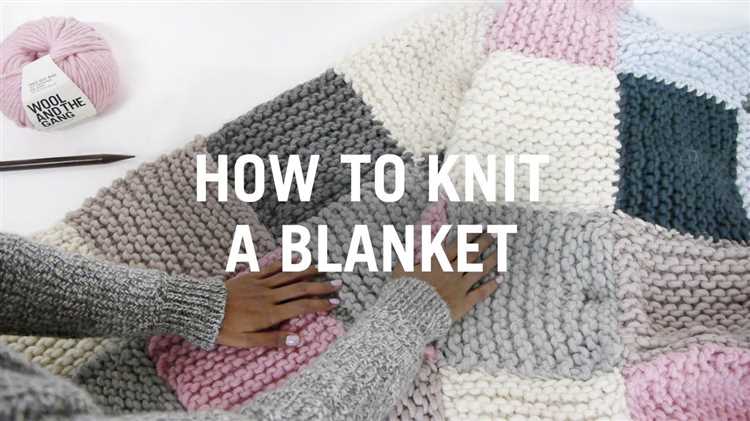
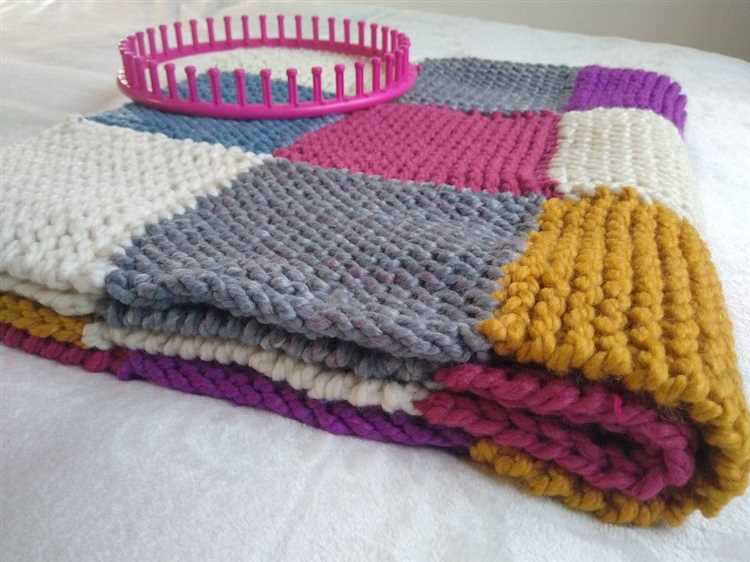
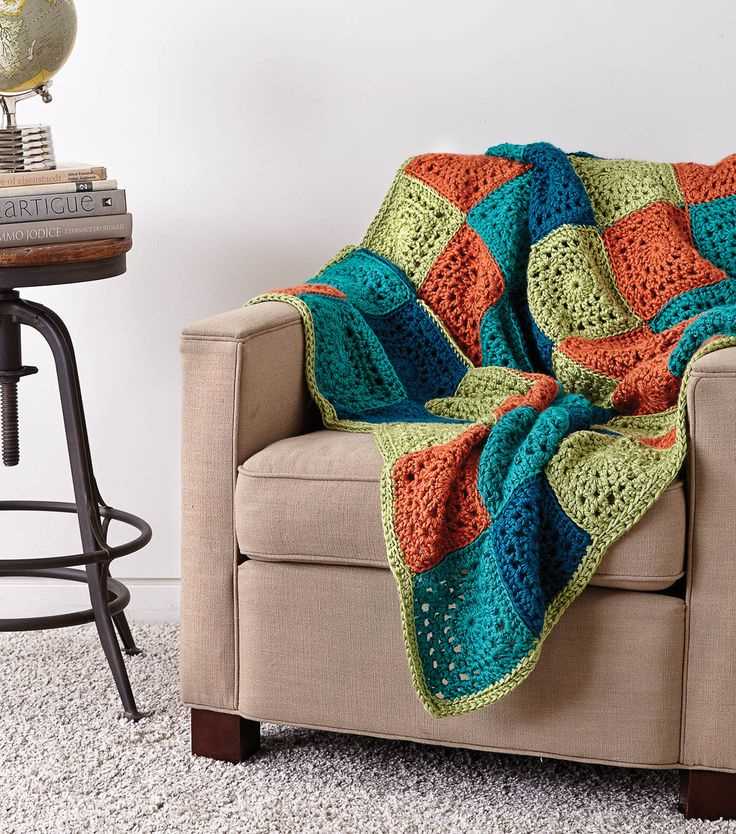
Have you ever wanted to create a cozy and unique blanket for your home? Knitting a patchwork blanket is a perfect way to combine different colors and textures to make a one-of-a-kind masterpiece. Whether you are a beginner or an experienced knitter, this step-by-step guide will teach you everything you need to know to create your own beautiful patchwork blanket.
Before you start knitting, gather all the materials you will need. This includes a selection of yarn in different colors and textures, knitting needles, scissors, and a tapestry needle for weaving in the ends. Choose colors that complement each other and create a harmonious palette for your blanket. Consider using a variety of yarn weights to add depth and interest to your patchwork design.
To begin knitting your patchwork blanket, start by casting on the desired number of stitches on your knitting needle. This will depend on the size of the blanket you want to create. If you are unsure, a standard size for a lap blanket is usually around 36-40 inches wide and 48-60 inches long.
Once you have cast on, you can start knitting the first row. Choose a simple stitch pattern, such as garter stitch or stockinette stitch, to create a smooth and even texture. Knit each row according to the pattern until you have reached the desired length for your first patch.
As you complete each patch, join them together using the mattress stitch or another appropriate method. This will give your blanket a seamless appearance and ensure that it is sturdy and long-lasting. Repeat the process for each additional patch, alternating colors and textures to create an eye-catching design.
Once you have finished knitting all the patches, take the time to weave in any loose ends and trim off excess yarn. This will give your blanket a polished and professional finish. Finally, block your blanket to even out the stitches and help it maintain its shape.
With this step-by-step guide, you now have the knowledge to knit a beautiful patchwork blanket that will add warmth and style to your home. Get creative with your choice of colors and stitches, and enjoy the process of creating a truly unique and personalized blanket that you can cherish for years to come.
Choosing the Right Yarn and Needles
Choosing the right yarn and needles is an important step in knitting a patchwork blanket. The yarn you choose will determine the overall look, feel, and durability of the finished blanket, while the needles you use will impact the texture and stitch tension. Here are some factors to consider when selecting your yarn and needles:
- Yarn Weight: Consider the weight of the yarn you want to use for your patchwork blanket. Heavier yarns will create a denser and warmer blanket, while lighter yarns will result in a more lightweight and breathable blanket. Choose a yarn weight that suits your intended use for the blanket.
- Yarn Material: There are various yarn materials available, including wool, acrylic, cotton, and blends. Each material has its own characteristics and properties. Wool provides warmth, while acrylic is machine washable and easy to care for. Cotton is breathable, making it suitable for warmer climates. Choose a material that fits your preferences and the intended use of the blanket.
- Needle Size: The size of the needles you use will determine the size and tension of your stitches. Smaller needles will result in tighter, smaller stitches, while larger needles will create looser, larger stitches. Choose a needle size that complements the yarn weight you’ve chosen and produces the desired stitch tension.
- Needle Material: Needles can be made from various materials, such as metal, bamboo, or plastic. Each material has its own qualities. Metal needles are durable and slide smoothly, making them great for fast knitting. Bamboo needles are lightweight and have a natural grip, making them comfortable to work with. Plastic needles are affordable and lightweight. Choose a needle material that suits your preference and knitting style.
- Gauge: It’s important to check the gauge of your yarn and needles before starting your blanket. The gauge refers to the number of stitches and rows that fit into a specific measurement, usually given as a 4-inch square. Following the recommended gauge ensures that your blanket will have the correct size and proportions.
Take your time to consider these factors before selecting your yarn and needles. Experiment with different combinations to find the perfect match for your patchwork blanket. Remember, the right yarn and needles will contribute to the success and enjoyment of your knitting project.
Selecting the Patchwork Patterns
When it comes to creating a patchwork blanket, one of the most exciting parts is selecting the patterns for each patch. Here are some tips to help you choose the perfect patterns for your blanket:
- Consider the overall design: Think about the overall look you want to achieve with your blanket. Are you going for a more traditional look or a modern design? This will help you narrow down your pattern choices.
- Choose a theme: If you want to give your blanket a cohesive look, consider selecting patterns that fit a specific theme. This could be anything from nature-inspired patterns to geometric designs.
- Mix and match: Don’t be afraid to mix and match different patterns to create visual interest. Combine stripes, polka dots, and floral patterns for a unique and eclectic look.
- Consider the color scheme: Think about the color scheme you want to use for your blanket. Select patterns that complement each other and fit within your chosen color palette.
- Choose a variety of sizes: To create a visually appealing blanket, select patterns of different sizes. This will add texture and dimension to your finished piece.
- Experiment with different fabrics: Don’t limit yourself to just one type of fabric. Mix and match different fabrics such as cotton, wool, or acrylic to add variety to your patchwork.
Remember, the beauty of a patchwork blanket is in its diversity. Have fun experimenting with different patterns and fabrics to create a truly unique and beautiful blanket!
Casting On and Getting Started
Before beginning your knitting project, it is important to cast on your stitches to create the foundation row. Follow these steps to cast on and get started on your beautiful patchwork blanket:
- Gather your materials, including knitting needles suitable for the chosen yarn, a yarn needle, and your desired yarn colors.
- Start by making a slip knot with one end of your yarn. Pull the loose end to tighten the knot, but not too tightly.
- Hold the knitting needle in your right hand. Insert the needle through the slip knot loop, and use your left hand to hold the slip knot loop.
- With your right hand, wrap the yarn around the needle counterclockwise, starting from the back to the front.
- Bring the needle back through the slip knot loop, catching the yarn on the needle tip.
- With your right hand, gently pull the new stitch created through the slip knot loop.
- Repeat steps 3 to 6 until you have cast on the desired number of stitches for your blanket. Keep the stitches snug but not too tight.
Once you have cast on all your stitches, you are ready to start knitting the first row of your patchwork blanket. Refer to the pattern instructions to determine the stitch pattern and number of rows required for each color block.
Remember to take your time and enjoy the process as you knit your beautiful patchwork blanket. Happy knitting!
Knitting the First Patch
Before you begin knitting the first patch for your patchwork blanket, make sure you have all the necessary materials and tools, such as knitting needles, yarn, scissors, and a tapestry needle.
Step 1: Start by creating a slipknot to secure the yarn onto one of the knitting needles. Leave a long tail of yarn, as you will use it to sew the patches together later.
Step 2: Hold the needle with the slipknot in your right hand and the other empty needle in your left hand. Insert the empty needle into the slipknot from left to right, making sure it goes under the yarn on the first needle.
Step 3: With your right hand, bring the yarn over the top of the empty needle from back to front, creating a loop.
Step 4: Use the right needle to lift the loop on the left needle up and over the top, letting it slide down onto the right needle. This is called a knit stitch.
Step 5: Repeat steps 2 and 4 until you have the desired number of stitches on your right needle. This will depend on the size of the patch you want to create.
Step 6: Once you have finished knitting the desired number of stitches, it’s time to cast off. Knit two stitches as usual and use the left needle to lift the first stitch over the second stitch and off the right needle. Repeat this process for each stitch until only one stitch remains on the right needle.
Step 7: Cut the yarn, leaving a long tail. Thread the tail through the tapestry needle and slip the needle through the last stitch. Pull tight to secure the stitch.
Step 8: Congratulations! You have completed knitting your first patch. Repeat these steps to create more patches in different colors and designs for your beautiful patchwork blanket.
Joining the Patches Together
Once you have finished knitting all of your patches for your patchwork blanket, the next step is to join them together.
Here are the steps to join the patches together:
- Lay out your patches in the desired pattern and arrangement. This will give you an idea of how the finished blanket will look.
- Starting with two adjacent patches, overlap them with the wrong sides facing each other.
- Using a tapestry needle and the same yarn you used to knit the patches, insert the needle through the corner stitches of both patches.
- Pull the yarn through, leaving a long tail for seaming.
- Insert the needle back into the same corner stitches to create a loop.
- Repeat steps 3-5 along the entire edge of the patches until they are securely joined together.
- Move on to the next two adjacent patches and repeat the process.
Alternatively, you can also join the patches using a crochet slip stitch or a whipstitch.
Once all the patches have been joined together, weave in any loose ends of yarn to give the blanket a neat finish.
It’s important to take your time and ensure that the patches are joined together evenly and securely. This will make the blanket more durable and long-lasting.
Now that you know how to join the patches together, you can continue with the next steps of finishing your beautiful patchwork blanket.
Adding Borders and Finishing Touches
Once your patchwork blanket is complete, it’s time to add borders and finishing touches to give it a polished look. Here are some steps to follow:
1. Choose your border yarn: Select a yarn color that complements the colors in your patchwork blanket. You can use a solid color or a variegated yarn for added interest.
2. Prepare your stitches: Begin by picking up stitches along one side of your blanket using a crochet hook or knitting needle. The number of stitches you pick up will depend on the desired width of your border. Make sure to space them evenly along the edge.
3. Knit the border: Work your chosen border stitch pattern along the edge of your blanket. You can use a simple garter stitch or a more complex lace pattern, depending on your preference. Continue knitting until the border reaches your desired width, making sure to maintain an even tension.
4. Repeat for remaining sides: Repeat steps 2 and 3 for the remaining three sides of your blanket, working the same border stitch pattern. This will create a uniform look throughout the entire blanket.
5. Add corner embellishments: To give your blanket a finishing touch, consider adding corner embellishments. You can knit or crochet small motifs and sew them onto the corners using the same yarn as your border. This will add a decorative element to your blanket.
6. Weave in loose ends: Make sure to weave in any loose ends from changing colors or attaching new yarns. This will ensure that your blanket looks neat and professional.
7. Block your blanket: After completing the borders and finishing touches, steam or wet block your blanket to give it a crisp and even appearance. This will set the stitches and enhance the overall look of the finished piece.
8. Enjoy your finished blanket: Once your blanket is fully complete and dry, it’s ready to be used or gifted. Wrap yourself or a loved one in the cozy warmth of your handmade patchwork blanket and admire your skillful work!
Blocking and Washing the Blanket
Blocking and washing your finished patchwork blanket is an important step to give it a polished look and ensure it keeps its shape. Here is a step-by-step guide on how to block and wash your blanket:
- Prepare the blocking materials: You will need blocking mats or towels, rust-proof pins, and a tape measure.
- Pin the blanket to the blocking mats: Lay the blanket out on the blocking mats or towels. Smooth out any wrinkles or creases and pin each corner securely to the mats using rust-proof pins. Make sure the blanket is symmetrical and evenly stretched.
- Measure the dimensions: Use a tape measure to ensure that the blanket is blocked to the desired dimensions. This step is important if you want the blanket to be a specific size.
- Mist the blanket with water: Using a water spray bottle, mist the blanket lightly until it is damp. Avoid soaking the blanket, as it may take longer to dry.
- Leave the blanket to dry: Allow the blanket to air dry completely before removing the pins. This process may take several hours or even overnight, depending on the thickness of the yarn and the climate. Avoid direct sunlight, as it may cause the colors to fade.
Washing Instructions:
- Check the care instructions: Before washing your blanket, check the yarn label for any specific washing instructions. Some yarns may require handwashing or delicate machine wash.
- Fill a basin or sink with lukewarm water: Fill a basin or sink with lukewarm water and add a mild detergent suitable for wool or delicate fabrics. Mix well to create a gentle soapy solution.
- Gently wash the blanket: Immerse the blanket in the soapy water and gently agitate it with your hands. Avoid twisting or wringing the blanket, as it may cause damage or stretching.
- Rinse the blanket: Drain the soapy water and refill the basin or sink with clean lukewarm water. Gently rinse the blanket in the clean water until all soap is removed.
- Remove excess water: Squeeze out the excess water from the blanket gently. Avoid wringing or twisting the blanket, as it may misshape it.
- Blot the blanket: Lay a clean towel on a flat surface and place the blanket on top. Roll the towel and blanket together to absorb excess water. Repeat this process with dry towels if necessary.
- Lay the blanket flat to dry: Finally, lay the blanket flat on a drying rack or clean towel and let it air dry completely. Avoid hanging the blanket, as it may stretch or distort the shape.
By following these steps, you can ensure your patchwork blanket looks its best and lasts for a long time. Remember to always check any specific instructions for the yarn you used to create your blanket.
FAQ:
What materials do I need to knit a patchwork blanket?
To knit a patchwork blanket, you will need several skeins of different colored yarn, knitting needles (usually size 8 or 9), a yarn needle for weaving in ends, and scissors.
Can I use different types of yarn for the patchwork blanket?
Yes, you can use different types of yarn as long as they are all of similar weight. Mixing different textures and fibers can create an interesting visual effect in your blanket.
How long does it take to knit a patchwork blanket?
The time it takes to knit a patchwork blanket can vary depending on your skill level and the size of the blanket. On average, it can take several weeks or even months to complete a large patchwork blanket.
Are there any specific knitting techniques I need to learn for this project?
While basic knitting skills are necessary for this project, you may also need to learn some additional techniques such as changing colors, knitting in the round, and joining squares together. The article provides a step-by-step guide on how to knit a patchwork blanket, so you can learn these techniques as you go.


