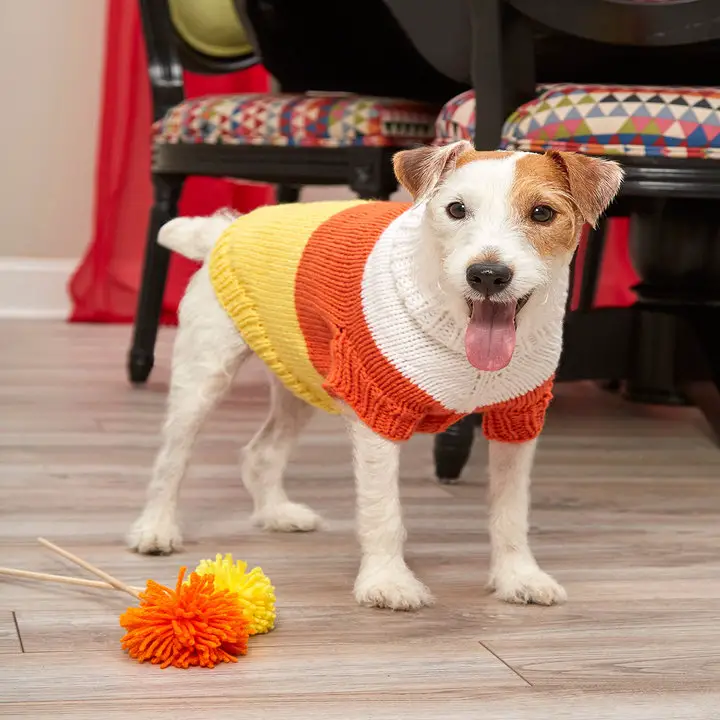
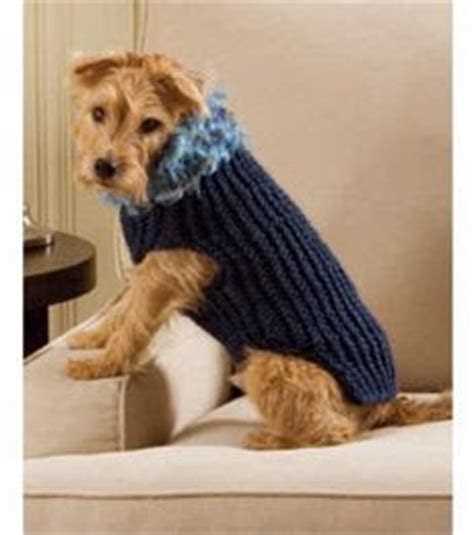
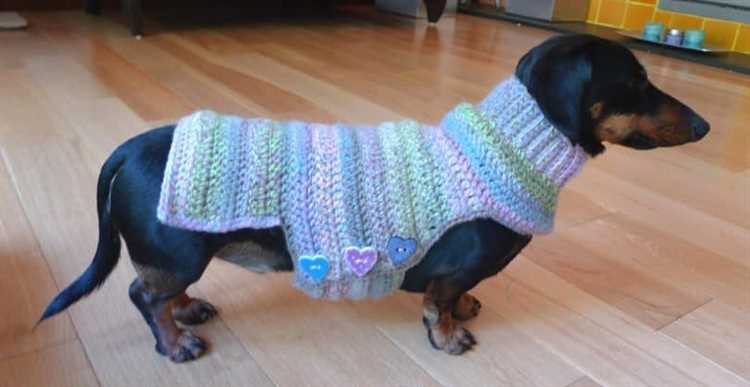
If you’ve ever wanted to show off your knitting skills while keeping your furry friend warm and stylish, then knitting an adorable dog sweater is the perfect project for you! Whether you have a tiny Chihuahua or a large Labrador, this step-by-step guide will walk you through the process of creating a cozy sweater that will have tails wagging.
Before you dive into this project, it’s important to gather all the necessary materials. You’ll need a set of knitting needles, yarn in your desired color, a tape measure, scissors, and a darning needle. It’s also helpful to have a pattern on hand or to create your own using measurements of your dog.
Once you have all your materials ready, you can start by measuring your dog’s neck, chest, and length from the base of the neck to the tail. These measurements will guide you in creating a sweater that fits perfectly. Don’t forget to add a few inches for ease of movement!
Choosing the Right Yarn and Needles
When it comes to knitting a dog sweater, choosing the right yarn and needles is essential to ensure a comfortable and well-fitting final product. Here are some factors to consider when making your selections:
- Yarn Weight: The weight of the yarn will determine the thickness and warmth of the sweater. For a dog sweater, it’s best to choose a lightweight or medium-weight yarn that will provide warmth without being too bulky.
- Fiber Content: Consider the fiber content of the yarn based on your dog’s needs. Wool is a commonly used option as it provides warmth and insulation. However, if your dog has sensitive skin or allergies, consider alternative fibers like cotton or acrylic.
- Needle Size: The size of the needles will affect the density of the stitches and the overall size of the sweater. Check the label of your chosen yarn for a recommended needle size, and consider the desired gauge of the pattern you’re following. Most dog sweaters require smaller needles to create a tighter fabric that will keep your pup warm.
- Color and Design: Have fun with your yarn selection by choosing colors and patterns that suit your dog’s personality or match their existing wardrobe. However, be mindful of your dog’s comfort and visibility. It’s best to avoid yarns that shed or have long fibers that could irritate your dog’s skin or be ingested. Also, consider visibility by choosing brighter colors if your dog will be outside in low-light conditions.
Remember, every dog is unique, so it’s important to consider your dog’s size, breed, and individual needs when selecting yarn and needles. By choosing the right materials, you’ll be well on your way to knitting an adorable and comfortable sweater for your furry friend!
Measuring Your Dog for the Perfect Fit
Before you start knitting your dog’s sweater, it’s important to measure your furry friend to ensure the perfect fit. Here’s a step-by-step guide to help you measure your dog:
- Neck Size: Use a soft measuring tape to measure around your dog’s neck, where a collar would typically sit. Make sure the tape is snug but not too tight. Note down the measurement in inches or centimeters.
- Chest Size: Place the measuring tape around the widest part of your dog’s chest, just behind the front legs. Again, ensure the tape is snug but not tight. Record the measurement.
- Back Length: Measure from the base of your dog’s neck to the base of their tail. This will give you the length of the sweater. Note down the measurement, as it will be important when determining the size of each section of the sweater.
- Leg Length: If you would like the sweater to cover your dog’s legs, measure from the base of the neck down to the desired length on the legs. This is optional, and you can omit this measurement if you prefer a shorter sweater.
Once you have all the measurements, refer to the pattern or size chart to determine the appropriate size for your dog’s sweater. Keep in mind that different breeds and individual dogs may have varying proportions, so it’s always best to double-check the measurements against the pattern.
Remember, a well-fitting sweater will ensure your dog feels comfortable and can move freely while still staying warm. So take the time to measure your dog accurately before you start knitting!
Casting on and Creating the Neckline
To begin knitting the adorable dog sweater, you will need to cast on the stitches and create the neckline. Follow these steps:
- Choose the size of the sweater based on your dog’s measurements.
- Using the recommended yarn and needle size, cast on the required number of stitches for the neckline. This will vary depending on the size of the sweater.
- Once you have cast on the stitches, divide them evenly onto two needles or use a circular needle, depending on your preference.
- To create the neckline, you will work in a rib stitch pattern. This can be a 2×2 rib (knit 2, purl 2) or a 1×1 rib (knit 1, purl 1).
- Continue knitting in the rib stitch pattern for the desired length of the neckline. This will depend on your dog’s measurements and personal preference. It is typically recommended to knit the neckline for about 1-2 inches.
- If you are using circular needles, you can simply continue knitting in the round to work on the body of the sweater. If you are using straight needles, you will need to transfer the stitches onto the second needle to continue working in the round.
Once you have completed these steps, you will have successfully cast on and created the neckline for your dog’s sweater. Now you can move on to knitting the body of the sweater and adding any additional design details or patterns. Happy knitting!
Knitting the Body of the Sweater
Once you have completed the ribbing for the sweater, it’s time to start knitting the body. The body of the sweater will determine the length and width of the final product, so make sure to follow the instructions carefully.
Materials:
- Knitting needles
- Yarn
- Tape measure
Instructions:
- Start by casting on the required number of stitches for the size of your dog’s sweater. This will be determined by the size chart or pattern you are following. Make sure to use the same size needles as you did for the ribbing.
- Next, work in stockinette stitch for the desired length of the sweater. Stockinette stitch is created by knitting all the stitches on the right side and purling all the stitches on the wrong side. This will create a smooth surface, which is perfect for the body of the sweater.
- Continue knitting in stockinette stitch until the body reaches the desired length. Use a tape measure to ensure that the measurements are accurate. Keep in mind that the sweater will stretch slightly when worn.
- Once the body has reached the desired length, it’s time to start shaping the armholes. Follow the pattern’s instructions to determine when and how to decrease stitches for the armholes.
- After shaping the armholes, continue knitting the body until it is the desired length. This will typically be longer than the ribbing, as it needs to cover your dog’s back and reach the base of their tail.
- Finally, bind off all the stitches to secure the body of the sweater. Cut the yarn, leaving a long tail for weaving in later.
Now that the body of the sweater is complete, you can move on to knitting the sleeves and finishing touches. Stay tuned for the next section of our guide, where we will cover how to knit the sleeves for the dog sweater.
Adding Sleeves for Extra Warmth
If you want to make your dog sweater even cozier and warmer, you can add sleeves. Sleeves not only provide extra insulation, but they also add a stylish touch to the design. Follow these steps to add sleeves to your dog sweater:
- Measure your dog’s front legs: Start by measuring the circumference of your dog’s front legs, just above the elbows. This will be the width of the sleeves.
- Calculate the sleeve length: Measure the distance from your dog’s neck to the top of their front legs. This will be the length of the sleeves.
- Create sleeve patterns: Using these measurements, create sleeve patterns on a piece of paper. You can either trace the shape of your dog’s legs or draw a shape that fits your desired style. Cut out the patterns.
- Attach the sleeves: Place the sweater flat on a table, with the back of the sweater facing up. Position the sleeves on each side, aligning the top edge of the sleeve with the armhole of the sweater. Pin the sleeves in place.
- Sew the sleeves: Use a sewing needle and thread to sew the sleeves onto the sweater. Start from the top edge and sew along the armhole, making sure to secure the stitches well. Repeat the process for the other sleeve.
- Finish the edges: To give the sleeves a polished look, fold the raw edges under and sew them in place. This will prevent fraying and give the sleeves a neat finish.
Now your dog sweater has cozy sleeves that will keep your furry friend warm and stylish in colder weather. Make sure to try it on your dog and make any necessary adjustments for the perfect fit.
Creating the Ribbed Cuffs and Hem
One of the key features of a dog sweater is the ribbed cuffs and hem. These ribbed areas help to give the sweater a snug fit and prevent it from slipping off your dog.
To create the ribbed cuffs and hem, you will need to use a smaller needle size than the one used for the body of the sweater. This will create a tighter stitch pattern and give the cuffs and hem the desired elasticity.
Here is a step-by-step guide to creating the ribbed cuffs and hem:
- With your smaller knitting needles, cast on the required number of stitches for the cuffs or hem. This can vary depending on the size of your dog and the desired width of the ribbing. For example, you might cast on 40 stitches.
- Start with a knit stitch for the first row. This will create the foundation row for the ribbing.
- For the second row, switch to a purl stitch. This will create the alternating knit and purl pattern that gives the ribbing its stretchiness.
- Continue knitting in this alternating pattern (knit one row, purl one row) until the ribbed cuffs or hem reach the desired length. This could be 2 inches or longer, depending on your preference.
- Once the desired length is reached, bind off the stitches using a stretchy bind off method. This will ensure that the ribbed cuffs and hem retain their elasticity.
By following these steps, you can create ribbed cuffs and hem that will give your dog sweater a professional and snug finish. Remember to use a smaller needle size and to knit in an alternating knit and purl pattern to achieve the desired stretchiness.
Finishing Touches: Adding Buttons or a Bow
Once you have completed knitting your adorable dog sweater, it’s time to add some finishing touches to make it even more stylish and personalized. One way to do this is by adding buttons or a bow to the sweater.
Adding Buttons
If you want to add buttons to your dog sweater, here’s how you can do it:
- Choose buttons that match the color and style of your sweater. You can go for simple and classic or opt for more decorative buttons to add a unique touch.
- Position the buttons on the front of the sweater, spacing them evenly. You can use a measuring tape or ruler to ensure they are placed symmetrically.
- Thread a tapestry needle with a length of yarn that matches the color of your sweater. Start from the inside of the sweater and carefully sew through both the button and the fabric.
- Repeat this process for each button, making sure they are firmly attached.
Adding a Bow
If you prefer a more feminine touch, you can add a bow to the dog sweater. Here’s how:
- Choose a ribbon or fabric that complements the color of the sweater.
- Measure and cut the ribbon or fabric to your desired length. Make sure to leave extra length for tying the bow.
- Position the bow on the back of the sweater or on the collar, depending on your preference.
- Tie the bow using a simple knot or a bow tie technique. Adjust the loops and tails to create a symmetrical and fluffy bow.
- Secure the bow in place by stitching it onto the sweater at the center or using fabric glue.
Adding buttons or a bow to your dog sweater is a great way to personalize it and make it stand out. Get creative with your choice of buttons or ribbon to match your dog’s personality and style. Enjoy the process of adding these finishing touches and admire your adorable dog in their new stylish sweater.
Proper Care and Washing Instructions
Proper care and regular washing are important for ensuring that your dog’s sweater stays clean and in good condition. Follow these instructions to keep your dog’s sweater looking its best:
- Check the care instructions: Before washing the sweater, always check the care label for any specific instructions provided by the manufacturer.
- Hand wash: It is generally recommended to hand wash the dog sweater to prevent any damage or distortion. Fill a sink or basin with cool water and add a mild detergent suitable for delicate fabrics.
- Gently wash: Immerse the sweater in the water and gently agitate it to remove any dirt or stains. Avoid rubbing or twisting the fabric, as this can cause it to lose its shape.
- Rinse: After washing, drain the sink or basin and refill it with clean water. Rinse the sweater thoroughly until all soap residue is removed.
- Press out excess water: To remove excess water, gently squeeze the sweater without twisting or wringing it. Avoid using excessive force, as this can damage the fabric.
- Dry flat: Lay the sweater flat on a clean towel or drying rack to dry. Avoid hanging the sweater, as this can cause it to stretch or lose its shape.
- Avoid direct heat and sunlight: Do not expose the sweater to direct heat or sunlight while drying, as this can cause the fabric to fade or shrink.
- Store properly: Once dry, fold the sweater neatly and store it in a cool, dry place to protect it from dust and moisture.
Remember to always follow the care instructions provided with your dog’s sweater, as different materials may require specific care techniques. With proper care, your dog’s sweater will stay soft, cozy, and adorable for many winters to come!
FAQ:
What materials do I need to knit a dog sweater?
To knit a dog sweater, you will need yarn, knitting needles, a tape measure, scissors, and a tapestry needle.
Is knitting a dog sweater difficult?
Knitting a dog sweater can be a bit challenging, especially if you are a beginner. However, if you follow the step-by-step instructions and have some patience, you should be able to successfully complete the project.
What size should the dog sweater be?
The size of the dog sweater will depend on the measurements of your dog. It is important to measure your dog’s chest girth, neck circumference, and back length to determine the appropriate size.
Can I customize the dog sweater?
Yes, you can definitely customize the dog sweater. You can choose your preferred yarn color and pattern, and you can also add additional details such as buttons or a collar.
How long will it take to knit a dog sweater?
The time it takes to knit a dog sweater will vary depending on your knitting skills and the size of the sweater. It could take anywhere from a couple of days to a couple of weeks to complete the project.
Can I machine wash the dog sweater?
It is recommended to hand wash the dog sweater to ensure that it retains its shape and does not get damaged. However, if the yarn you used is machine washable, you can carefully wash it in a machine on a gentle cycle.


