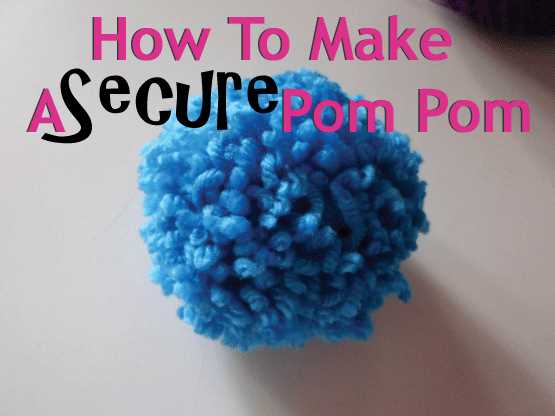
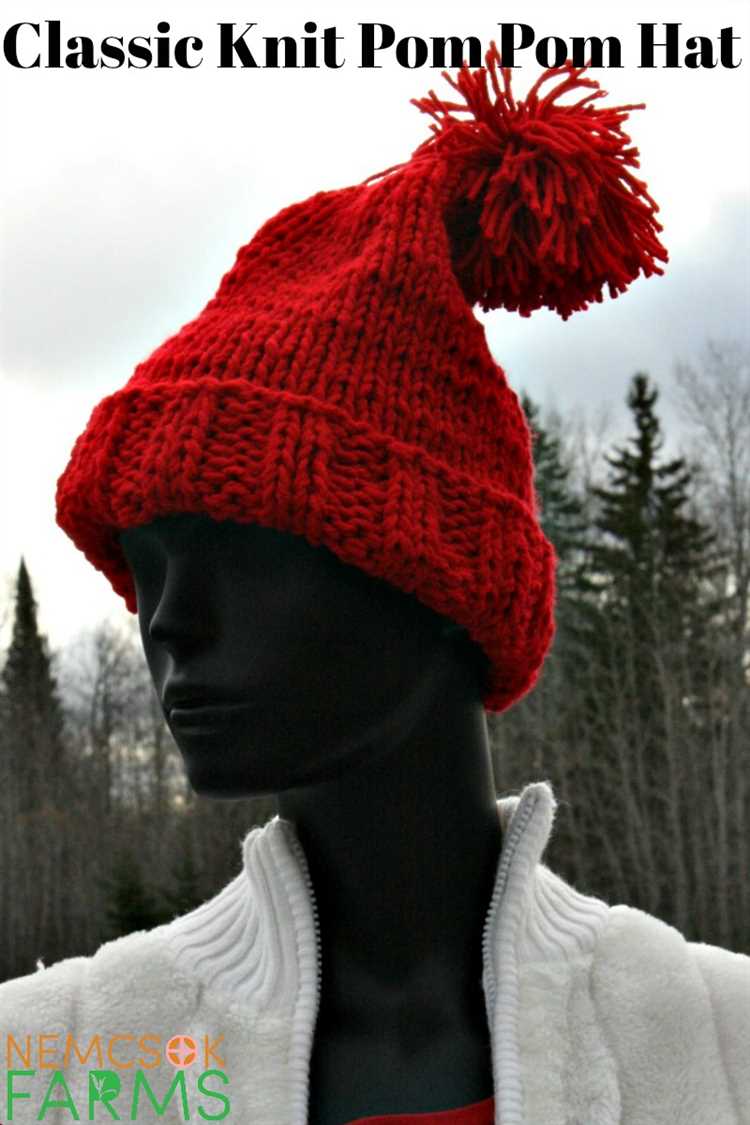
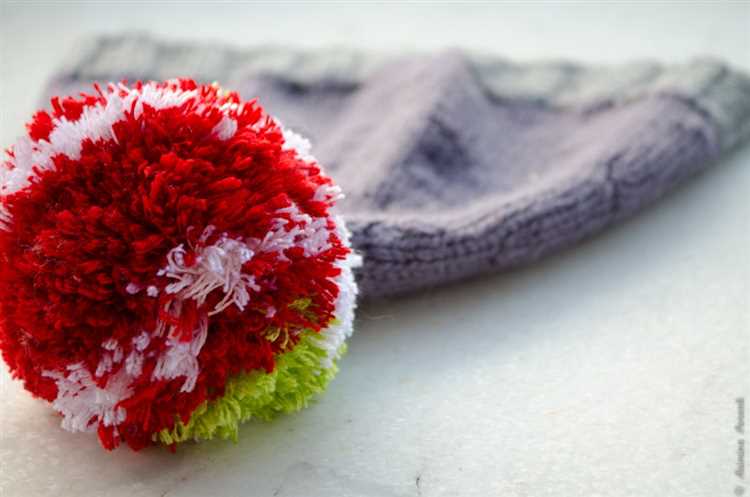
Adding a pom pom to a knitted hat is not only a fun embellishment, but it also adds a touch of whimsy and style. Whether you’re knitting a hat for yourself or as a gift, learning how to make a pom pom is a simple yet rewarding skill.
There are several methods to make a pom pom, but one of the easiest and most popular techniques involves using a cardboard template. This method allows you to create pom poms of various sizes, perfect for customizing your hat according to your preference.
To start, gather your materials: a piece of cardboard, scissors, yarn in your desired color, and a darning needle. Cut a rectangle from the cardboard, ensuring its length is equal to the desired size of your pom pom. The wider the cardboard, the fuller your pom pom will be.
Next, wrap the yarn around the cardboard, going back and forth across the width. The more yarn you wrap, the denser and fluffier your pom pom will become. Wrap the yarn tightly to achieve a secure pom pom. Once you’re satisfied with the thickness, cut the yarn.
Take another piece of yarn and slide it under the wrapped yarn on the cardboard. Tie a tight knot to secure the wrapped yarn in place. This will ultimately form the center of the pom pom. Leave the ends of the yarn long, as they will be used to attach the pom pom to the hat.
With the knot securely in place, carefully slide the wrapped yarn off the cardboard template. Hold the bundle of yarn firmly and trim the loops on both ends using a pair of sharp scissors. As you snip the loops, fluff up the pom pom to create a rounded shape.
Finally, attach the pom pom to your knitted hat by threading the long ends from the center knot through the top of the hat. Knot the ends tightly and weave them into the knitting to secure the pom pom in place. Adjust the shape and fluffiness of the pom pom as needed, and voila! You have successfully learned how to make a pom pom for your knitted hat.
Remember, practice makes perfect, so don’t hesitate to experiment with different yarns, sizes, and techniques to make unique and beautiful pom poms for your knitted hats.
Gather Supplies for Making a Pom Pom
To make a pom pom for your knitted hat, you will need a few supplies. Here is a list of items you will need:
- Yarn: Choose a yarn color that matches or complements your knitted hat.
- Pom pom maker: There are various types of pom pom makers available, such as plastic or metal pom pom makers in different sizes. Select a pom pom maker that suits the size of pom pom you want to make.
- Scissors: You will need a pair of scissors to trim the yarn when making the pom pom.
- Tapestry needle: This needle will be used to secure the pom pom to your knitted hat.
Once you have gathered all the necessary supplies, you will be ready to make a pom pom for your knitted hat!
Make a Cardboard Circle Template
Before you can start making the pom pom for your knitted hat, you’ll need to create a cardboard circle template. This template will help you make consistent and symmetrical pom poms.
Follow these steps to make a cardboard circle template:
- Gather Materials: You’ll need a piece of cardboard, a compass or a round object to trace, a pen or marker, and a pair of scissors.
- Trace a Circle: Place the round object or the compass on the cardboard and trace around it to create a circle. The size of the circle will determine the size of your finished pom pom, so choose a size that fits your preferences.
- Cut Out the Circle: Using a pair of scissors, carefully cut along the traced line to create a cardboard circle.
- Add Markings: To make it easier to create the center hole of the pom pom, mark the center point of the circle with a small dot.
- Create Center Hole: Since pom poms are made by wrapping yarn around a cardboard template, you’ll need to create a small hole in the center of the cardboard circle. You can do this by gently poking a pair of scissors or a pen through the center dot and enlarging the hole slightly.
Once you have your cardboard circle template ready, you can move on to the next steps of making a pom pom for your knitted hat. This template will help you create uniform pom poms for a professional finish.
Wrap Yarn Around the Template
Before you start wrapping the yarn around the template, cut a piece of yarn that is about 12 inches long. This will be used later to tie the middle of the pom pom.
1. Hold the template firmly in one hand. Take the end of the yarn and wrap it around the template, making sure to leave a long tail of yarn hanging down. This tail will be used later to attach the pom pom to your knitted hat.
2. Continue wrapping the yarn around the template, overlapping each layer slightly. The more times you wrap the yarn around, the fuller and fluffier your pom pom will be. Keep in mind that the thickness of the yarn and the size of the template will also affect the final size of the pom pom.
3. To change colors or create a multicolored pom pom, simply cut the yarn and tie a new color onto the tail. Then, continue wrapping the new color around the template.
4. Keep wrapping until you are happy with the thickness of your pom pom. For a small pom pom, around 40 wraps should be sufficient. For a larger pom pom, you may need to wrap the yarn 80 to 100 times.
5. Once you are finished wrapping, cut the yarn, leaving a long tail of yarn hanging down. This tail will also be used later to tie the middle of the pom pom.
6. Carefully slide the wrapped yarn off the template, making sure to keep all the loops intact.
Tie and Secure the Yarn
Now it’s time to tie and secure the yarn to create your pom pom. Follow these easy steps to ensure it’s securely attached:
-
Gather the yarn: Take a long piece of yarn and fold it in half to create a loop. The length of the yarn will determine the size of your pom pom, so make sure it’s long enough to wrap around your hand a few times.
-
Insert the loop: Insert the looped end of the yarn through the center of the cardboard circles. You should have both ends of the yarn on one side of the circles.
-
Tie a knot: Take the ends of the yarn and pull them through the loop, creating a knot around the cardboard circles. Make sure the knot is tight enough to hold the yarn in place.
-
Secure the knot: Wrap the loose ends of the yarn around the cardboard circles a few more times, making sure to keep the yarn taut. This will help secure the knot and prevent it from unraveling.
-
Tie another knot: Once you’ve wrapped the yarn around the circles a few times, tie another knot to secure the loose ends. Make sure the knot is tight and secure.
Now that you’ve tied and secured the yarn, you’re ready to start trimming and shaping your pom pom. You can move on to the next step of the guide to complete your knitted hat with a beautiful and fluffy pom pom!
Cut the Yarn Loops
Once you have finished wrapping the yarn around the pom pom maker, you can proceed to cut the loops. This step is crucial in creating the fluffy and compact pom pom.
To cut the loops, hold the pom pom maker firmly and take a sharp pair of scissors. Insert the scissors between the two outer edges of the maker and cut through the yarn loops. Make sure to cut along the entire circumference of the maker to release all the loops.
Be careful not to cut the yarn ties that hold the loops together. These ties are essential for securing the pom pom and preventing it from unraveling.
Once you have cut through all the loops, your pom pom will start to take shape. At this point, it may look a bit uneven and messy, but don’t worry — we’ll fix that in the next steps.
Trim and Shape the Pom Pom
Once you have securely tied the yarn around the center of your pom pom, it’s time to trim and shape it to give it a neat and fluffy appearance. Follow these steps to trim and shape your pom pom:
- Start by fluffing up the strands of yarn in the pom pom. Gently pull them apart to make them more voluminous.
- Using sharp scissors, trim any longer strands of yarn to match the length of the shorter strands. This will help create a more uniform and round shape.
- Continue trimming the yarn by cutting it at an angle, rather than straight across. This will add dimension and prevent the pom pom from looking flat.
- Keep trimming and shaping the pom pom until you are satisfied with its appearance. Take breaks in between trimmings to step back and assess the shape from different angles.
- If you want a more textured look, you can leave some longer strands untrimmed. This will add a playful and whimsical touch to your pom pom.
- Once you are happy with the shape and length of your pom pom, give it a final fluff by gently shaking or tapping it. This will help loosen any tangles and make the yarn strands look even more fluffy.
Remember, trimming and shaping a pom pom requires patience and attention to detail. Take your time and make small, gradual adjustments to achieve the desired look. With practice, you’ll become more skilled at creating perfectly shaped pom poms for your knitted hats.
Attach the Pom Pom to the Knitted Hat
Once you have finished making your pom pom, it’s time to attach it to your knitted hat. Follow these simple steps:
- Thread a yarn needle with a long piece of yarn in a coordinating color to your hat. This will be used to sew the pom pom onto the hat.
- Position the pom pom on the top of the hat where you would like it to be attached.
- Insert the needle through the center of the pom pom, going through the individual strands to secure it.
- Push the needle through the knitted hat, making sure to catch a few strands of yarn to secure the pom pom.
- Pull the needle and yarn through to the inside of the hat, leaving a small tail on the outside.
- Repeat steps 3-5 several times, securing the pom pom in place with each stitch.
- Tie a double knot with the tail of the yarn on the inside of the hat to secure it in place.
- Trim any excess yarn, leaving a small tail for a neat finish.
Your pom pom is now securely attached to your knitted hat! Give it a little shake to fluff it up and enjoy your finished project.
Fluff and Style the Pom Pom
Once you have finished making your pom pom, it’s time to give it some shape and style. Follow these steps to fluff and style the pom pom for your knitted hat:
1. Trim any stray strands: Take a sharp pair of scissors and carefully trim any stray strands of yarn sticking out from the pom pom. This will give it a neater and more polished appearance.
2. Fluff up the pom pom: Hold the pom pom in one hand and gently pull it apart to fluff up the yarn strands. This will make the pom pom look fuller and more voluminous.
3. Shape the pom pom: Use your hands to shape the pom pom into a round ball. Gently roll and squeeze it to create an evenly shaped pom pom. Adjust the shape by tugging on different sections of the pom pom until you achieve the desired shape.
4. Attach the pom pom to your hat: Thread the tails of the yarn used to tie the pom pom onto a tapestry needle. Insert the needle through the top of the hat where you want the pom pom to be. Pull the yarn tails through to the inside of the hat and tie them securely. Make sure the pom pom is attached firmly so that it doesn’t come loose when you wear the hat.
5. Style the pom pom: Use your fingers to fluff and arrange the strands of the pom pom to achieve your desired look. You can shape it into a rounded ball or give it a more relaxed and tousled appearance. Experiment with different styles until you find the one that complements your knitted hat the best.
Remember that styling a pom pom is a personal preference, so feel free to get creative and try different techniques to achieve the look you want. With some practice, you’ll become an expert at fluffing and styling pom poms for your knitted hats!
FAQ:
What materials do I need to make a pom pom for a knitted hat?
To make a pom pom for a knitted hat, you will need yarn in the color of your choice, a pom pom maker (you can also use a piece of cardboard or a fork as an alternative), sharp scissors, and a tapestry needle.
Can I use a different material instead of yarn to make a pom pom for my hat?
Yes, you can use alternative materials to make a pom pom for your hat. Some options include faux fur, fabric, tulle, or even feathers. The material you choose will depend on the look you want to achieve and the type of hat you are making.
How do I attach the pom pom to my knitted hat?
To attach the pom pom to your knitted hat, thread the tapestry needle with a piece of yarn long enough to securely sew the pom pom in place. Insert the needle through the top of the hat, through the center of the pom pom, and back down through the hat. Repeat this process a few times to ensure the pom pom is securely attached.
Can I make a larger or smaller pom pom for my knitted hat?
Yes, you can easily adjust the size of your pom pom. The size of the pom pom will depend on the size of the pom pom maker or the cardboard/fork you are using. If you want a larger pom pom, use a larger tool or wrap more yarn around the tool. If you want a smaller pom pom, use a smaller tool or wrap less yarn around the tool.


