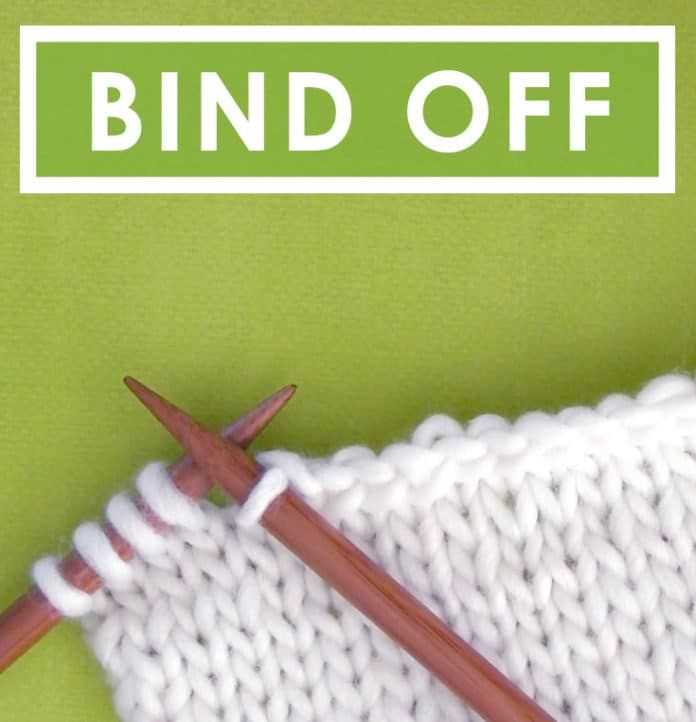
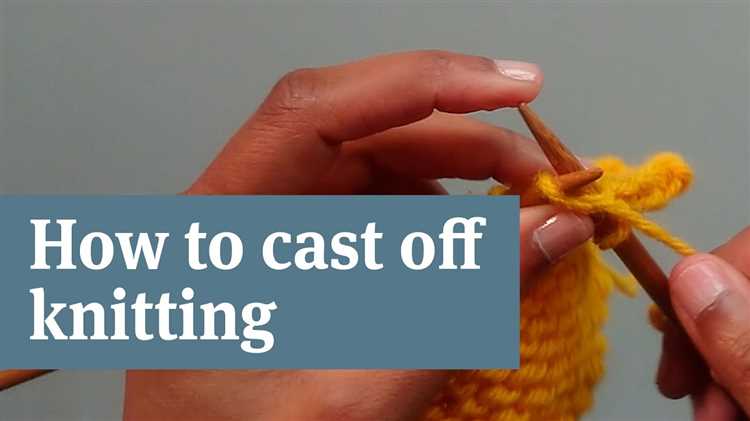
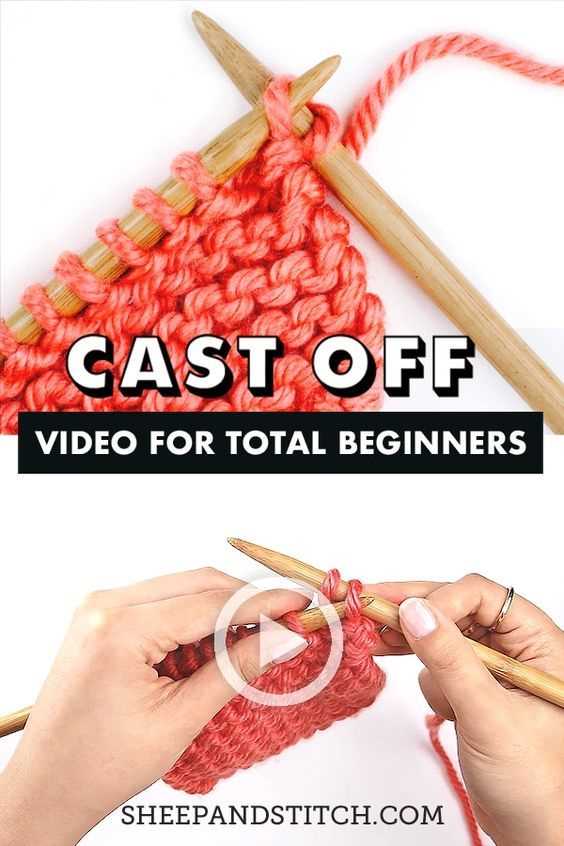
Knitting is a popular craft that allows you to create beautiful and warm garments, accessories, and home décor items. Once you’ve finished knitting a project, such as a scarf or a hat, you’ll need to know how to properly cast off your stitches. Casting off, also known as binding off, is the process of removing your stitches from the knitting needles and securing them so that they don’t unravel.
Learning how to cast off is an essential skill in knitting. It not only gives your project a clean and finished edge, but it also protects your hard work from coming undone. Whether you’re a beginner or an experienced knitter, mastering this technique will take your knitting to the next level.
To cast off, you’ll need to follow a few simple steps. First, knit the first two stitches on your needle. Then, using your left-hand needle, lift the first stitch over the second stitch and drop it off the needle. Knit the next stitch, then lift the second stitch over the third stitch and drop it off the needle. Repeat this process until you have cast off all of your stitches.
Remember to keep your tension even throughout the process to ensure a neat and uniform edge. If your cast off edge is too loose, you can tighten it by gently pulling on the working yarn. If it’s too tight, you can use a larger needle to cast off.
Once you’ve finished casting off, cut the yarn, leaving a tail that is about 6 inches long. Thread the tail through the last stitch and pull tight to secure. Congratulations! You’ve successfully cast off your knitting project. Now you can admire your finished work or continue on to the next step in your knitting journey.
Easy Steps to Cast Off Your Knitting
Once you have completed your knitting project, it’s time to cast off or bind off your stitches. This process ensures that your work doesn’t unravel and gives it a neat and finished edge. Here are the easy steps to cast off your knitting:
- Knit the first two stitches as usual.
- Using the tip of your left needle, insert it into the first stitch you knitted.
- Lift the first stitch over the second stitch and off the right needle, leaving only the second stitch on the right needle.
- Knit one more stitch.
- Repeat steps 2 to 4 until you have one stitch left on your right needle.
- Cut the yarn, leaving a tail that is around 6 inches long.
- Thread the tail through the last stitch and pull it tight.
And that’s it! You have successfully cast off your knitting. Make sure to tug gently on the tail to secure it and prevent any unraveling.
Remember, practice makes perfect, so don’t worry if your first few attempts aren’t perfect. With time and experience, you’ll become more comfortable with casting off your knitting.
Step 1: Prepare Your Knitting Project
Before you begin casting off your knitting project, it’s important to make sure that you have everything you need and that your project is ready to be finished. Follow these steps to prepare your knitting project:
- Check your knitting needles: Ensure that you are using the appropriate size and type of knitting needles for your project. This will ensure that your stitches are the correct size and that your finished project turns out as desired.
- Inspect your knitting: Carefully examine your knitting project to make sure that there are no mistakes or dropped stitches. Look for any uneven tension or stitches that may need fixing before you proceed with casting off.
- Secure your stitches: Before you cast off, it’s a good idea to secure your stitches to prevent them from unraveling. This can be done by threading a tapestry needle with some yarn and carefully weaving it through the stitches on your knitting needle.
- Prepare your workspace: Find a comfortable and well-lit area where you can work on casting off your knitting project. Make sure you have enough space to spread out your project and any necessary tools or materials.
- Gather your materials: Before you begin casting off, gather any additional materials you may need, such as a crochet hook or stitch markers. These tools can be helpful in certain casting off techniques, so it’s best to have them on hand.
By following these steps, you will have prepared your knitting project for casting off. Now you can move on to the next step in the process, which is actually casting off your stitches.
Step 2: Knit the First Two Stitches
Once you have cast off the number of stitches required for your project, you are ready to start knitting. In this step, you will learn how to knit the first two stitches of your cast on row.
To knit the first stitch, insert the right needle into the first stitch on the left needle from left to right.
Take the working yarn with your right hand and wrap it around the right needle, moving from back to front.
Using the right needle, pull the loop of yarn through the stitch on the left needle, creating a new stitch on the right needle.
Now, you will knit the second stitch. Insert the right needle into the second stitch on the left needle from left to right.
Wrap the yarn around the right needle, moving from back to front.
Pull the loop of yarn through the stitch on the left needle, creating a new stitch on the right needle. You will now have two stitches on your right needle.
Continue knitting the remaining stitches on the left needle in the same manner, always inserting the right needle from left to right and wrapping the yarn around the needle.
Remember to keep the tension of your stitches consistent and not too tight. This will help you maintain an even and balanced fabric.
Once you have completed knitting all the stitches on the left needle, you have finished knitting the first row of your project.
Now that you know how to knit the first two stitches, you are ready to move on to the next step in your knitting journey.
Step 3: Pass the First Stitch Over
Once you have completed the first row of stitches, it’s time to cast off. The cast-off technique is used to create a finished edge and secure the stitches so they don’t unravel.
To start the cast off, knit the first two stitches of the row as normal.
Next, use the tip of the left-hand needle to lift the first stitch over the second stitch and off the right-hand needle. This will leave one stitch on the right-hand needle.
Continue knitting the next stitch on the left-hand needle and then repeat the process of lifting the previous stitch over the newly knitted stitch.
Repeat this process for each remaining stitch until you have only one stitch left on the right-hand needle.
Finally, cut the yarn, leaving a tail that is long enough to weave in later. Thread the tail through the last stitch and pull it tight to secure the edge.
Now you have successfully cast off your knitting project. Congratulations!
Step 4: Knit the Next Stitch
After casting off the first stitch, you are ready to move on to the next stitch in your row. Knitting the next stitch is the fundamental action in knitting and will continue until you complete your project.
Here’s how to knit the next stitch:
- Hold the knitting needle with the cast-off stitches in your right hand and the empty needle in your left hand.
- Insert the left needle into the next stitch on the right needle from left to right, going under the right needle.
- With the working yarn in back, use the right needle to wrap the yarn counterclockwise around the left needle, crossing over the two needles.
- Slide the right needle through the loop on the left needle from front to back, pulling the loop through to the right needle.
- Drop the stitch off the left needle, transferring it to the right needle.
Repeat these steps for each stitch in the row until you reach the end of your project or the desired number of rows.
Remember to maintain an even tension on the yarn as you knit, neither pulling too tight nor leaving it too loose. Practice and experience will help you develop a consistent knitting rhythm.
Continue knitting the next stitch until you have completed your project, whether it’s a scarf, hat, or any other knitted item. The more you knit, the more confident you will become in your knitting skills!
Step 5: Pass the Previous Stitch Over
Now that you have a new stitch on your right-hand needle, it’s time to pass the previous stitch over. This step is also known as “binding off” or “casting off”.
To pass the previous stitch over, insert the tip of your left-hand needle into the first stitch on the right-hand needle. Gently lift the first stitch up and over the second stitch, so that it moves off the right-hand needle.
This action creates a new stitch on your right-hand needle, while removing the old stitch. Repeat this process for each stitch until you have passed all the stitches over and only one stitch remains on your right-hand needle.
Once you have passed the last stitch over, you can pull the working yarn through the final stitch to secure it. This completes the casting off process.
Passing the previous stitch over is an essential step in finishing your knitting project. It creates a neat and tidy edge and prevents your stitches from unraveling. It also allows you to remove your knitting from the needles and move on to the next steps in your project.
Now that you have learned how to cast off knitting in easy steps, you can confidently finish your knitting projects with professional-looking results.
Step 6: Knit the Next Stitch
Now that you have successfully cast off your stitches, it’s time to move on to the next step: knitting the next stitch. Knitting is the most basic stitch in knitting and is the foundation for creating various patterns and textures in your knitting projects.
To knit the next stitch, follow these simple steps:
- Hold the needle with the cast-off stitches in your left hand.
- Insert the empty needle into the next stitch on the left-hand needle from left to right, going behind the working yarn.
- Using your right hand, bring the working yarn over the right-hand needle from back to front.
- Using the right-hand needle, pull the loop of yarn through the stitch on the left-hand needle, creating a new stitch on the right-hand needle.
- Transfer the new stitch onto the left-hand needle, keeping the right-hand needle in your right hand.
- Repeat steps 2 to 5 for each stitch until you have knit all the stitches on the left-hand needle.
Remember to keep the tension of your yarn consistent and avoid pulling too tightly or too loosely. As you practice knitting, you will develop your own knitting style and find the tension that works best for you.
Knitting the next stitch is an essential skill to master in knitting. Once you are comfortable with knitting, you can move on to more advanced stitches and patterns in your knitting projects. So keep practicing and enjoy the process of creating beautiful knitted items!
Step 7: Pass the Previous Stitch Over
Once you have completed the last stitch, it’s time to pass the previous stitch over to securely cast off your knitting. This step will create a finished edge and prevent any further unraveling.
To pass the previous stitch over, follow these steps:
- Insert your right-hand needle into the first stitch on the left-hand needle as if you were going to knit.
- Wrap the yarn around the right-hand needle counterclockwise, just like you would for a regular knit stitch.
- Using the right-hand needle, lift the first stitch over the second stitch and completely off the left-hand needle.
- This leaves the second stitch as the only stitch on the right-hand needle.
Note: Make sure to pass the stitch over gently to avoid pulling the yarn too tightly. You want your cast-off edge to be even and not too tight or loose.
Continue passing each stitch over until you reach the end of your knitting. You should now have only one stitch remaining on your right-hand needle.
Congratulations! You have successfully cast off your knitting.
If desired, you can now weave in any loose ends or trim excess yarn to complete your project.
Step 8: Finish and Secure Your Work
After you have completed your knitting project, it’s important to finish and secure your work to ensure that it doesn’t unravel or come undone. Here are the steps to finish and secure your knitting:
- Weave in the loose ends: Use a yarn needle to weave in the loose ends of your project. Thread the needle with the loose end of the yarn and carefully weave it in and out of the stitches on the wrong side of your work. This will help to secure the yarn and prevent it from coming undone.
- Block your project (optional): Blocking is a process where you wet your knitting and reshape it to create a more polished and professional finish. If you want to block your project, soak it in lukewarm water for about 15 minutes, then gently squeeze out the excess water. Lay your knitting flat on a towel and use pins to shape it as desired. Leave it to dry completely before removing the pins.
- Trim any excess yarn: If you have any excess yarn sticking out from your finished project, carefully trim it off with a pair of scissors. Be careful not to cut any stitches in the process.
- Store your finished project: Once your project is finished and secured, you can store it in a safe place to keep it clean and protected. Consider using a breathable fabric or plastic bag to prevent dust or moths from damaging your knitting.
Following these steps will help you properly finish and secure your knitting project, allowing you to enjoy the fruits of your labor for years to come.
FAQ:
What is casting off in knitting?
Casting off, also known as binding off, is a technique used to finish off your knitting project and secure the stitches so they don’t unravel. It involves knitting the stitches and then passing one stitch over another until you have only one stitch left on the needle.
What is the purpose of casting off in knitting?
The purpose of casting off in knitting is to create a finished edge and prevent the stitches from unraveling. It’s the final step in a knitting project and gives your work a polished look.
Are there any other methods to cast off in knitting?
Yes, there are several different methods to cast off in knitting. Besides the basic method described above, you can also try a stretchy bind off, a picot bind off, or a tubular bind off, among others. Each method creates a different effect and is suited for different projects.
Do I need any special tools or materials to cast off in knitting?
No, you don’t need any special tools or materials to cast off in knitting. All you need is your knitting needles and yarn. However, it’s helpful to have a pair of scissors to cut the yarn at the end.


