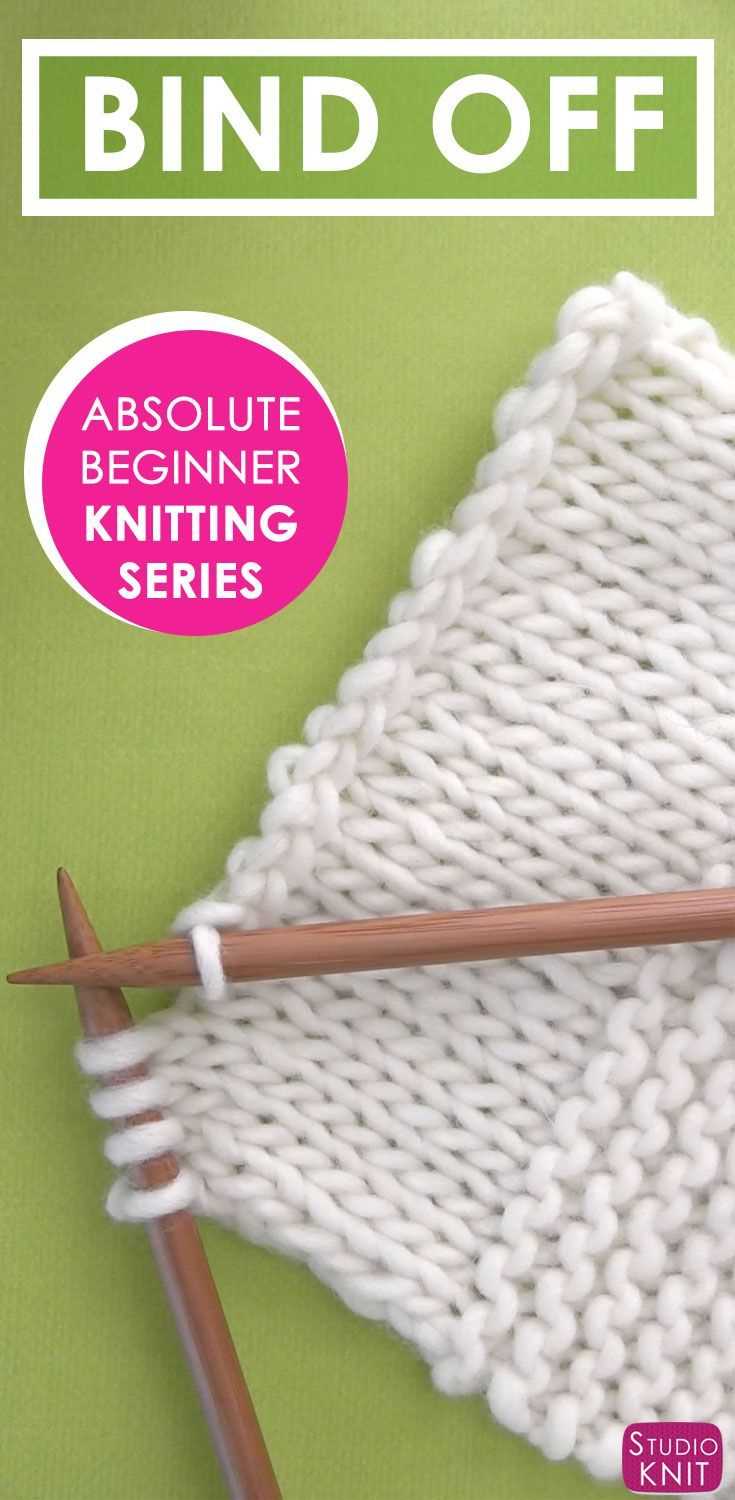
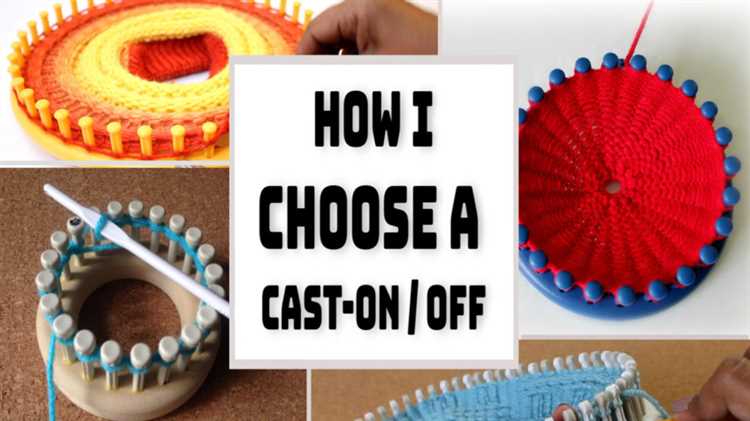
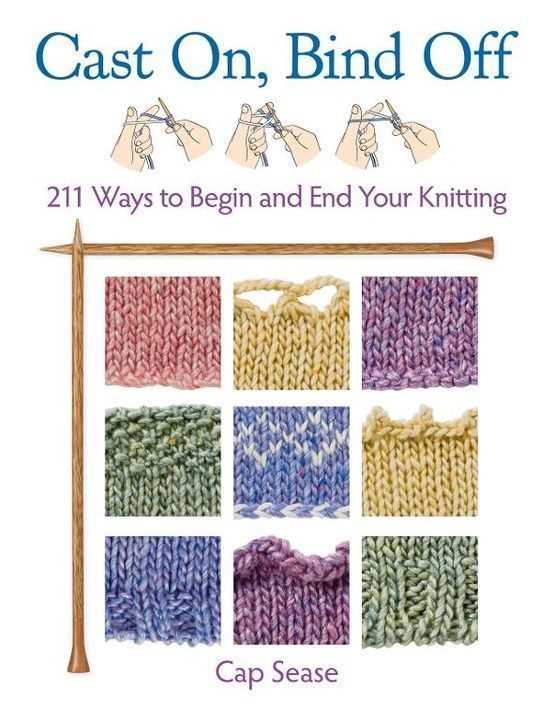
Are you a knitting enthusiast who loves creating beautiful pieces using a knitting loom? If so, you know that one crucial step in completing your project is casting off the stitches. Cast off, also known as bind off, is the process of finishing off your work and securing the stitches so that they don’t unravel. While it may seem intimidating at first, casting off on a knitting loom is actually quite easy once you know the steps. In this article, we will guide you through the process of casting off on a knitting loom with easy steps.
To begin the cast off, start by knitting two stitches as you normally would. Then, take the first stitch and lift it over the second stitch and off the loom. This creates one cast-off stitch. Next, knit one more stitch and repeat the process of lifting the first stitch over the second stitch and off the loom. Continue this pattern until you have reached the end of the row.
As you cast off each stitch, make sure to keep the tension even. You don’t want the stitches to be too tight or too loose. A good tip is to use a crochet hook or a knitting tool to lift the stitches off the loom, as it gives you more control over the tension. Also, be careful not to accidentally drop any stitches during the process.
Pro Tip: If you’re working on a project with multiple colors or patterns, make sure to follow the specific instructions for casting off that are provided in the pattern. Different patterns may require different techniques, so it’s important to read and understand the instructions before starting.
Once you have cast off all the stitches, you can remove the final loop from the loom and secure it by pulling the yarn through. You can then weave in the loose ends to finish off your project. Congratulations! You have successfully cast off your knitting loom and completed your work.
Now that you know how to cast off on a knitting loom, you can confidently finish off your projects and create beautiful pieces. Remember, practice makes perfect, so don’t be discouraged if it takes a few tries to get the hang of it. Enjoy the process of knitting on a loom and let your creativity flow!
Different types of knitting looms
Knitting looms are versatile tools that allow you to create a variety of knit items without using traditional knitting needles. Here are some different types of knitting looms:
- Circle looms: Circle looms come in different sizes and can be used to create hats, cowls, and other circular knitted items. They usually consist of a plastic ring with evenly spaced pegs around the edge.
- Rectangular looms: Rectangular looms are great for making scarves, blankets, and panels. They have rows of pegs on two parallel sides and allow you to create a flat, rectangular piece of knitting.
- Long looms: Long looms are similar to rectangular looms but have more rows of pegs, allowing you to create longer knitted pieces. They are perfect for making shawls, wraps, and afghans.
- Sock looms: Sock looms are specifically designed for knitting socks. They have a cylindrical shape and come in different sizes to accommodate various foot sizes. Their peg configuration allows you to easily create the heel and toe of a sock.
Each type of knitting loom has its advantages and can be used to create different types of projects. The choice of loom depends on the size and shape of the item you want to knit.
| Loom Type | Uses | Advantages |
|---|---|---|
| Circle looms | Hats, cowls, circular items | Easy to use, portable |
| Rectangular looms | Scarves, blankets, panels | Create flat pieces, versatile |
| Long looms | Shawls, wraps, afghans | Make longer pieces, variety of sizes |
| Sock looms | Socks | Specifically designed for socks, easy heel and toe shaping |
With the right knitting loom and some basic knitting techniques, you can create beautiful knitted items without the need for traditional knitting needles. Experiment with different loom types and explore the world of loom knitting!
Benefits of using a knitting loom
A knitting loom is a versatile tool that has several benefits for knitters of all skill levels. Here are some of the main advantages of using a knitting loom:
- Easy to use: Knitting looms are known for their simplicity, making them a great option for beginners. They come with clear instructions and require minimal knitting knowledge.
- Creativity: Using a knitting loom opens up a world of creativity. You can experiment with different yarn types, colors, and stitches to create unique and beautiful patterns.
- Portability: Knitting looms are lightweight and compact, making them easy to carry around. You can take your loom with you wherever you go, allowing you to work on your projects on the move.
- Speed: Loom knitting can be faster than traditional knitting with needles. The larger gauge and the repetitive motions of loom knitting can help you complete your projects more quickly.
- Versatility: Knitting looms offer a variety of stitch options, allowing you to create a wide range of items such as scarves, hats, blankets, and even socks. There are looms available in different sizes to accommodate different project sizes.
- Comfort: Using a knitting loom can be more comfortable for people with arthritis or other hand and wrist-related issues. The loom’s design and larger tools are gentle on the hands and require less strain.
- Beginner-friendly: Loom knitting is an excellent way for beginners to learn the basics of knitting. The loom’s simplicity allows beginners to focus on the stitch patterns without worrying about needle techniques.
In conclusion, knitting looms offer numerous benefits, including ease of use, versatility, portability, and comfort. Whether you are a beginner or an experienced knitter, using a knitting loom can enhance your knitting experience and help you create beautiful and unique projects.
How to choose the right knitting loom
Choosing the right knitting loom is essential for your knitting projects. Here are some factors to consider when selecting a knitting loom:
- Type of project: Different knitting looms are designed for different types of projects. Consider the size and complexity of your project to determine the type of loom that would be most suitable.
- Size: Knitting looms come in various sizes, from small looms for making hats and socks to large looms for shawls and blankets. Choose the size that matches your project requirements.
- Material: Looms can be made from different materials such as plastic, wood, or metal. Each material offers different benefits in terms of durability and comfort. Consider your personal preference and the type of yarn you will be using.
- Gauge: The gauge of the loom determines the size of the stitches it creates. Some looms have fixed gauges, while others allow you to change the gauge by using different pegs or spacers. Choose a loom with the appropriate gauge for your desired stitch size.
- Price: Consider your budget when choosing a knitting loom. Some looms can be more expensive due to their size or material. However, there are also affordable options available that still offer good quality.
Overall, it’s essential to choose a knitting loom that suits your project requirements, budget, and personal preferences. Take into consideration these factors and do some research to find the perfect knitting loom for your needs.
Getting started with casting on
Casting on is the process of adding the first row of stitches to your knitting loom. It’s a crucial step that sets the foundation for your project. Here’s how you can get started with casting on:
- Select the appropriate yarn: Choose a yarn that is suitable for your project and compatible with your knitting loom. Consider the weight and thickness of the yarn to ensure it will work well with the loom.
- Prepare your loom: Set up your knitting loom by attaching the pegs or hooks, ensuring that they are evenly spaced. Make sure the loom is clean and free from any obstructions.
- Make a slip knot: Start by creating a slip knot with your yarn. To do this, form a loop with the yarn and pull one end through the loop, tightening it around the other end. Leave a tail of yarn long enough for your project.
- Attach the slip knot: Place the slip knot onto the first peg of your loom. Make sure it is secure but not too tight. This will be your first stitch.
- Wrap the yarn around the pegs: Starting from the first peg, wrap the yarn around each peg in a counterclockwise direction. Keep the tension even, neither too loose nor too tight. Repeat this step until you reach the last peg.
- Secure the last stitch: After wrapping the yarn around the last peg, bring it behind the peg and insert it through the loop on the peg. Pull the yarn gently to secure the last stitch.
Now you are ready to start knitting on your loom! The casting on process lays the groundwork for your project and enables you to create beautiful knitted items with ease.
Basic knitting stitches on a loom
Knitting on a loom is a fun and easy way to create beautiful stitches without the need for traditional knitting needles. In this article, we will guide you through some of the basic knitting stitches that you can make on a loom.
1. Knit Stitch
The knit stitch is the most common stitch used in loom knitting. To create a knit stitch, simply insert your knitting tool under the loop on the peg, pull the working yarn through the loop, and then move the loop from the peg to the adjacent one. Repeat this process across all the pegs until you have completed a row.
2. Purl Stitch
The purl stitch is another basic stitch that is commonly used in loom knitting. To create a purl stitch, insert your knitting tool from the top of the loop on the peg and pull the working yarn through the loop. Move the loop from the peg to the adjacent one. Repeat this process across all the pegs until you have completed a row.
3. Garter Stitch
The garter stitch is a simple stitch pattern that involves alternating between knit and purl stitches. To create this stitch on a loom, knit the first row and then purl the next row. Repeat these two rows to create a garter stitch pattern.
4. Stockinette Stitch
The stockinette stitch is a versatile stitch pattern that creates a smooth and uniform fabric. To create this stitch on a loom, knit the first row and then purl the next row. Repeat these two rows to create the stockinette stitch pattern.
5. Rib Stitch
The rib stitch is a stretchy stitch pattern that is commonly used for cuffs and borders. To create this stitch on a loom, alternate between knitting and purling stitches across each row. For example, you can knit two stitches and then purl two stitches, and repeat this pattern across the row.
These are just a few examples of the basic knitting stitches that you can make on a loom. With practice and experimentation, you can create a wide variety of stitch patterns and designs using a loom. Happy knitting!
Tips for casting off on a knitting loom
Casting off, also known as binding off, is the process of finishing a knitting project by securing the stitches and creating a neat edge. Here are some tips to help you cast off successfully on a knitting loom:
- Start by completing the last row of your knitting project. Make sure all the stitches are in place and there are no mistakes.
- Once you are ready to cast off, cut the working yarn, leaving a tail that is long enough to weave in later. Thread the tail through a large-eye yarn needle.
- Take the first stitch on your loom and lift it over the second stitch. This creates a new stitch on the needle. Repeat this process, lifting each stitch over the next one, until you have only one stitch left on the loom.
- When you have only one stitch left, cut the yarn, leaving a tail that is long enough to weave in. Thread this tail through the yarn needle.
- Thread the yarn needle through the last stitch on the loom, removing it from the loom. Pull the yarn tight to secure the last stitch.
- Take the yarn needle and weave in the ends of the yarn by passing it through the stitches on the reverse side of your knitting. Trim any excess yarn.
Congratulations! You have successfully cast off on a knitting loom. Your project is now complete and ready to be enjoyed or gifted to someone special.
Final thoughts and additional knitting tips
Learning how to cast off on a knitting loom is an essential skill for any knitter. With the easy steps provided above, you will be able to confidently finish your knitting projects and create beautiful and professional-looking pieces.
Here are some additional knitting tips to keep in mind:
- Practice makes perfect: Like any skill, knitting requires practice. Don’t get discouraged if your first few attempts don’t turn out as expected. Keep practicing and you will improve over time.
- Choose the right yarn: Different projects require different types of yarn. Consider the weight, fiber, and texture of the yarn when selecting it for your project. This can greatly affect the final appearance and feel of your knitted piece.
- Take breaks: Knitting for long periods of time can be tiring on your hands and wrists. Remember to take regular breaks to rest and stretch your hands and fingers.
- Use stitch markers: Stitch markers can be helpful in keeping track of your stitches, especially when working on more complex patterns. They can help ensure you don’t miss any increases, decreases, or pattern changes.
- Explore different techniques: Don’t be afraid to try new knitting techniques, such as cables, lace, or colorwork. These techniques can add interest and variety to your knitting projects.
Remember, knitting should be enjoyable and relaxing. Don’t be afraid to experiment and have fun with your projects. With practice and patience, you will become a skilled knitter in no time.
FAQ:
Can you explain the process of casting off on a knitting loom?
To cast off on a knitting loom, start by knitting two stitches onto one peg. Next, use the hook tool to pull the bottom stitch over the top stitch and off the peg. Continue this process until there is only one stitch left on the loom. Cut the yarn, leaving a long tail, and thread it through the last stitch.
What is the purpose of casting off in knitting?
Casting off is the final step in knitting that allows you to remove the stitches from the loom and secure the end of your project. It is important because it gives your knitted item a finished edge and prevents the stitches from unraveling.
Are there any tips or tricks for casting off on a knitting loom?
One tip for casting off on a knitting loom is to make sure to pull the yarn tightly after each stitch to create a neat and even edge. Another trick is to use a smaller diameter knitting loom for casting off to create a tighter edge. Additionally, leaving a long tail of yarn when cutting it at the end allows you to easily weave in the loose ends.
Is casting off on a knitting loom difficult for beginners?
Casting off on a knitting loom can be a bit tricky for beginners, but with practice, it becomes easier. It may take a few tries to get the tension right and create an even edge, but once you get the hang of it, it becomes second nature. It is a good idea to start with a simple project, such as a scarf, to practice casting off before moving on to more complex patterns.


