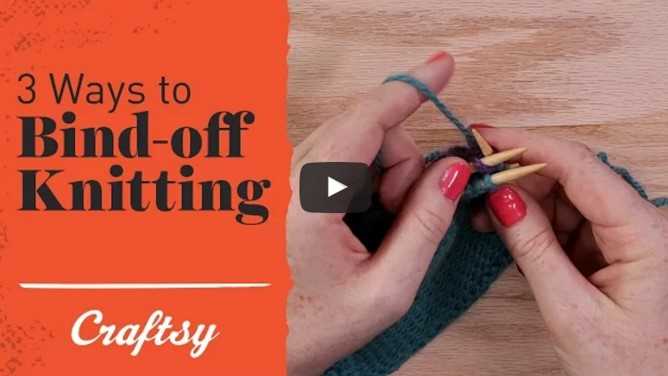
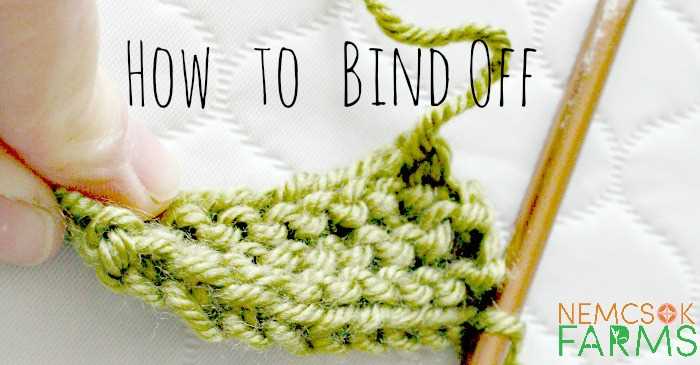
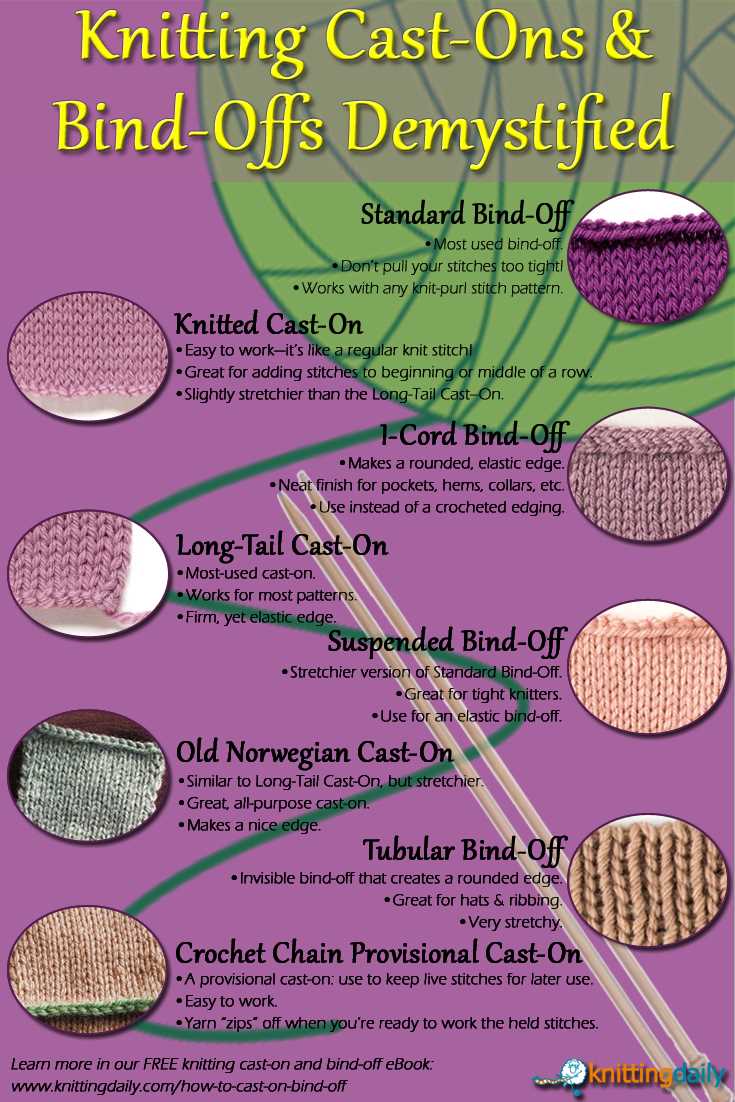
When you’re finished with your knitting project, one of the final steps is to bind off. Binding off, also known as casting off, is the process of securing your stitches and creating a finished edge. This technique is essential for giving your knitting a polished look and preventing the stitches from unraveling.
To bind off, you will need a pair of knitting needles, a crochet hook, and your working yarn. Follow these step-by-step instructions to learn how to bind off in knitting:
- Start by knitting two stitches as usual.
- Insert the tip of the left needle into the first stitch on the right needle.
- Using your right hand, lift the first stitch over the second stitch and off the right needle.
- Continue to knit one stitch and then lift the previous stitch over the newly knitted stitch, repeating this process until you have one stitch remaining on the right needle.
- After knitting the second-to-last stitch, cut the working yarn, leaving a long tail.
- Thread the tail through the last stitch and pull it tight to secure the bind off.
Once you have completed the bind off, you can remove the needles and admire your finished project. The bind off edge will be neat and secure, giving your knitting a professional touch. Whether you’re knitting a scarf, a sweater, or any other project, mastering the bind off technique is essential for creating high-quality knitted items.
Binding off may seem challenging at first, but with practice, it will become second nature. Remember to take your time and follow the steps carefully. Soon, you’ll be able to bind off with confidence and complete all your knitting projects with ease.
Why knowing how to bind off is important
Learning how to bind off is an essential skill for every knitter. It is the final step in completing a project and gives your knitting a finished and polished look. Here are a few reasons why knowing how to bind off is important:
- Prevents unraveling: Binding off securely ensures that your stitches won’t unravel and undo all your hard work. It creates a stable edge that helps maintain the shape of your garment or accessory.
- Adds structure and stability: The bind off row adds structure and stability to the edges of your knitting. It helps prevent stretching, maintains the overall shape, and gives a clean and professional finish.
- Creates a neat and even edge: Binding off evenly creates a neat and even edge along your knitting. It ensures that each stitch is secured and doesn’t appear stretched or loose.
- Allows for joining pieces together: Binding off is often used to join different pieces of knitting together. Whether you’re seaming a sweater or attaching a border, knowing how to bind off enables you to connect the pieces seamlessly.
Overall, knowing how to bind off properly is crucial for achieving a polished and professional-looking finished project. It not only adds stability and structure to your knitting but also prevents unraveling and allows for seamless joining of pieces. By mastering this skill, you’ll be able to give your knitting projects that final touch of perfection.
Supplies needed for binding off
To properly bind off your knitting project, you will need the following supplies:
- Knitting needles: You will need your knitting needles in the same size you used to knit the project. Make sure they are comfortable to work with.
- Yarn: You will need the yarn you used for your project. It’s important to have enough yarn to complete the bind off, so make sure you have a sufficient amount.
- Tapestry needle: A tapestry needle with a large eye will be useful for weaving in any loose ends once you have finished binding off.
- Scissors: You will need a pair of scissors to cut the yarn once you have completed the bind off.
These supplies are essential for successfully binding off your knitting project. Make sure to gather them before you begin the process to ensure a smooth and uninterrupted binding off experience.
Step 1: Preparing to bind off
Before you begin the bind off process, make sure you have completed your desired number of rows or stitches in your knitting project. It’s also helpful to have a pair of scissors nearby for cutting the yarn.
Here are the steps to follow to prepare for binding off:
- 1.1. Find the working yarn: Locate the yarn that is coming directly from your remaining stitches. This is called the working yarn and will be used to complete the bind off.
- 1.2. Estimate the amount of yarn needed: Take a moment to estimate the amount of yarn you will need to complete the bind off. It’s better to have too much yarn than too little, so err on the side of caution and leave a generous tail.
- 1.3. Prepare the scissors: Have a pair of scissors nearby to cut the yarn once the bind off is finished. Make sure the scissors are sharp and easily accessible.
- 1.4. Remove any stitch markers: If you have used stitch markers in your knitting project, remove them before beginning the bind off. This will prevent any interference or confusion during the process.
Once you have completed these preparatory steps, you will be ready to move on to the next step of the bind off process.
Step 2: K2tog bind off
The K2tog bind off is a simple and quick method for finishing your knitting project. It creates a neat and tidy edge, perfect for scarves, shawls, or any project where you want a clean finish.
To begin the K2tog bind off, you will need your knitting needles and a pair of scissors.
- Start by knitting the first two stitches of your row.
- Insert the left needle into the first stitch on the right needle.
- Knit these two stitches together (K2tog).
- Using your left needle, lift the stitch just knitted over the second stitch and off the right needle.
- One stitch has now been bound off.
- Continue knitting the next stitch on your right needle.
- Repeat steps 2-5 until you have bound off all the stitches.
Remember to keep your tension loose while binding off to ensure that the edge remains flexible.
Once you have bound off all the stitches, cut your working yarn, leaving a tail of about 6 inches.
And that’s it! You’ve successfully completed the K2tog bind off. Give your finished project a gentle tug to make sure it’s even and secure.
Step 3: Stretchy bind off
In some projects, you may want to use a stretchy bind off to give your finished edge more flexibility. It’s especially useful for items like socks, hats, or garments that need more give.
Here’s how to do a stretchy bind off:
- Start by knitting two stitches.
- Insert the left needle into the first stitch you knitted.
- Lift the first stitch over the second stitch and off the right needle, just like you would for a regular bind off.
- Knit one stitch.
- Repeat steps 2-4 until you have one stitch left on your right needle.
- With the last stitch on your right needle, insert the left needle into the front of the stitch.
- Slip the stitch onto the left needle.
- Insert the right needle into the next stitch on the left needle.
- Knit the two stitches together.
- Repeat steps 7-9 until there is only one stitch left on your right needle.
- Cut the yarn, leaving a long tail. Thread the tail through the last stitch and pull tight to secure.
A stretchy bind off creates a looser edge, allowing the fabric to stretch more comfortably. It’s ideal when you need some extra give in your finished project.
Step 4: Sewn bind off
If you want a stretchy and decorative bind off for your knitting project, the sewn bind off is a great option. This method creates a neat edge that is easy to work with and adds a touch of flair to your finished piece.
- Step 1: For the sewn bind off, you will need a tapestry needle and a length of yarn that is three times the width of your knitting project. Thread the yarn through the tapestry needle, leaving a tail.
- Step 2: Insert the tapestry needle purlwise into the first stitch on the knitting needle.
- Step 3: Pull the yarn all the way through, making sure to leave a small loop.
- Step 4: Insert the tapestry needle knitwise into the second stitch on the knitting needle.
- Step 5: Pull the yarn all the way through, making sure to leave a small loop. This loop should be the same size as the loop from the previous stitch.
- Step 6: Repeat steps 4 and 5 until you have finished binding off all the stitches. Make sure to keep the tension consistent, neither too loose nor too tight.
- Step 7: Once you have bound off all the stitches, weave in the loose end of the yarn to secure it.
Congratulations! You have successfully completed the sewn bind off. This method gives your knitting project a finished and professional look.
Remember to practice this bind off on a small sample before using it on your actual knitting project. With practice, you will be able to master this technique and create beautiful edges that enhance your knitting projects.
FAQ:
What is binding off in knitting?
Binding off in knitting is the final step in finishing a knitted project. It involves creating a secure edge by removing stitches from the knitting needle.
Why is binding off important in knitting?
Binding off is important in knitting because it creates a neat and finished edge to the knitted piece. It also prevents the stitches from unraveling and helps to give the project a polished look.
Can you describe the step-by-step process of binding off in knitting?
Sure! To bind off in knitting, you start by knitting two stitches. Then you use the left-hand needle to lift the first knitted stitch over the second stitch and off the right-hand needle. You repeat this process until you have one stitch left. Finally, you cut the yarn, leaving a long tail, and pull it through the last stitch to secure it.
Are there different techniques for binding off in knitting?
Yes, there are different techniques for binding off in knitting. Some popular methods include the basic bind off, the stretchy bind off, and the picot bind off. Each technique has its own unique look and level of stretchiness.
What is the difference between a regular bind off and a stretchy bind off?
A regular bind off creates a secure edge but can be somewhat tight and inflexible. A stretchy bind off, on the other hand, is more elastic and allows for more give in the finished edge. It is often used for projects like socks or garments that need more stretch.
Can I bind off in knitting using a crochet hook?
Yes, you can bind off in knitting using a crochet hook. This method is known as the crochet bind off. It involves using a crochet hook to pull yarn through stitches and create a chain-like edge. The crochet bind off is a great option for adding a decorative or lacy touch to your knitted project.


