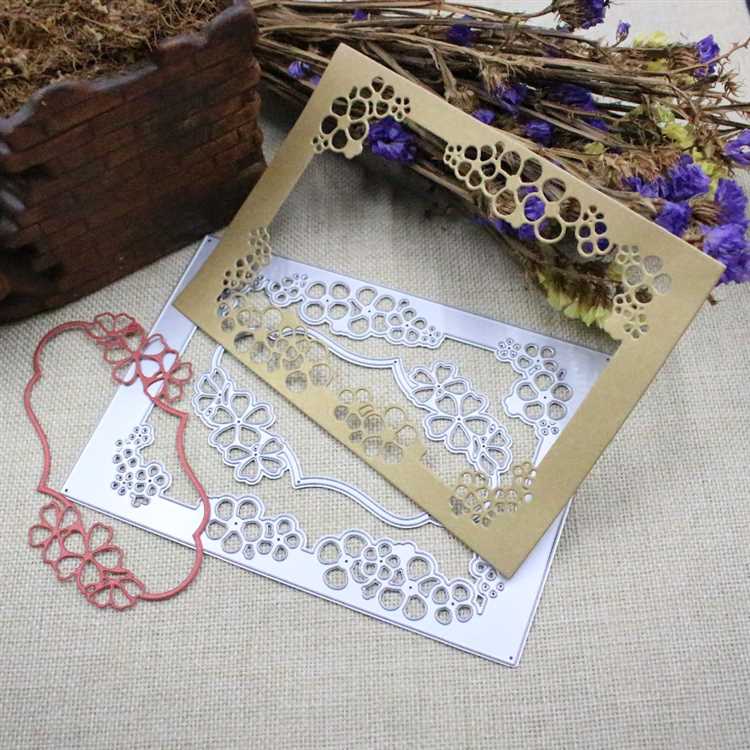
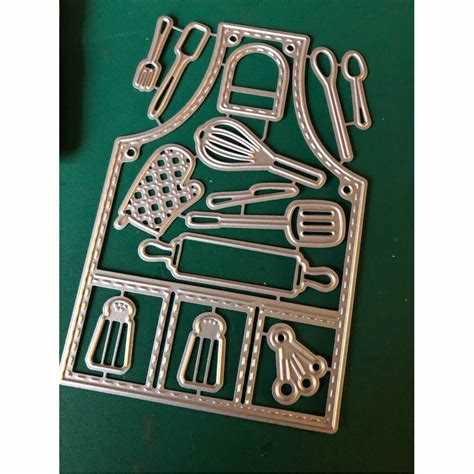
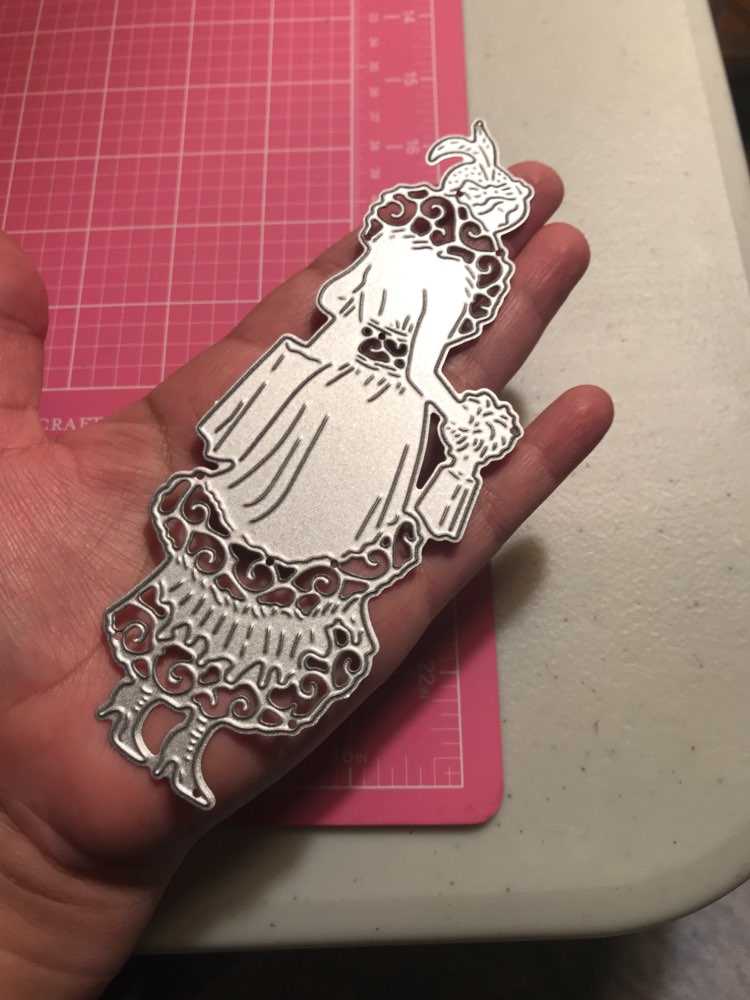
Creating custom cards can be a fun and rewarding hobby. One of the most popular tools for card making is metal dies. Metal dies are thin, sharp blades that come in a variety of shapes and sizes. They can be used to cut out intricate designs on paper, allowing you to create beautiful, professional-looking cards.
Using metal dies is easy, even for beginners. To get started, you’ll need a die-cutting machine, which is a device specifically designed to cut shapes using metal dies. Simply place your chosen die on top of the paper you want to cut and sandwich it between two cutting plates. Then, roll it through the die-cutting machine, applying pressure to make sure the blade cuts through the paper.
Once the die has cut the shape out of the paper, carefully remove the paper from the die. You’ll be left with a perfectly cut design that you can use to embellish your cards. Metal dies can be used to create a wide variety of designs, from simple shapes like hearts and stars to more complex patterns like flowers and lace.
In addition to cutting shapes, metal dies can also be used to emboss designs onto your cards. To do this, you’ll need an embossing mat or a specialized embossing folder. Simply place the die, cutting side up, on top of the paper and sandwich it between the cutting plates along with the embossing mat or folder. Run it through the die-cutting machine, and you’ll be left with a beautifully embossed design.
Whether you’re a seasoned card maker or just starting out, metal dies are a versatile tool that can take your cards to the next level. With a wide range of designs available, the possibilities are endless. So why not give them a try and see what creative designs you can come up with?
Choosing the Right Metal Dies for Card Making
When it comes to card making, metal dies are a versatile tool that can add beautiful and intricate designs to your projects. However, with so many options available, it can be overwhelming to choose the right metal dies for your card making needs. Here are some factors to consider when selecting metal dies:
- Design: Consider the design of the metal die and whether it complements the style and theme of your card. There are a wide variety of designs available, from simple shapes to intricate patterns, so choose one that suits your personal preferences.
- Size: Determine the size of the metal die and ensure it fits the dimensions of your card. If you prefer to have a focal point on your card, larger metal dies may be more suitable. On the other hand, if you want to create a background pattern, smaller metal dies can be a better choice.
- Compatibility: Check the compatibility of the metal dies with your die-cutting machine. Different machines have different requirements, so make sure the metal dies you choose are compatible with your specific machine.
- Material: Consider the material of the metal dies. Most metal dies are made from steel, which is durable and long-lasting. However, there are also dies made from other materials, such as plastic or thin metal, which can offer different effects and textures.
- Brand: Research different brands and read reviews to determine the quality and reputation of the metal dies. Some popular brands include Spellbinders, Sizzix, and Lawn Fawn, among others.
- Cost: Set a budget for your metal dies and choose options that fit within your price range. While some metal dies can be quite expensive, there are also affordable options available that still offer great quality and designs.
By considering these factors, you can choose the right metal dies for your card making projects. Remember to experiment and have fun with different designs and techniques to create unique and personalized cards!
Essential Tools for Using Metal Dies
When using metal dies for card making, it’s important to have the right tools to achieve the best results. Here are some essential tools you’ll need:
- Die cutting machine: A die cutting machine is essential for cutting out shapes using metal dies. There are manual and electric options available, so choose one that suits your needs and budget.
- Metal dies: Of course, you’ll need metal dies to create the desired shapes. There are many different designs and sizes available, so be sure to choose ones that fit your project.
- Cardstock: Use a sturdy cardstock for die cutting, as it will provide clean and crisp cuts. Experiment with different colors and textures to add depth and interest to your designs.
- Cutting plates: Cutting plates are used in the die cutting machine to hold the metal dies and cardstock in place for cutting. Make sure to follow the manufacturer’s instructions on how to use the cutting plates properly.
- Adhesive: You’ll need adhesive to adhere the die-cut shapes to your card base or other paper projects. Use a strong adhesive that won’t easily come off.
- Paper trimmer or scissors: A paper trimmer or scissors will come in handy for cutting down your cardstock to the desired size before die cutting.
- Tweezers: Tweezers can be useful for picking up and placing small die-cut pieces onto your project with precision.
- Embossing folder: Embossing folders are a great companion to metal dies, as they can add texture and dimension to your designs. Use an embossing folder to give your die-cut shapes an extra touch.
With these essential tools, you’ll be well equipped to create beautiful and intricate designs using metal dies for your card making projects.
Preparing and Cutting the Cardstock
Before you start using metal dies for card making, you need to prepare and cut the cardstock. Follow these steps to ensure a successful die cutting process:
- Select the right cardstock: Choose a cardstock that is compatible with metal dies. Cardstock with a weight of 80lb to 110lb is ideal for most dies.
- Measure and cut the cardstock: Use a paper trimmer or a craft knife and ruler to measure and cut the cardstock to the desired size. Make sure the cardstock is slightly larger than the metal die you will use.
- Secure the metal die: Place the metal die on top of the cardstock, ensuring that it is properly aligned. You can use mild tape or repositionable adhesive to secure the metal die in place. This will prevent the die from moving while cutting.
- Use a cutting platform: Place the cardstock with the secured metal die on a cutting platform. This could be a manual die-cutting machine, such as a Sizzix Big Shot, or an electronic die-cutting machine, like a Cricut. Consult the instruction manual of your specific machine for the correct set-up.
- Feed the cardstock through the machine: Follow the instructions provided with your die-cutting machine to properly feed the cardstock and metal die through the machine. This may involve turning a handle or pressing a button depending on the type of machine you are using.
- Remove the die-cut shape: Once the cardstock has been fed through the machine, carefully remove the metal die to reveal the die-cut shape. You can use a pair of tweezers or your fingers to gently lift the cardstock off the metal die.
- Repeat the process: If you need multiple die-cut shapes, repeat the process by securing a new piece of cardstock onto the metal die and feeding it through the machine again.
By following these steps, you will be able to properly prepare and cut your cardstock using metal dies for card making. With practice, you will become more skilled at die cutting and can create beautiful and intricate designs for your handmade cards.
Embossing and Debossing Techniques with Metal Dies
Embossing and debossing are popular techniques used in card making to add dimension and texture to projects. Metal dies can be used to achieve these effects in a simple and effective way. Here’s a guide on how to use metal dies for embossing and debossing:
Embossing
Embossing involves raising a design or pattern on your cardstock to create a three-dimensional effect. Here’s how you can emboss with metal dies:
- Select a metal die with the desired embossing design. Metal dies with intricate patterns or motifs work well for embossing.
- Position the die on your cardstock, ensuring that it is securely in place.
- Once the die is in place, run it through a die cutting machine. The pressure from the machine will impress the design onto the cardstock, creating a raised effect.
- Carefully remove the die to reveal the embossed design.
You can enhance the embossed design by using techniques such as heat embossing or adding ink to highlight the raised areas.
Debossing
Debossing, on the other hand, involves creating an indented or recessed design on your cardstock. Metal dies can also be used for debossing. Here’s how:
- Choose a metal die with a design suitable for debossing. Designs with bold lines and solid shapes work well for debossing.
- Place the die and cardstock in the die cutting machine, ensuring that it is aligned properly.
- Run the die and cardstock through the machine, applying pressure to create the debossed effect.
- Gently remove the die to reveal the debossed design on the cardstock.
For a more dramatic debossed effect, you can experiment with different types of cardstock, such as textured or heavyweight paper.
Both embossing and debossing techniques can be combined with other card making techniques, such as stamping, coloring, and layering, to create unique and visually appealing designs. With metal dies, you can easily incorporate these techniques into your card making projects and take your creations to the next level.
Adding Intricate Details with Metal Dies
One of the greatest advantages of using metal dies for card making is their ability to add intricate and detailed designs to your projects. Whether you’re looking to create delicate patterns, intricate borders, or beautiful focal points, metal dies can easily achieve these effects.
Here are some tips for adding intricate details with metal dies:
- Choose the right die: When selecting a metal die, look for designs that have intricate details and fine lines. These types of dies will give you the best results when it comes to adding delicate designs to your cards.
- Use a die cutting machine: To get the most precise cuts with your metal dies, it’s recommended to use a die cutting machine. These machines apply even pressure to the metal die and cardstock, resulting in crisp and clean cuts.
- Experiment with different materials: Metal dies can be used with various materials other than cardstock. Try experimenting with different materials such as vellum, glitter paper, or foil to add an extra element of detail and texture to your designs.
- Layer the die cuts: Create dimension and interest by layering multiple die cuts on top of each other. This technique allows you to showcase the intricate details of each die cut while adding depth and dimension to your card.
- Add embellishments: Enhance the intricate details of your metal die cuts by adding embellishments such as rhinestones, pearls, or enamel dots. These small accents will draw attention to the fine lines and intricate patterns of your designs.
- Combine different dies: Mix and match different metal dies to create unique and complex designs. Combine intricate border dies with focal point dies or layer multiple intricate dies together to create a stunning centerpiece for your card.
- Practice and experiment: Like any crafting technique, adding intricate details with metal dies requires practice and experimentation. Don’t be afraid to try different techniques and materials to find what works best for you and your specific design ideas.
Overall, metal dies offer endless possibilities for adding intricate details to your card making projects. With a little creativity and experimentation, you can easily create stunning and intricate designs that will dazzle the recipients of your handmade cards.
Incorporating Metal Dies into Card Designs
Metal dies are a versatile tool that can be used to add intricate and professional-looking designs to your homemade cards. Here are some creative ways to incorporate metal dies into your card designs:
- Background Accents: Use metal dies to create intricate backgrounds for your cards. Cut out different shapes or patterns and layer them onto your cardstock to add depth and visual interest.
- Sentiment Embellishments: Metal dies are perfect for creating sentiment embellishments for your cards. Use dies that spell out words or phrases, and cut them out of colored cardstock or patterned paper. Attach them to your card to add a personalized touch.
- Layered Elements: Combine different metal dies to create layered elements on your cards. Cut out various shapes and sizes, and stack them using foam adhesive to create dimension and texture.
- Window Cards: Metal dies can also be used to create window cards. Cut out a shaped window using a die, and then stamp or adhere a sentiment or image inside the window. This adds an interactive element to your card design.
- Accent Borders: Metal dies with intricate border designs can be used to create beautiful accent borders on your cards. Cut out the desired border shape, and adhere it to the edges of your card or as a decorative strip across the middle.
Incorporating metal dies into your card designs allows you to create professional-looking cards with ease. Experiment with different shapes, patterns, and layering techniques to add a unique touch to your handmade creations.
Tips and Tricks for Using Metal Dies Effectively
- Choose the right die for your project: Consider the size, shape, and design of the metal dies you have, and select the most suitable one for the card or craft project you are working on.
- Prepare your materials: Before cutting with a metal die, ensure your materials are properly aligned and securely held in place. Use masking tape or temporary adhesive to keep your paper or cardstock from moving during the cutting process.
- Using a compatible cutting machine: Metal dies are commonly used with die-cutting machines. Make sure you have a machine that is compatible with metal dies and follow the manufacturer’s instructions for correct usage.
- Apply appropriate pressure: Different materials require different levels of pressure when die cutting. Experiment with different pressure settings on your die-cutting machine to achieve clean and precise cuts.
- Extend the life of your metal dies: To prolong the lifespan of your metal dies, use a cutting plate or a shim between the die and the material you are cutting. This helps distribute the pressure evenly and reduces wear and tear on the metal die.
- Use release paper: To easily remove the die-cut shape from your metal die, place a piece of release paper or wax paper between the die and the material you are cutting. The release paper will help the die-cut shape pop out more easily without tearing or sticking to the die.
- Experiment with different materials: Metal dies can be used not only on paper and cardstock but also on various other materials, such as fabric, vellum, and foam. Experiment with different materials to create unique and interesting effects.
- Clean your metal dies: After using metal dies, remove any paper or debris from them using a soft brush or a lint-free cloth. Avoid using water or harsh chemicals, as they can damage the metal.
- Store your metal dies appropriately: To keep your metal dies organized and prevent them from getting lost or damaged, store them in a dedicated container or a magnetic storage sheet. Labeling and categorizing your metal dies can also help you find the right one easily when needed.
- Combine metal dies with other techniques: Don’t be afraid to combine metal dies with other card-making techniques, such as stamping, embossing, or using stencils. This can add depth, texture, and dimension to your card designs.
FAQ:
What are metal dies for card making?
Metal dies for card making are thin metal plates with various shapes and designs that are used to cut or emboss paper or cardstock to create decorative elements for handmade cards.
How do you use metal dies for card making?
To use metal dies for card making, you will need a die cutting machine. Place your paper or cardstock on the cutting platform, lay the metal die on top, and run it through the machine. The machine will apply pressure to cut or emboss the design into the paper.
What materials can I use with metal dies for card making?
Metal dies for card making can be used with a variety of materials, including paper, cardstock, vellum, and even fabric. However, it is important to choose the right thickness and stiffness of material to ensure clean and precise cuts.


